One day, a year or two ago, my friend Tom called me.
“I have a Philco model 35 cathedral, and you need it. I am going to send it to you.”
I mildly objected. “But I already have one!”
“Well, you need another one! This is a fixer-upper.”
What could I say? Since my friend wanted to send me one of the more rare 1931 Philco cathedrals, free, of course I had to accept his very kind and generous offer.
When the radio arrived a week or so later and I unpacked it, I found he wasn’t kidding about it being a fixer-upper.
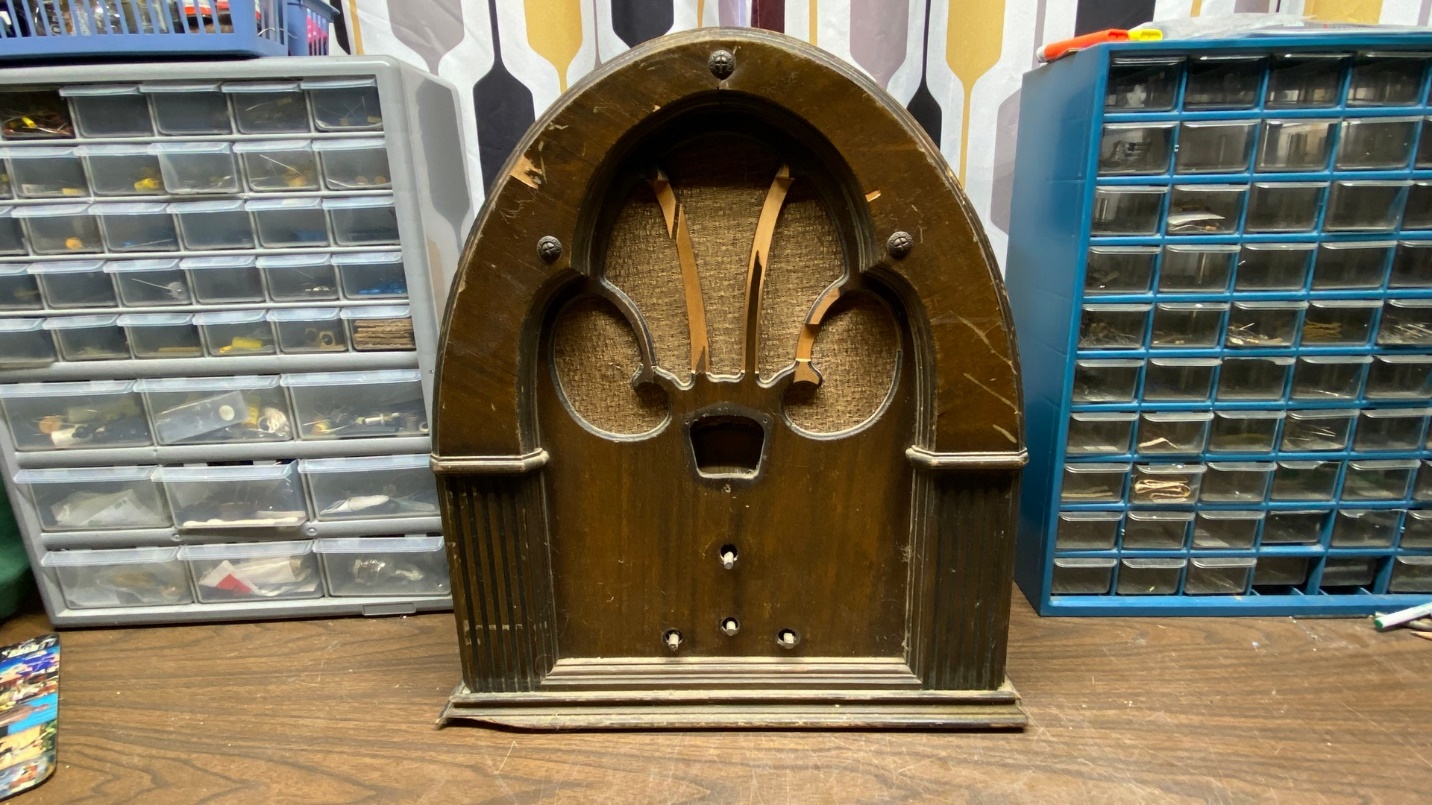
A rare 1931 Philco model 35 cathedral that has seen better days.
Not only was the front panel damaged and broken, but the wood was also split on top and separating.
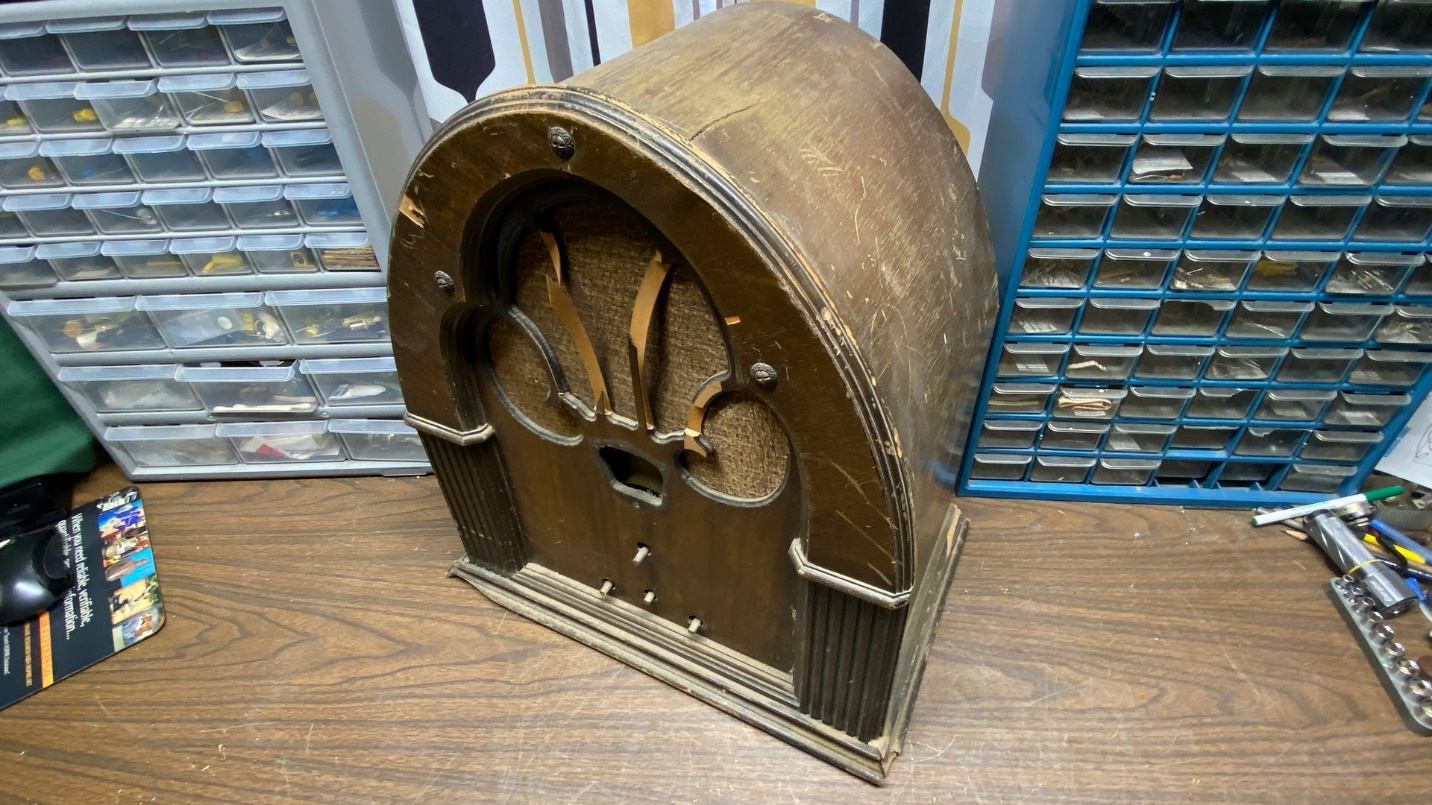
Notice the split in the wood on top of the cabinet.
This cabinet was basically no longer of any use to anyone other than a true cabinet expert. Oh, there are fellows such as my friend Steve Davis, who could easily bring this cabinet back to like-new appearance. But such work is above my pay grade.
I decided the easiest answer to the cabinet problem was to find a cabinet that was in better shape.
In the fall of 2022, I noticed a Philco 70 cathedral cabinet on eBay. I thought this would be just what I needed to give that Philco 35 chassis and speaker a better home.
I won the auction and the cabinet arrived in due course. Once it was in my possession, the more I looked at it, the more I felt it would be more suitable for use as a “new” home for a Philco 70 I had in my collection, which was in a refinished cabinet.
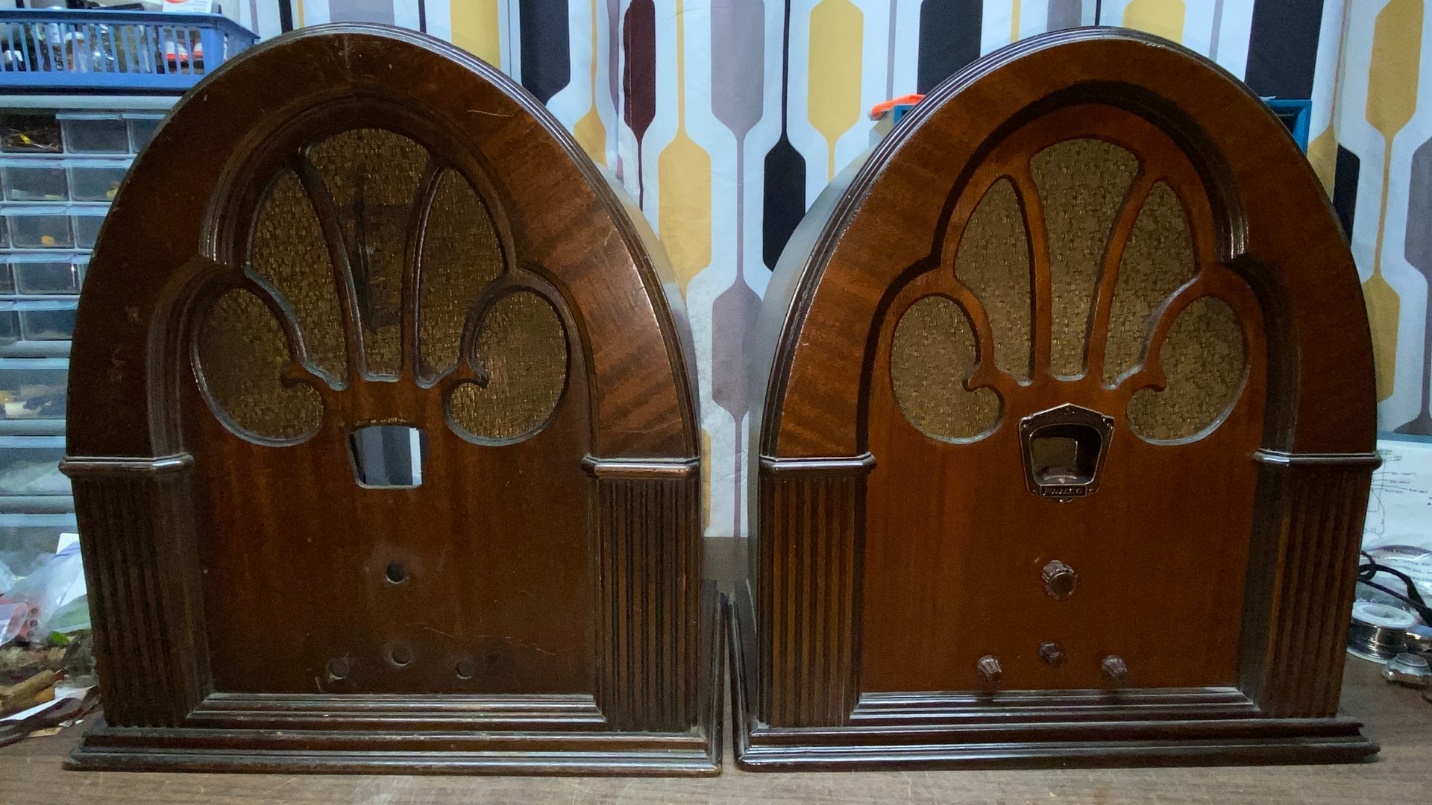
You can see the Philco 70 in the first photo at the top of this page on the right, with the eBay cabinet on the left in the same photo.
The eBay cabinet came with a speaker, which turned out to be good. The cabinet had some scuffs and scratches, but retained most of its original finish which really appealed to me.
So, I removed the 70 chassis from the refinished cabinet and installed it in the eBay cabinet, along with the knobs and early brass escutcheon.
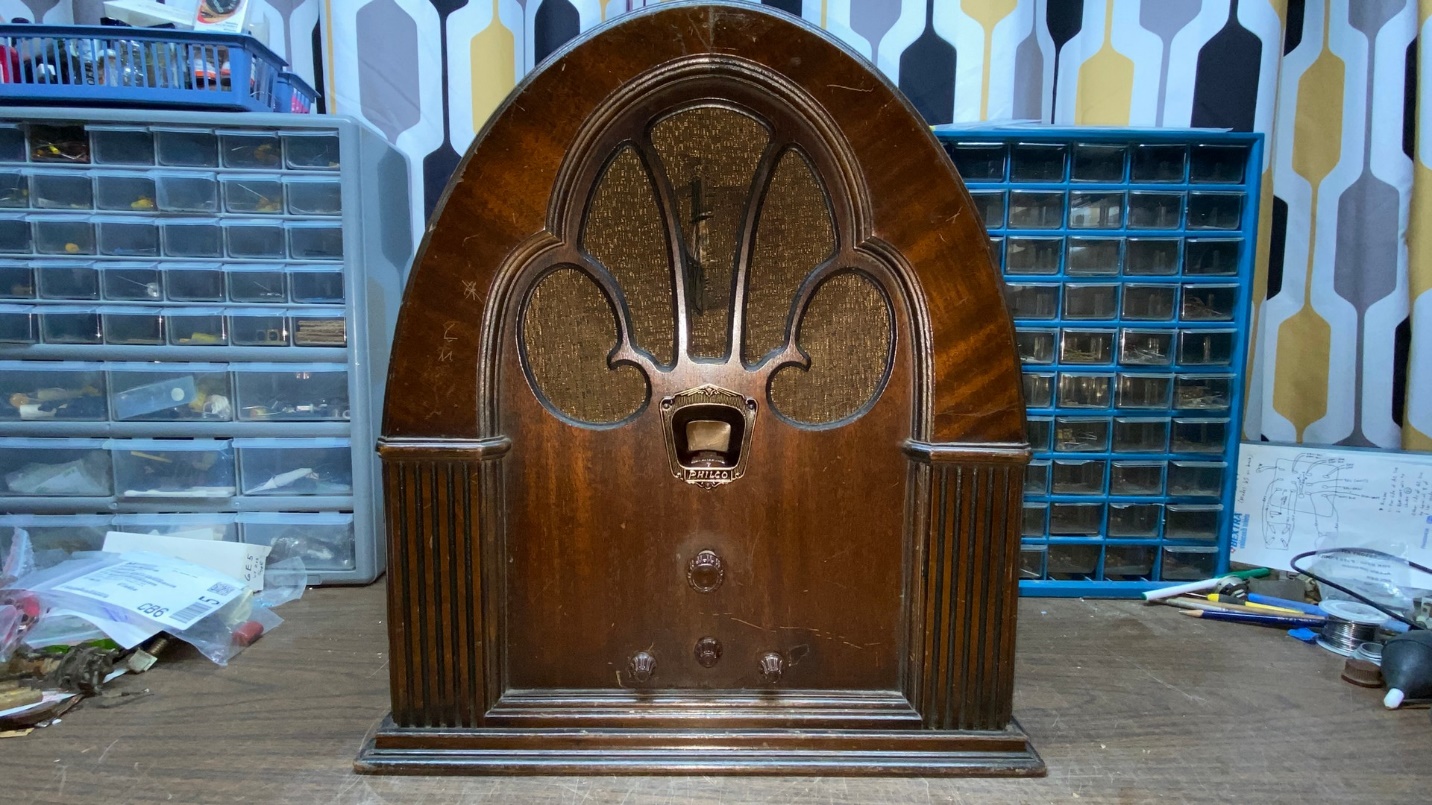
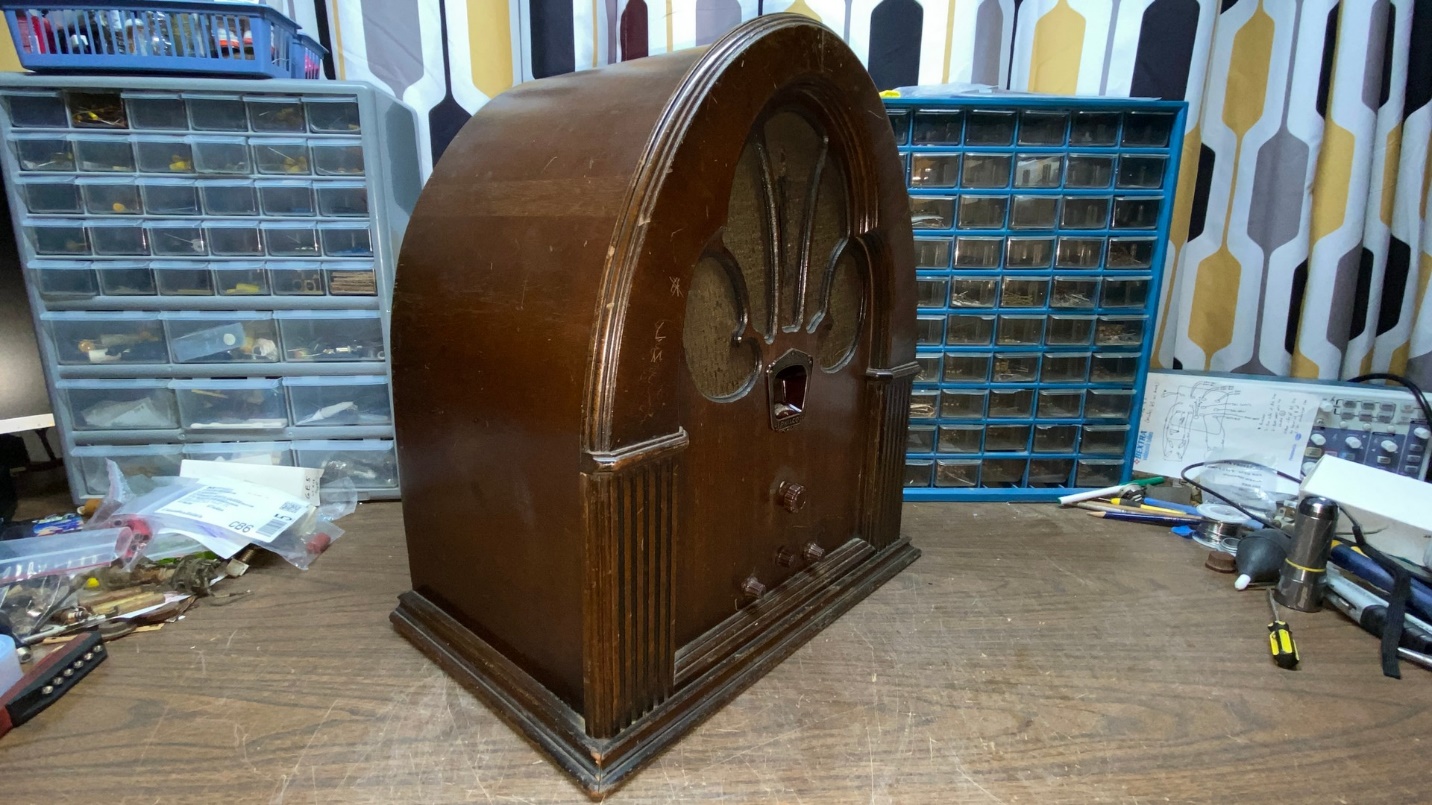
A Philco 70 cabinet which now includes the chassis and brass escutcheon.
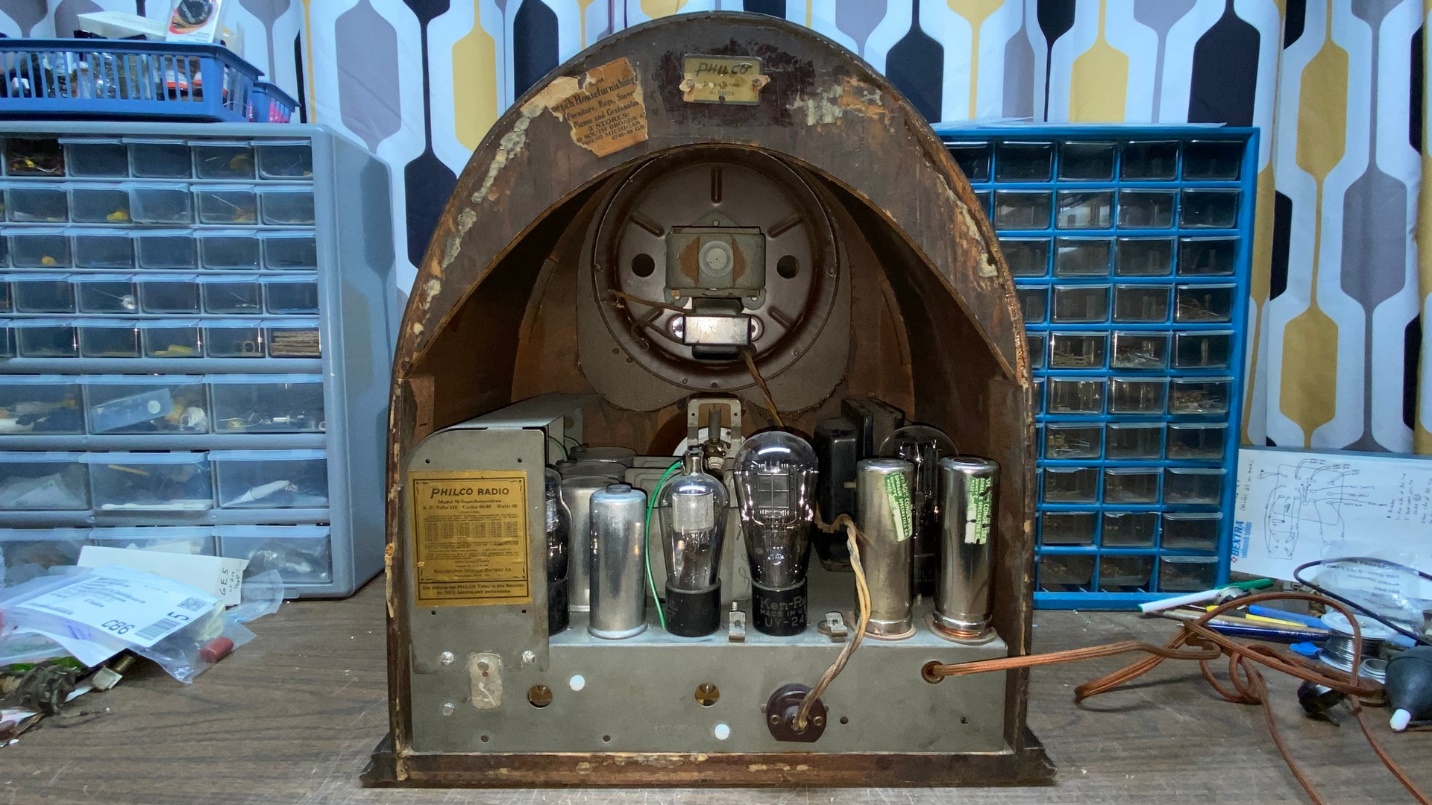
Back view of the Philco 70 in the eBay cabinet.
Left ¾ view.

Right ¾ view.
I had decided to use the refinished 70 cabinet to house the Philco 35 chassis and speaker. I was never really satisfied with the refinish job done to that cabinet, as no grain filler had been used and this was very obvious on the cabinet top and sides as well as the front arch.
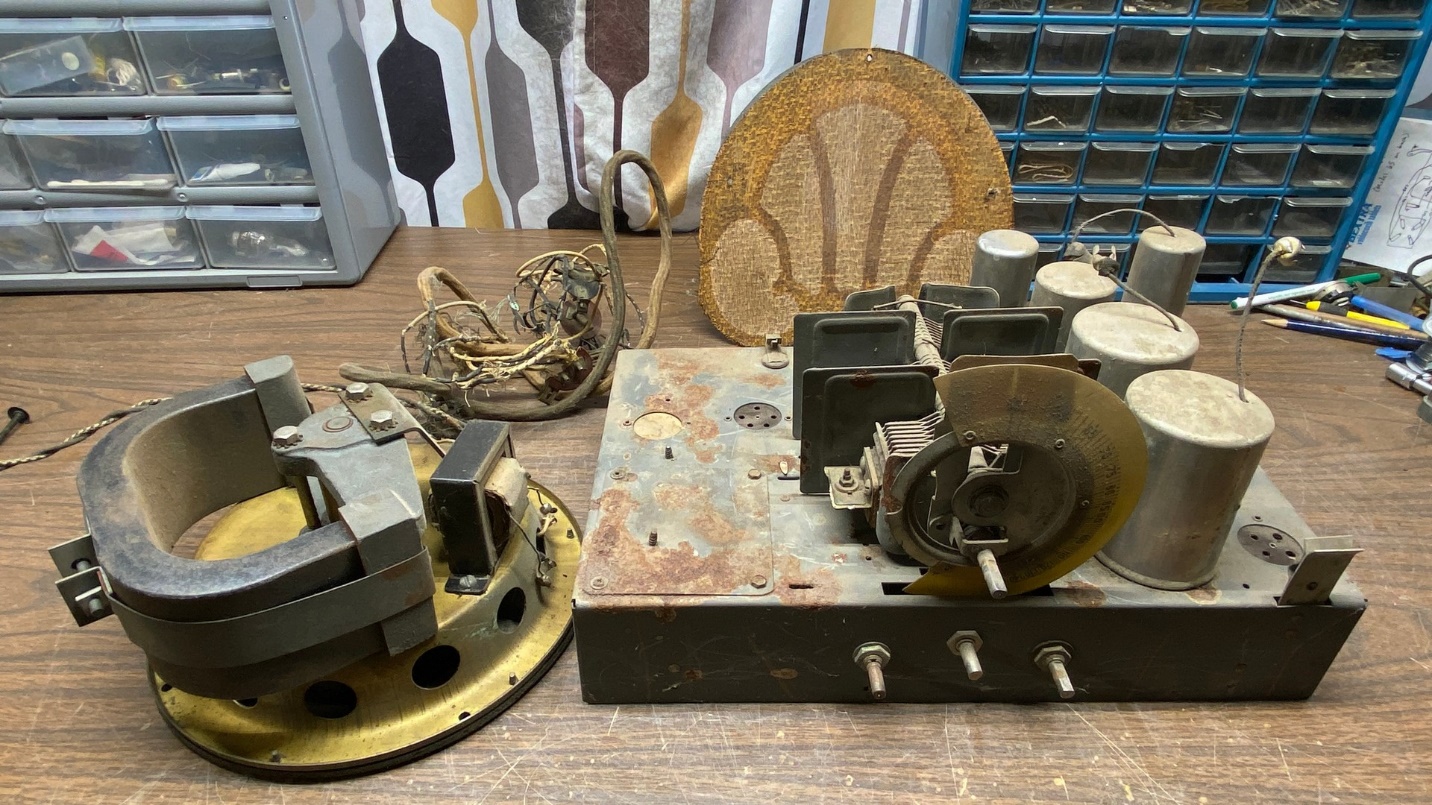
Philco model 35 chassis, speaker, and mounted grille cloth.
So, I removed everything from the very rough Philco 35 cabinet in preparation to install these parts into the refinished Philco 70 cabinet.
I should mention here that the Philco 35 and 70 cathedral cabinets are the same size and are identical save for one detail – the three holes in the front panel of the 35 cathedral cabinet.
Why did the Philco 35 cathedral have holes in the front panel?
Model 35 used an early permanent magnet speaker which is very heavy; much more so than the electrodynamic speaker used in the 70. The 8 inch electrodynamic speaker is mounted in back of the cathedral cabinet by three wood screws, which are held captive by three metal plates placed in the front panel, out of sight.
However, the permanent magnet speaker used in the 35 is too heavy to hold in place with the wood screws and metal plates. For this reason, Philco used decorative screws with rosettes, similar to those used on model 20 cathedral models. These screws passed through the front arch of the cathedral cabinet and were better suited to support the extra weight of the model 35’s speaker.
To convert a Philco 70 cabinet to a 35 cabinet, three holes must therefore be carefully marked and drilled in the cabinet’s front panel.
Measuring and marking the holes in the cabinet’s front panel for the speaker.
I removed the screws from the front of the Philco 35 speaker, which helps to hold the speaker cone in place. This was done to avoid marring the finish. I then carefully measured and marked where the three holes needed to be drilled in front of the refinished 70 cabinet’s front arch.
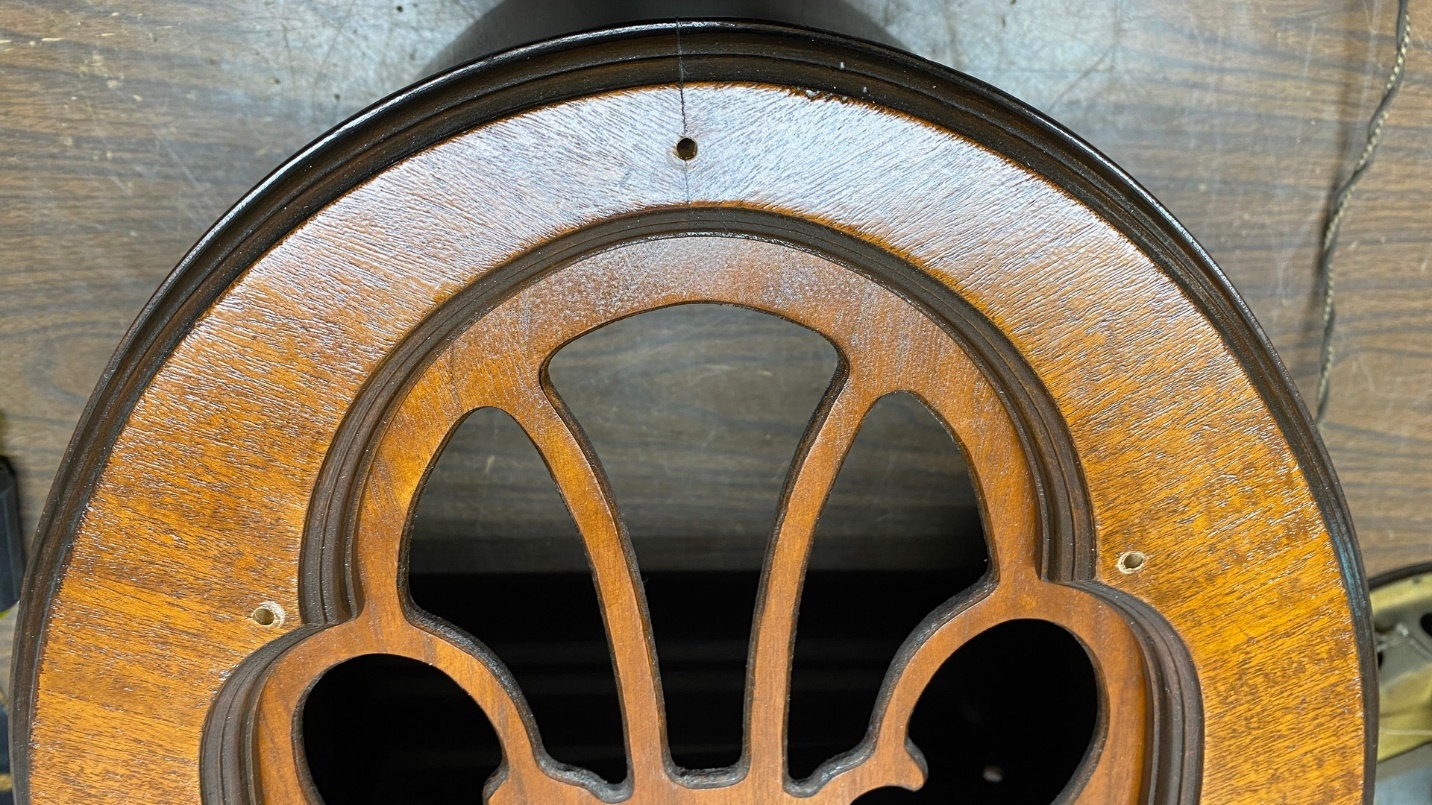
New mounting holes are now drilled in the cabinet’s front arch.
Once the holes were marked, I drilled the holes and installed the decorative screws and rosettes into the front arch of the cabinet.
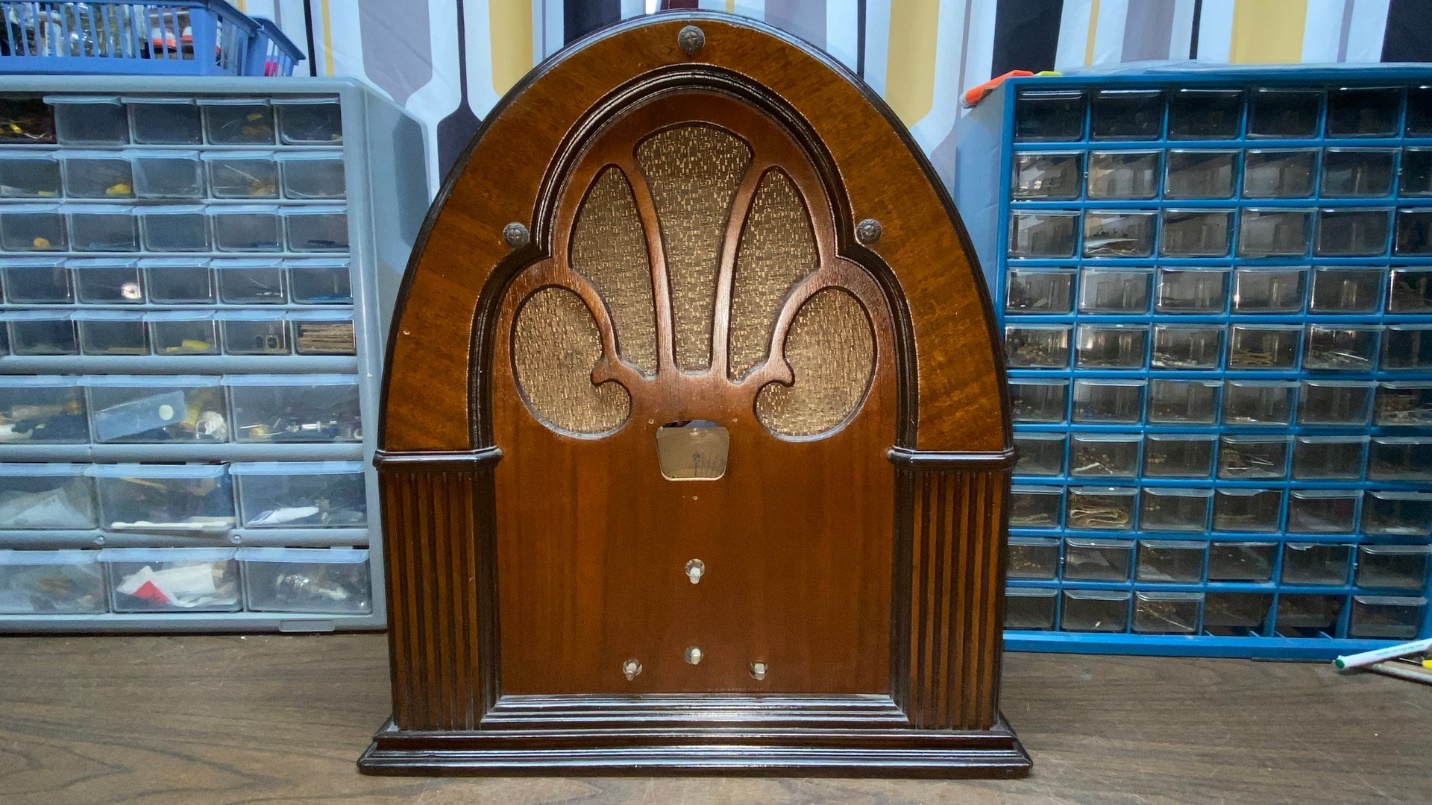
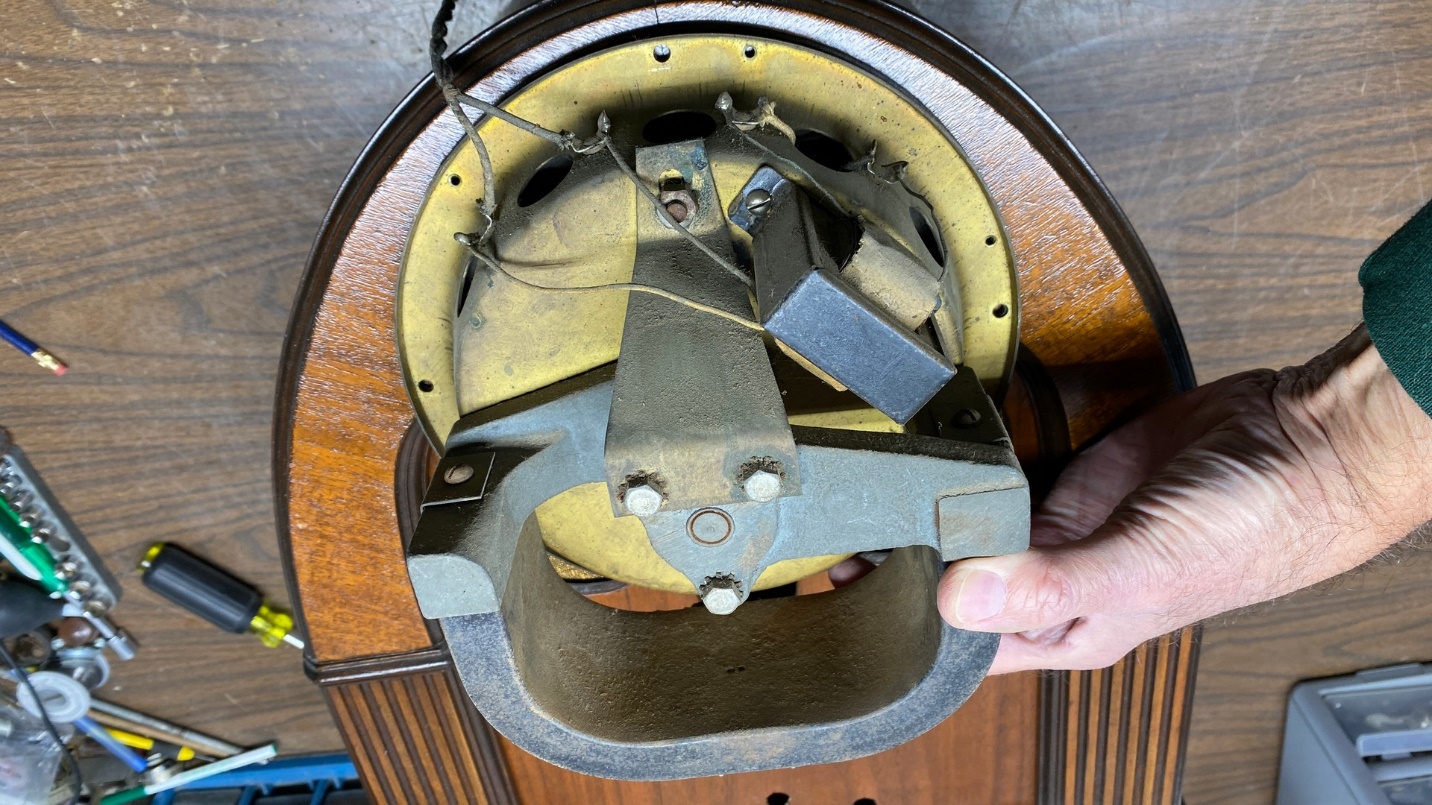
The Model 35 grille cloth and backing board, speaker, and chassis are now installed inside what is now a Model 35 cabinet.
Mounting the speaker inside the cabinet was no easy job, but I persevered and eventually prevailed. The decorative screws and rosettes pass through the grille cloth and backing board, through the three speaker mounting holes, and are each secured by a square 8-32 nut which is held in place by the speaker frame itself. This way, once the screws are tightened, the screws and nuts will not loosen.
After mounting the speaker (with the grille cloth and backing board first, of course), I installed the 35 chassis.
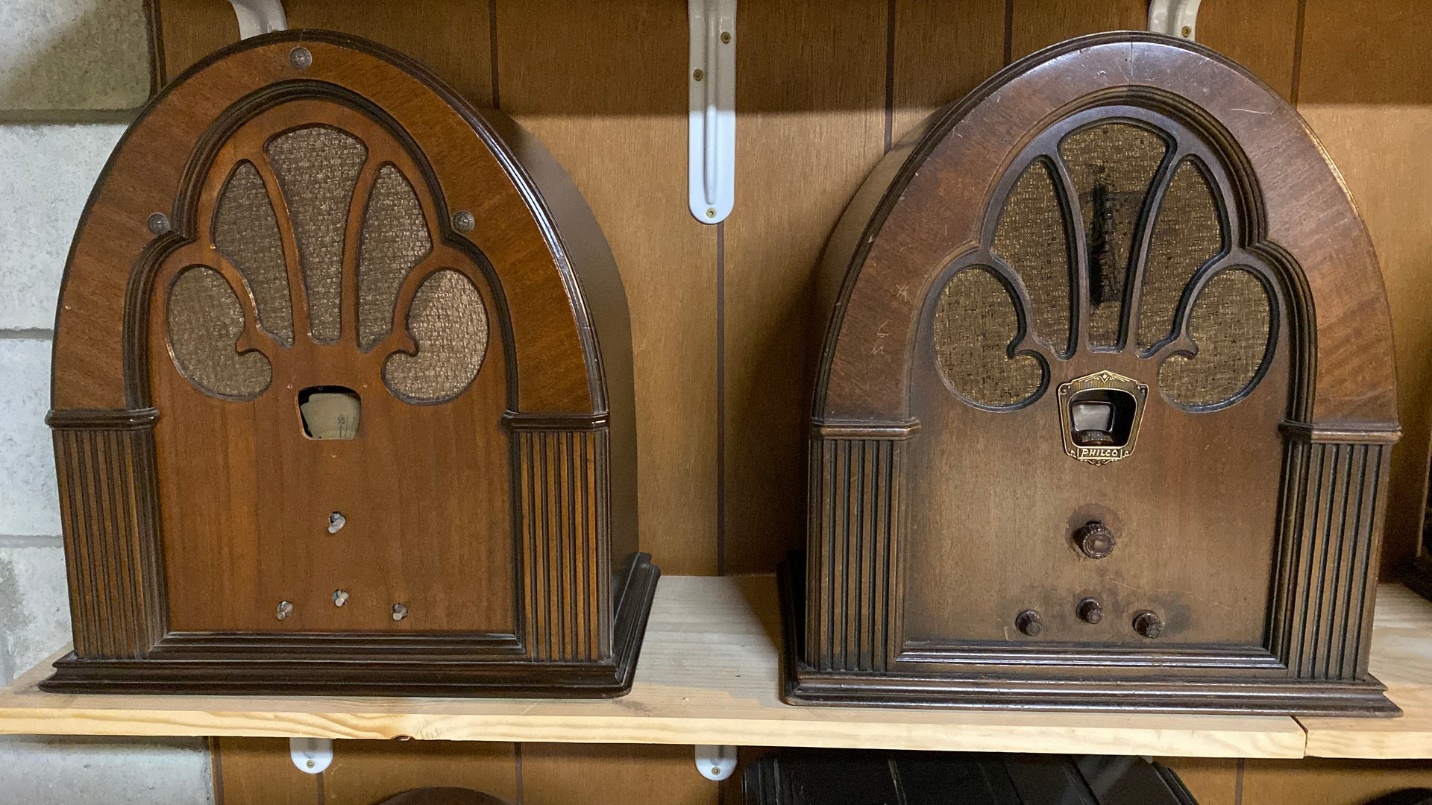
Two Philcos in different cabinets. What is now a Model 35 is shown at left, with a Model 70 at right.
I still need to apply the finishing touches to the Model 35, such as an escutcheon and a set of knobs. Likewise, the 70 is going to need new grille cloth. Overall, however, I am quite pleased with how both sets turned out.