Last time, we had left off work on the Philco 90 by soaking the bottom end of one of the Mershon electrolytic capacitor cans in an attempt to get the bakelite base free of the copper shell.
The next day, I returned to the workbench and noticed that the PB Blaster I had sprayed into the small cavity between the base and the shell had soaked in overnight. So, I tried to get the bakelite base free of the shell. Unfortunately, the base still would not budge.
I decided to try going around the base where it pressed against the copper with a knife, in the hopes that perhaps there was still some residual dried rubber that might still be preventing the base from coming free of the shell. After going around the inside edge of the copper shell where it surrounded the bakelite base a few times with the knife, I put the lockwasher and nut back on the bakelite base and tried to twist it loose again. This time, it finally broke free without literally breaking. You can see the separated pieces of the old capacitor in the photo above.
The original electrolytics used in the 90 were rated at 6 uF. I knew I wanted to use Solen Fast film capacitors instead of electrolytics. However, I had no 6.8 uF Solens in stock, so I ordered a pair from Antique Electronic Supply. While I was at it, I also ordered some cloth-covered AC cord and some Gavitt wire to use as a replacement for the grid cap wires on three of the tubes in this set.
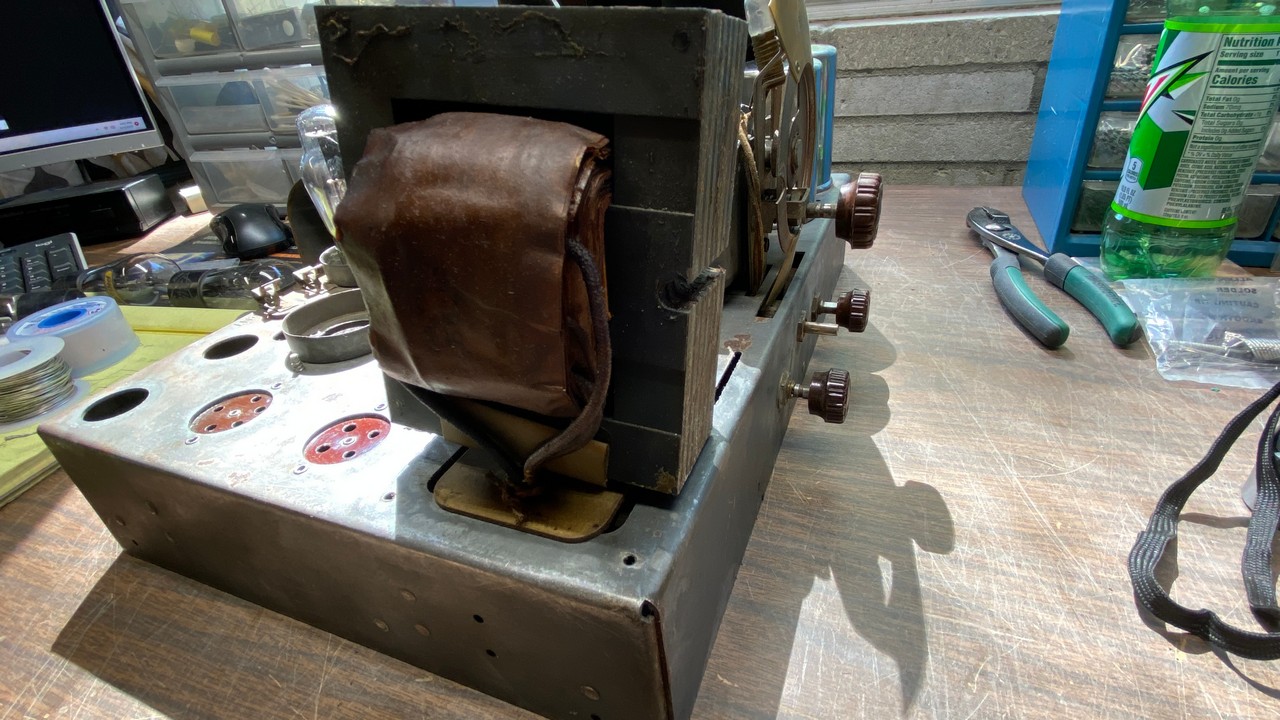
Since I found myself at a standstill again in progress, I looked at the shell of the power transformer and observed how rough the old paint was. I decided to remove the transformer’s outer bells and repaint them.
The Philco 90 power transformer, showing its age with multiple scratches, scrapes, surface rust, and missing paint.
It appeared that removal of the transformer bells, along with the strip of metal which surrounded the transformer’s iron laminations, would be easy to remove. And, indeed, removal of these was easy. The reverse would be another story…but I am getting ahead of myself.
The power transformer’s metal shell parts (bells and U-shaped lamination cover) were now removed from the transformer.
I cleaned the metal pieces to try and remove the old wax which had seeped out onto the bottom of these pieces. After cleaning, I rubbed them down with 0000 steel wool to prepare them for new black paint.
Once the metal pieces were prepared for painting, they were taken outside and sprayed with two coats of Rustoleum black paint. This would prove to be a mistake. Ah, but once again, I am getting ahead of myself.
While I waited for the metal pieces to dry, I decided I should remove the remaining waxy residue from the portion of the chassis surrounding the power transformer.
Old wax may be seen on the chassis where the transformer’s metal base had been.
This time, instead of using mineral spirits, I used a heat gun on its low setting. This quickly melted the old wax enough so that it could be easily wiped away with paper towels.
The area of the chassis surrounding the power transformer is now clean.
It did not take long to clean off the waxy residue, and the chassis was soon clean again.
The next day, I brought the metal pieces over to the workbench. As I began to attempt to get the pieces mounted back on the power transformer, I noticed the metal parts were ever so lightly tacky! The Rustoleum never did fully dry. For this reason, I really, really do not like Rustoleum products. This is in addition to the fact that it tends to run quite easily, where one almost has to make Krylon run when spraying. Unfortunately, in the area where I live, most stores stock any kind of spray paint you want, as long as it is Rustoleum. Krylon has proven to be a much better product in my experience, but it is now nearly impossible to purchase locally. Next time, I will purchase Krylon, even if I have to order it online.
But I digress. Not only was I getting fingerprints on my freshly painted metal pieces, I was also having great difficulty getting the thick piece of fiber at the bottom of the power transformer (the piece through which the transformer’s wire leads exit the bottom of the transformer) to properly slip back into the slots they rest in at the bottom of each transformer bell.
I fought with the pieces for about an hour before I finally prevailed and had the transformer bolted back together and bolted back onto the chassis.
It would have been easier if I had removed the transformer from the chassis. Oh well, for better or worse, the job was now done and the transformer looked somewhat better. It would have looked a lot better if the paint had fully dried as it should have, but this would have to do as I was in no mood to remove the metal pieces, strip them, and try again with Krylon after ordering some from somewhere.
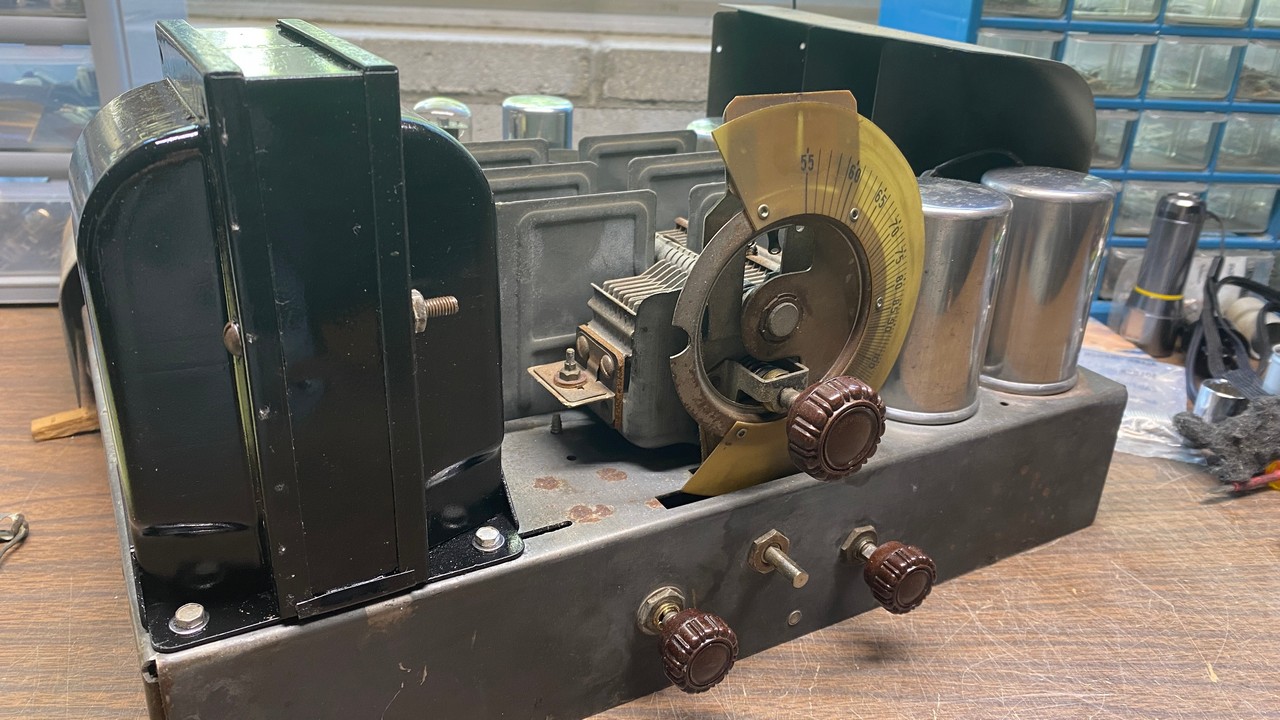
The repainted power transformer.
After I finished reassembling the power transformer, I happened to look inside the storage cabinet where I keep, among other things, several cans of toning lacquer. And what do you suppose was staring me in the face as I looked over the cans…yes, a can of Mohawk black lacquer!
Facepalm time! DUH!!!
That would have better than the Rustoleum!
I have since found that local Walmart stores still carry Krylon products. I will keep this in mind.
Anyway…
At this point, I only needed to replace three grid cap wires, install an AC cord, and rebuild those two Mershon electrolytic cans. Oh yes, and gather a set of globe shaped tubes for use in this radio. Let’s take those steps one at a time, and begin by replacing the three grid cap wires.
New grid cap wires have been installed.
I had not only ordered some Solen Fast capacitors to replace the electrolytics used in this radio, but also some cloth covered AC power cord, and two 10 foot lengths of double cotton covered Gavitt wire – one black and one green.
What is Gavitt wire, anyway?
First of all, “Gavitt” is the name of a wire and cable manufacturer in West Brookfield, Massachusetts. The company has been in business since 1923.
In addition, “Gavitt” is also the name of cloth-covered wire used in the guitar industry. It should be noted that not all “Gavitt” wire was made by Gavitt; there are Chinese imitators as well.
The particular Gavitt wire I purchased from Antique Electronic Supply is double cotton covered, and the stranded wire inside is pre-tinned. The actual wire is 22 gauge, plenty large enough for vintage radio grid circuits.
The original wire Philco used for this application was either 20 or 18 gauge, with a single cotton covering. Again, 22 gauge is quite sufficient for this purpose. Additionally, Philco also used this type of wire for under-chassis point-to-point connections for everything but high voltage (B+) circuits and tube heater/filament circuits.
Black Gavitt wire, I have found, is not only an excellent replacement for Philco grid cap wires, but also for multi-capacitor cans where the original wires are cut, broken, or otherwise unusable. Also, it may be used to replace tuning condenser leads in many earlier Philco models.
There are variations with single cotton covering as well as a “push-back” version which requires no stripping. With push-back wire, the insulation only needs to be pushed back just enough to solder the inner conductor to whatever terminal is required.
You can see in the photo above that I used some black, double cotton covered, Gavitt wire to replace the grid cap leads in this 90, and I am very pleased with how these turned out.
Ok, I am about to get started on a rather complicated job, and that is the rebuilding of the two Mershon electrolytic capacitor cans. Since this will involve multiple steps, I am going to stop here for now. Next time, we will get started rebuilding those Mershons, and I will attempt to show you, step by step, just how this may be accomplished. Until then!