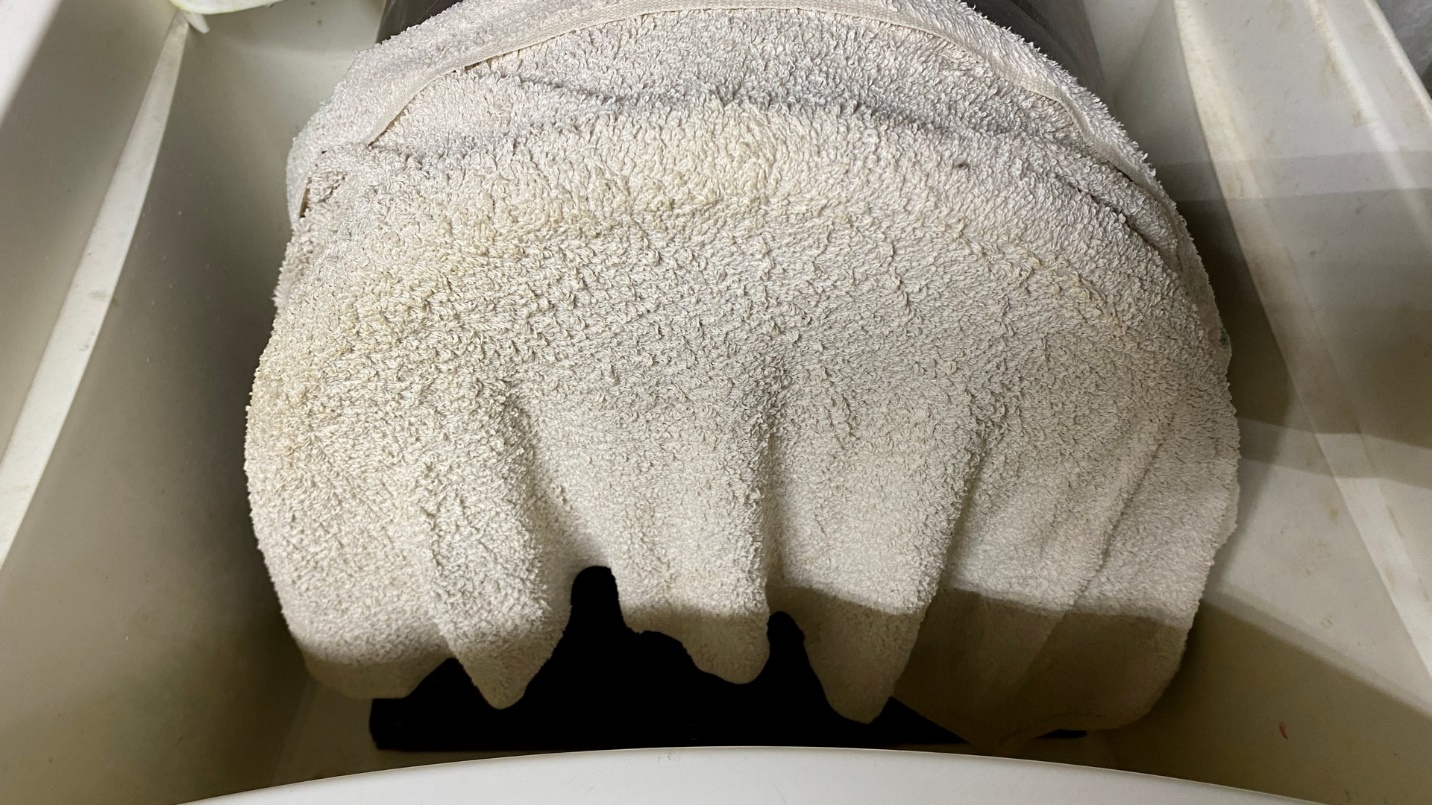
The odd photo above shows a cathedral cabinet being soaked with a wet towel. This is my other Philco 70 cabinet, the one which I determined was unrepairable.
The fancy veneer on the front arch of the cabinet I am attempting to restore was loose and coming off in spots. I considered using the veneer from this other 70 cabinet to replace it all – if it would fit, that is.
I have noticed over the years that not all Philco 70/21/46/35 cathedral cabinets are exactly identical. There are differences in the size and shape of the front arches of each. The differences are not immediately apparent, unless you try to use the veneer from the front arch of one cathedral cabinet on another cabinet. Then, the differences become obvious.
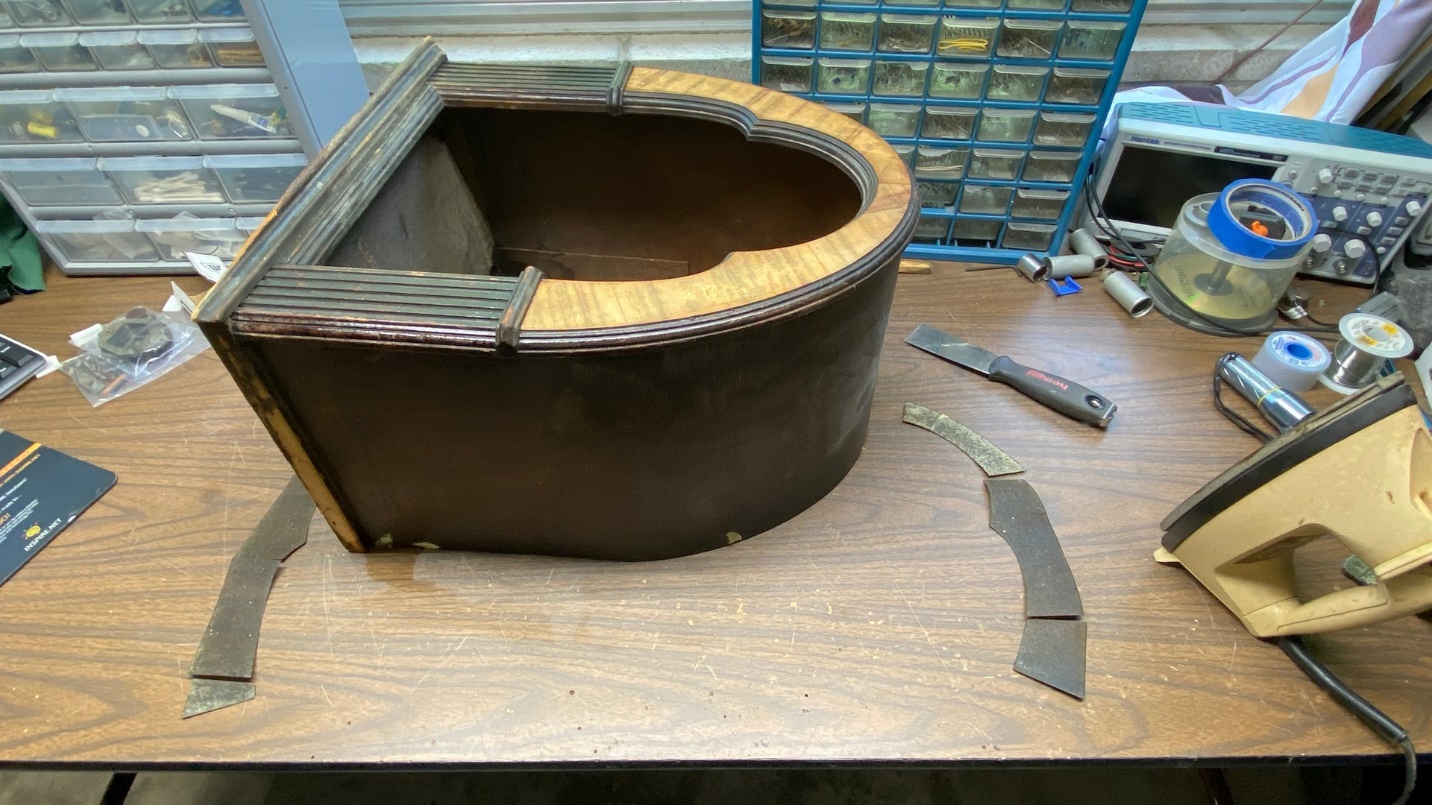
The front arch veneer has been removed from the very rough Philco 70 cabinet.
Unfortunately, this was the case with this rough 70 cabinet. The veneer was smaller in places than the veneer used on the cabinet I was repairing, so I could not simply do a wholesale replacement.
I ended up removing all the veneer from the front arch of the cabinet I was restoring, as the glue had loosened so much that it was barely hanging on.
Using a utility knife blade to remove veneer from the front arch.
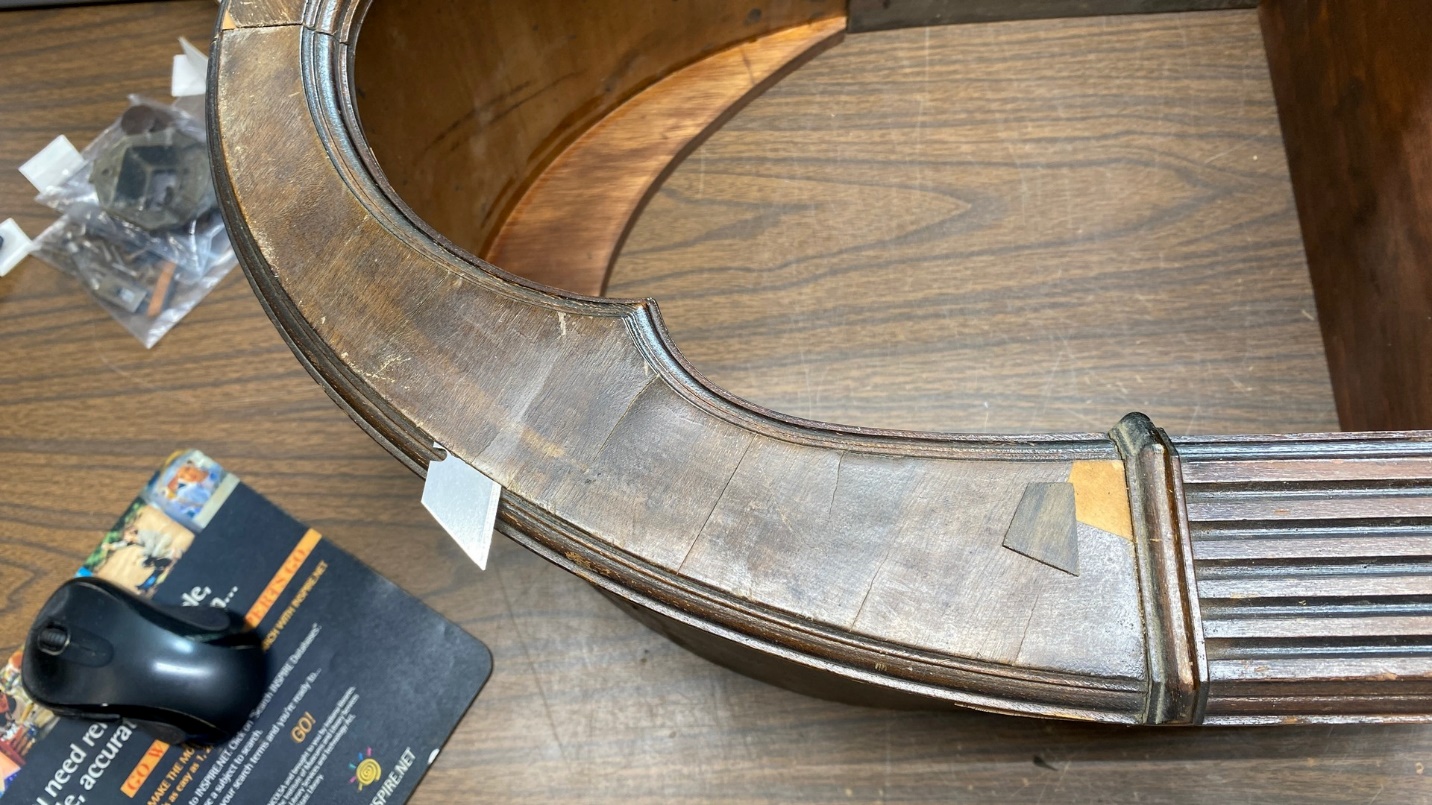
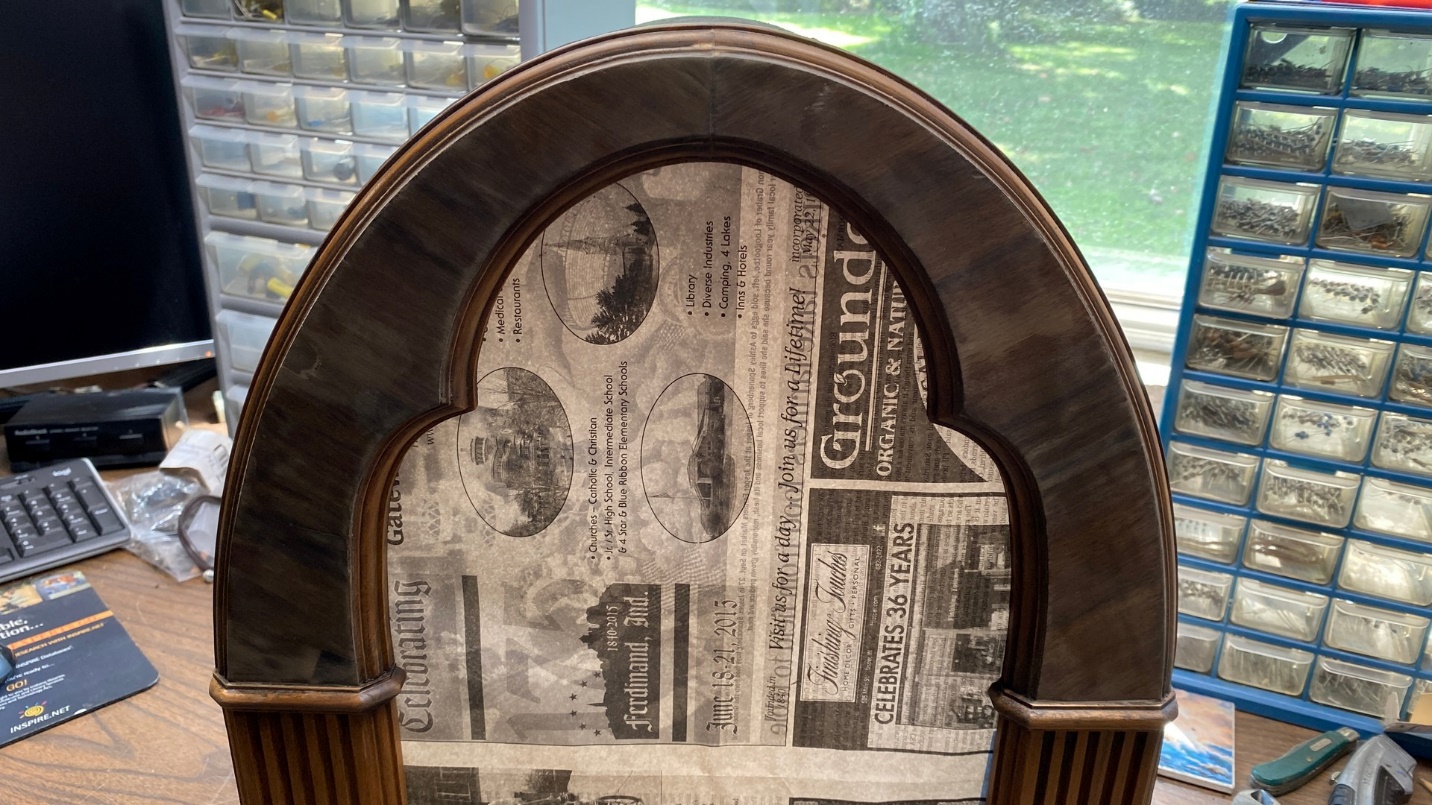
Once the veneer had been removed, I began regluing the pieces in place on the front arch. One piece was missing on the lower left of the front arch; this was replaced with a piece from the veneer taken from the rough 70 cabinet. Unfortunately, this piece was darker than the veneer of the cabinet being restored, so it was (and is) obvious that it was a replacement. But what else could I do?
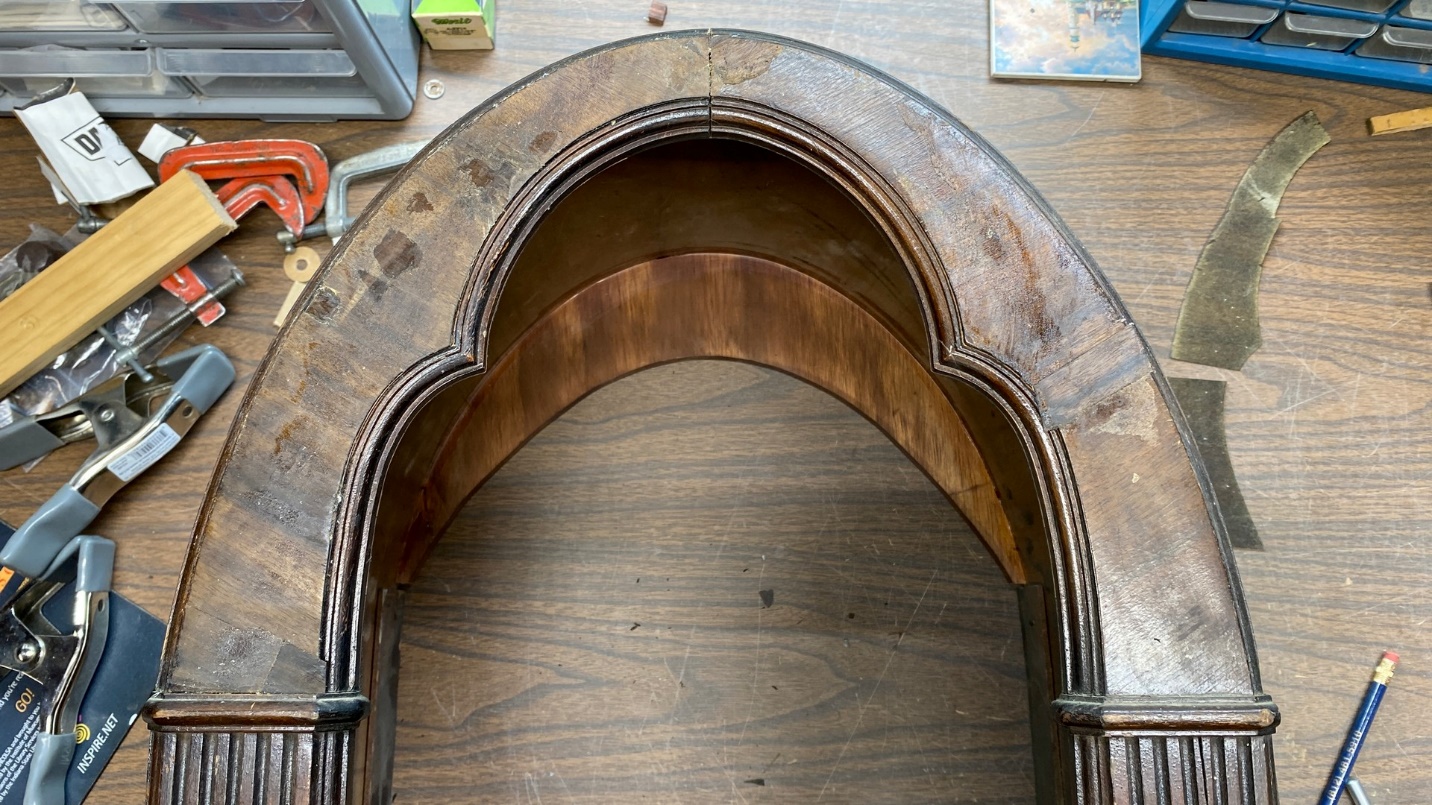
Front arch veneer being reglued into place on the cabinet.
As with the veneer pieces which were replaced on the back edge of the front arch, the veneer was applied using a hot steam iron. I had no good way to otherwise clamp the veneer down. This appeared to work out well, as may be seen above.

Applying Timber Mate wood filler to the remaining cracks in the front veneer.
Once the glue had dried, visible cracks could be seen in the front veneer. I filled those with Timber Mate wood filler. Once the Timber Mate had dried and was sanded down, this seemed to work out well.
I then gave the entire cabinet a light sanding, and then prepared it for sanding sealer by taping off the front opening to prevent lacquer from getting inside the cabinet. This was not really necessary, but it would result in a neater job.
Sanding sealer has been sprayed over the entire cabinet body.
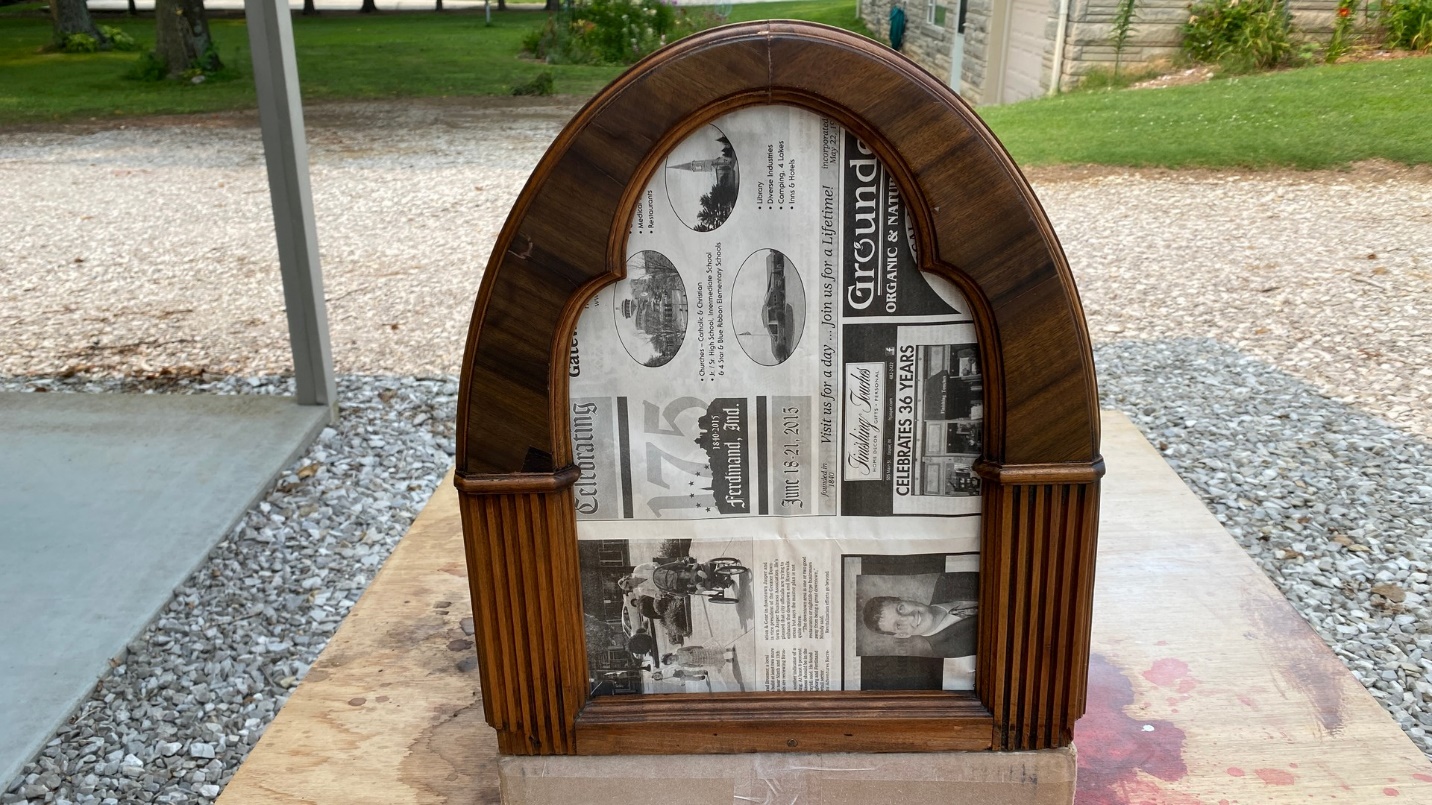
I decided to keep the front panel separate from the main cabinet for now, choosing to seal, tone, and clearcoat it separately. For this reason, the newspaper remained in place on the main body of the cabinet until the cabinet had been completed.

Applying grain filler to the top and sides of the cabinet.
The next job to do was to apply grain filler to the front arch, top, and sides of this cabinet. I brushed on Pore-O-Pac grain filler, let it set for 15 minutes, then rubbed the excess off in a circular motion, using a piece of an old T-shirt. The cabinet was then allowed to dry overnight.
The front arch after application of grain filler.
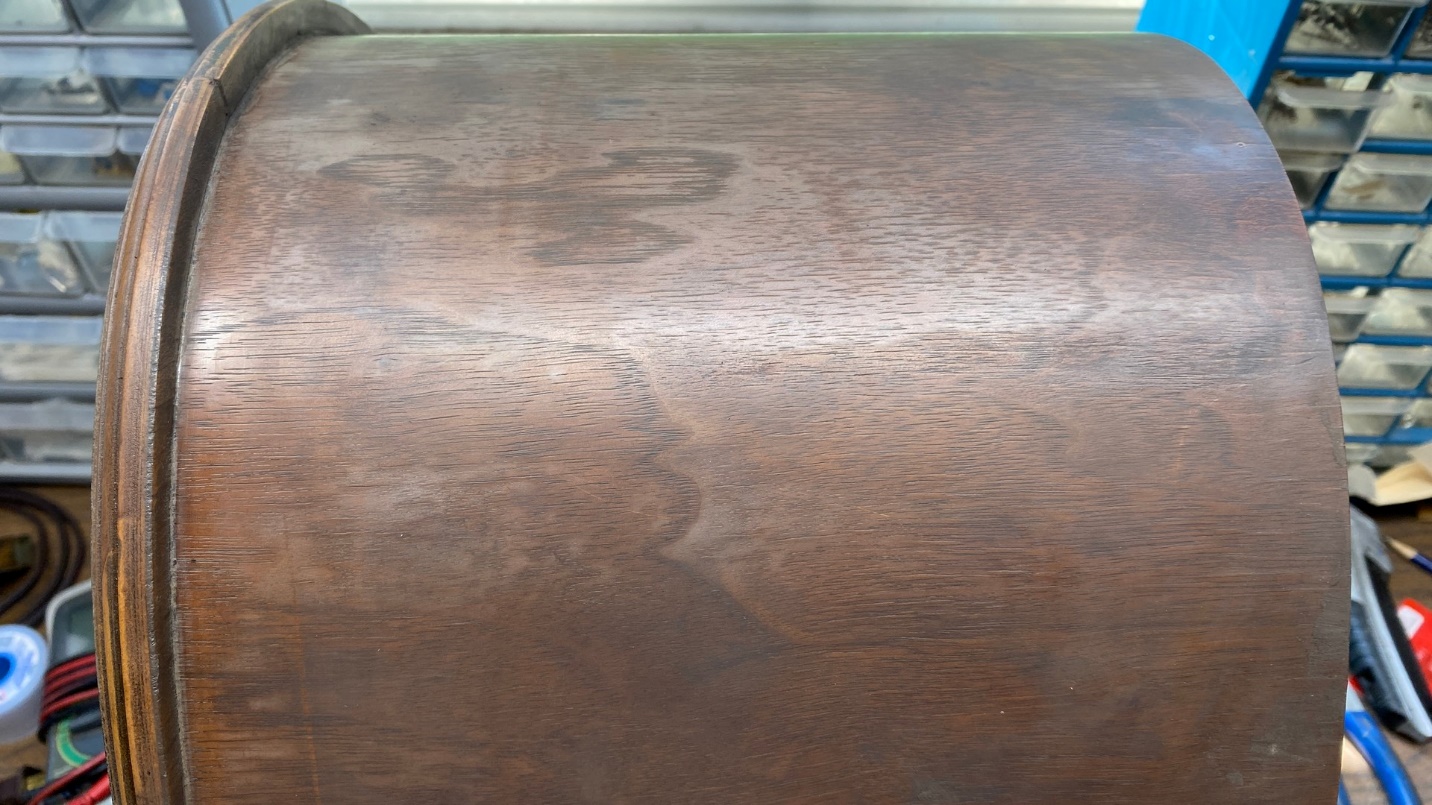
The right side of the cabinet, near the top, after application of grain filler.
The next day, the cabinet was sanded down with 400 grit sandpaper in preparation for toning.
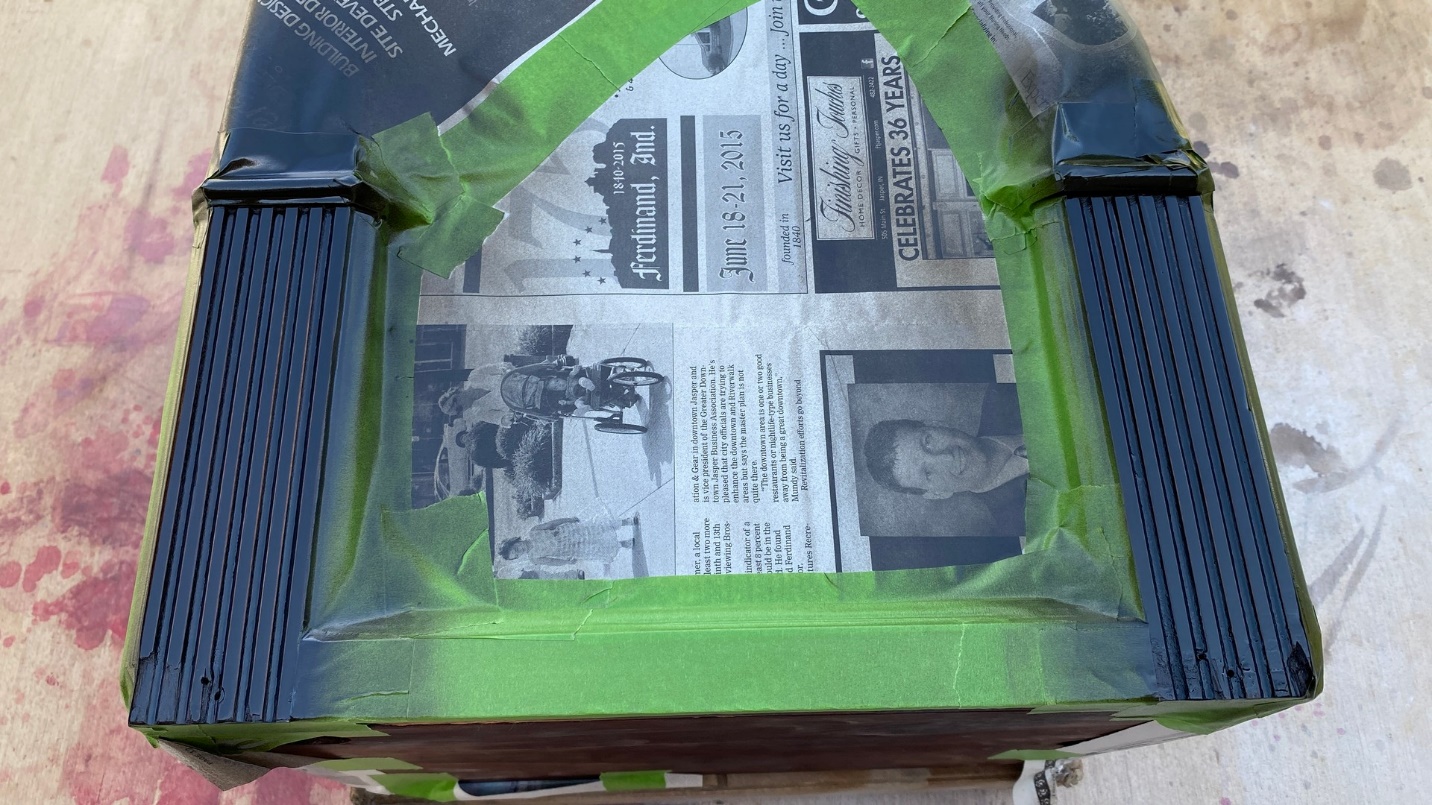
Philco originally toned the concave grooves of the two pilasters at lower left and right of the cabinet front with very dark lacquer, to give a two-toned effect. In order to replicate that look, I carefully masked off the cabinet so only the pilasters would be exposed. This was accomplished with green FrogTape and more newspaper.
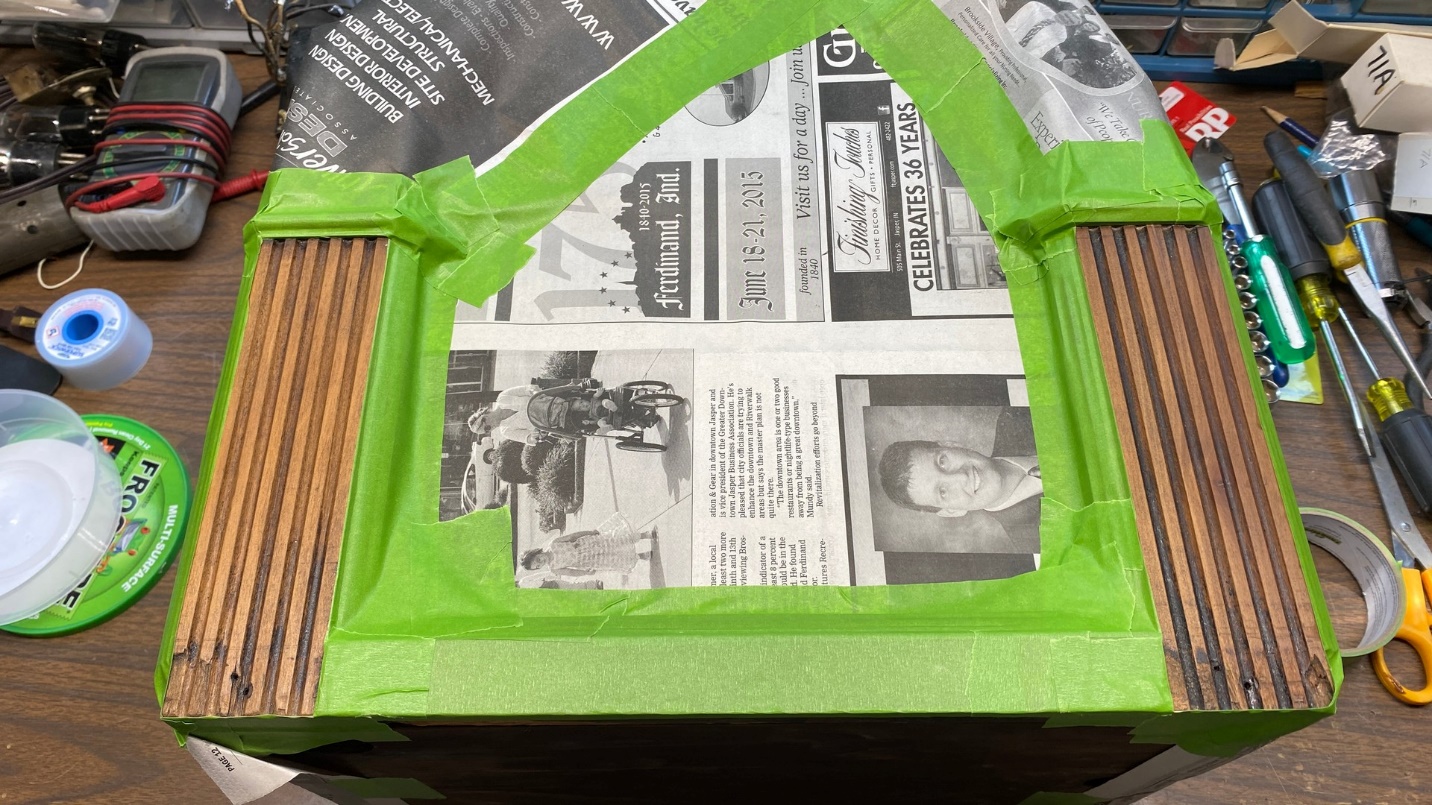
The cabinet is masked off so the pilasters could be sprayed with Extra Dark Walnut toning lacquer.
Once the cabinet had been masked off, I took it outside and sprayed the pilasters with Mohawk Extra Dark Walnut Tone Finish.
How the pilasters appeared after being sprayed with toning lacquer.
The cabinet was then left to dry overnight.
The next day, I removed the masking from the cabinet and attempted to sand the Extra Dark Walnut off the flat surfaces of the pilasters. Unfortunately, the lacquer only caused my sandpaper to quickly become clogged.
I then tried using the blade from my utility knife to carefully scrape the pilasters. This worked out very well, as may be seen below.
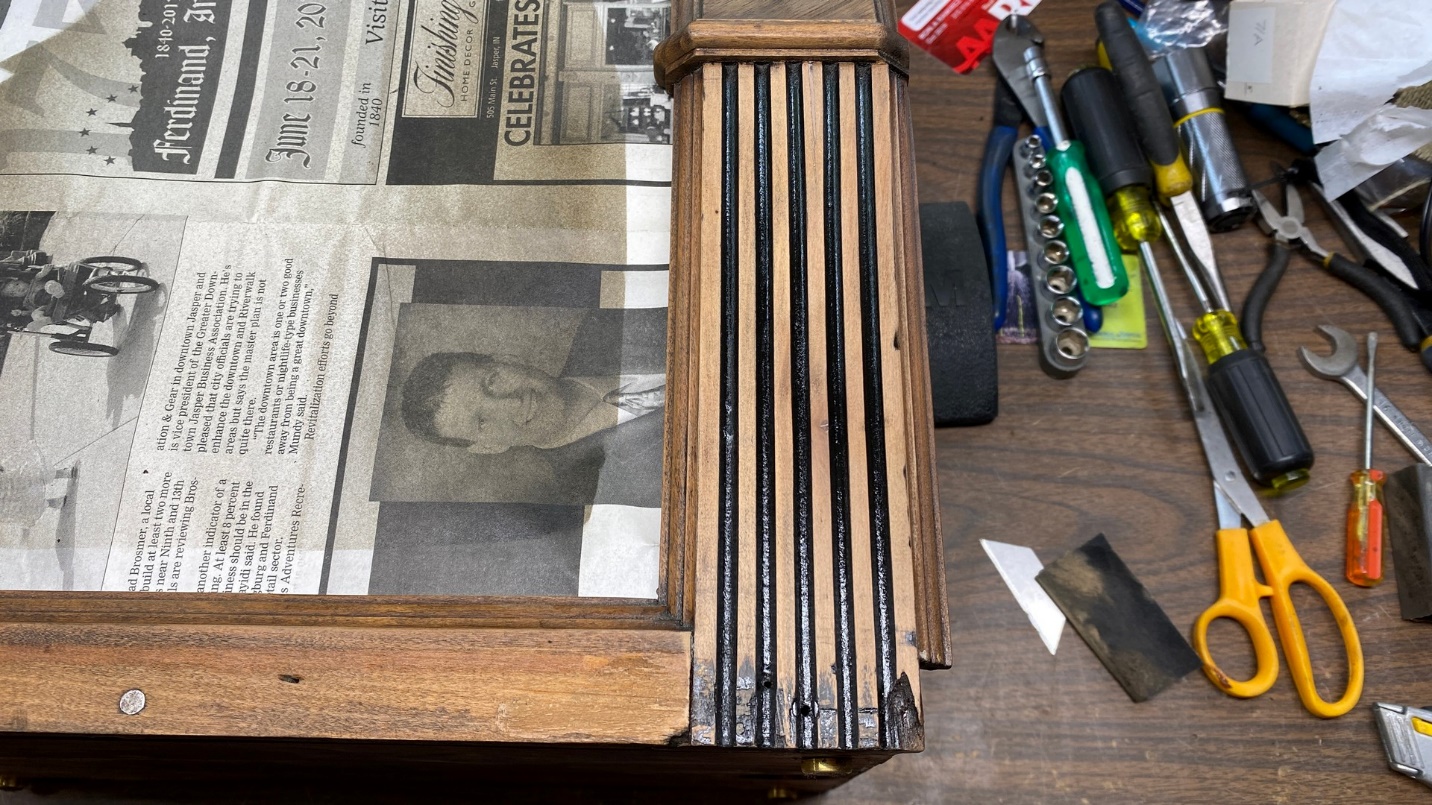
The right pilaster after it was scraped. Now, it has the proper appearance of dark lacquer in the grooves, just like the original cabinet had.
The right pilaster turned out so well, that I repeated the process on the left pilaster. This, too, turned out well.
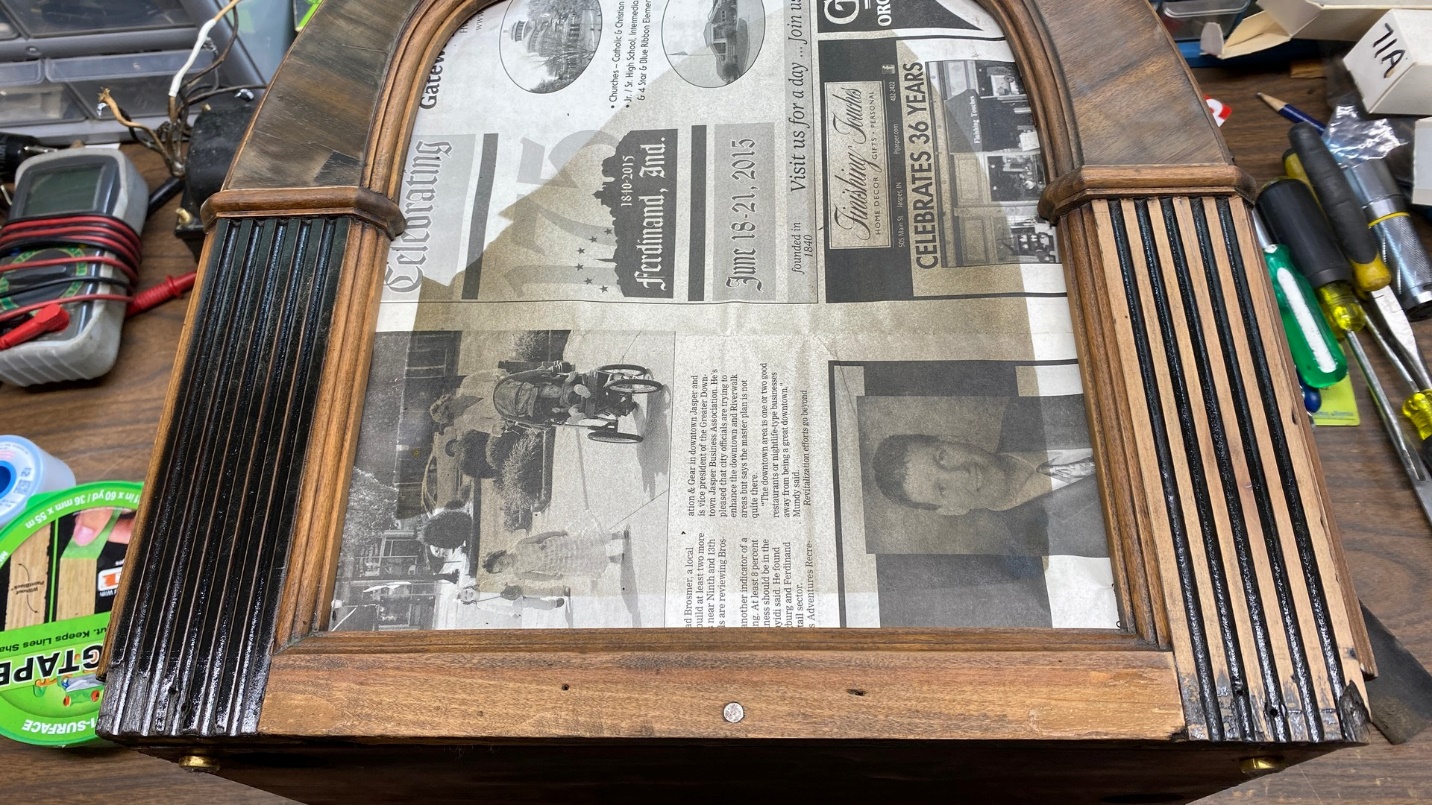
The left pilaster has not yet been scraped at this point.
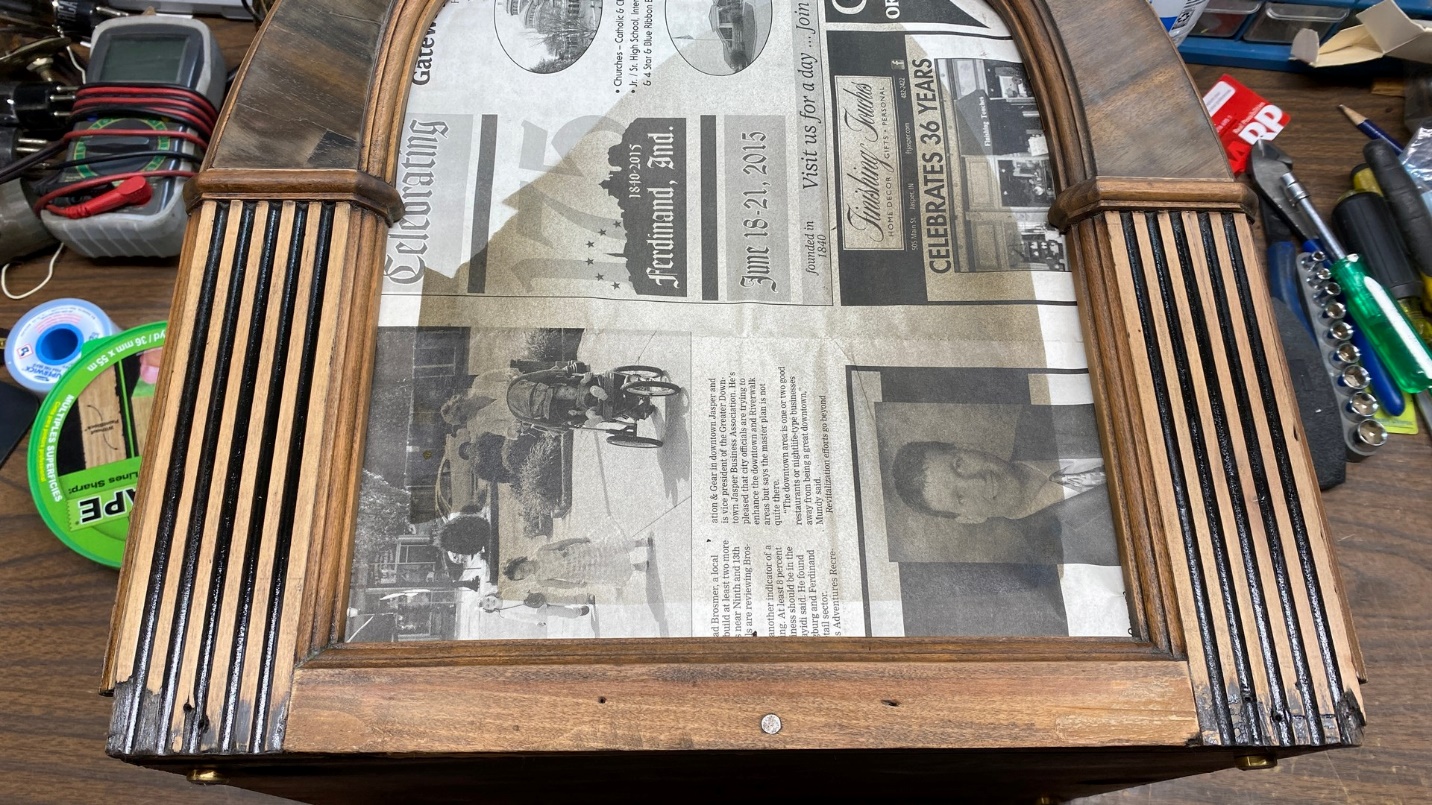
Both pilasters have now been scraped.
I see I have run out of space once again. Next time, I will start preparing the new front panel for finishing, and will apply toner to the main cabinet.