As I had mentioned in the previous installment of this series, this cabinet had a lot of damaged and missing veneer in various places. Now, it was time to start repairing and replacing those missing veneer pieces.
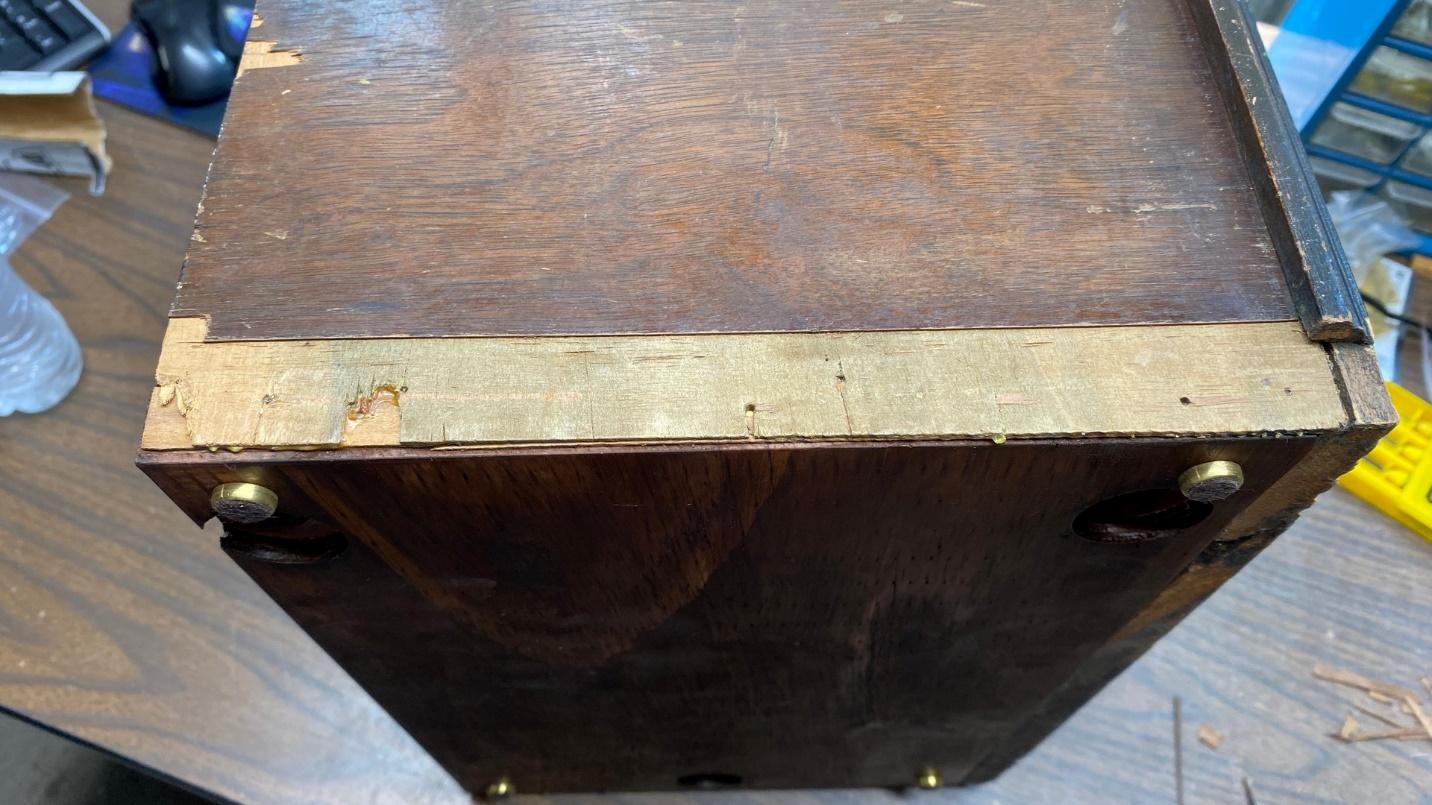
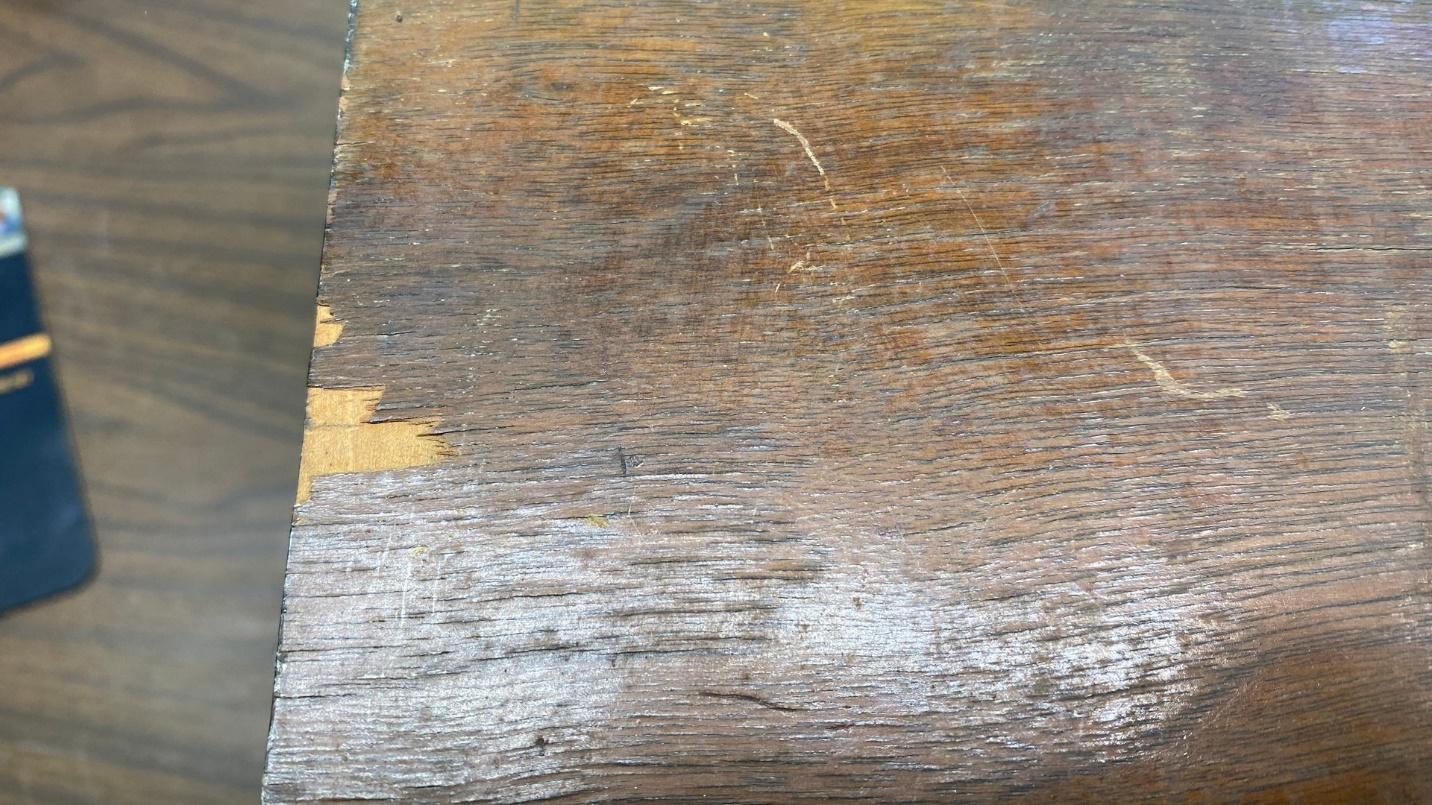
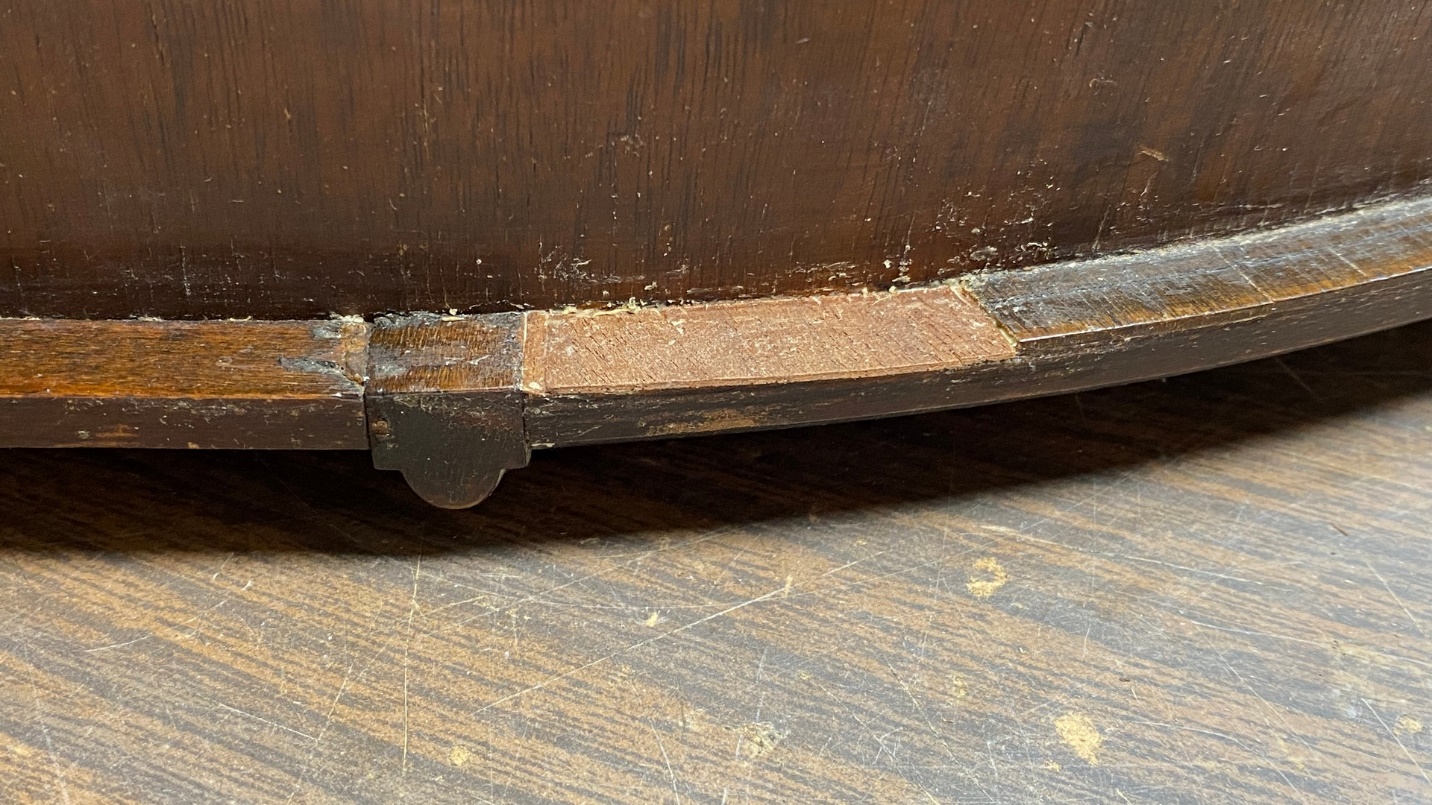
The original veneer was damaged, and some was missing, at the bottom of the cabinet on both sides. As you can see above, I cut a straight line into the left side so I could replace the missing veneer with one large piece of walnut veneer.
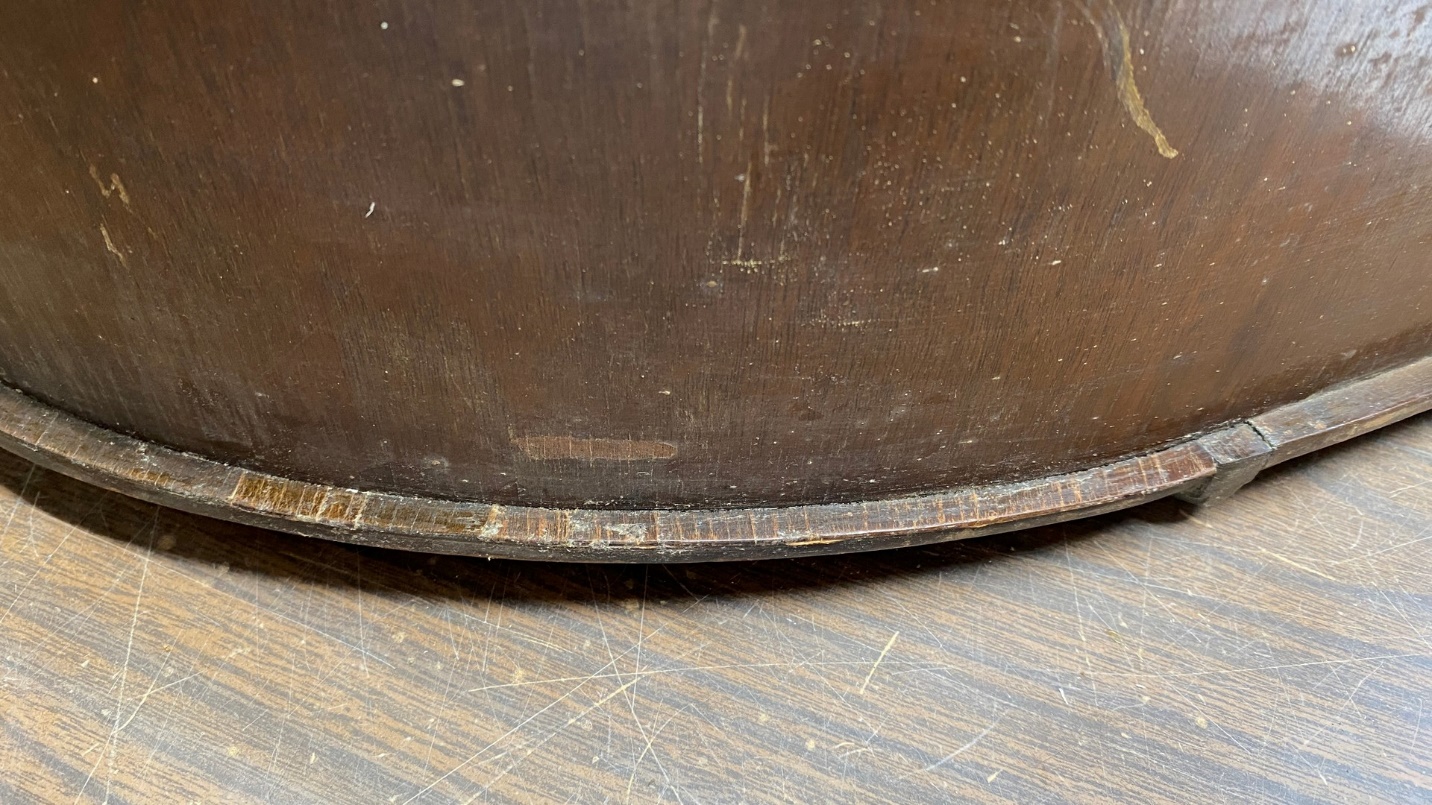
The lower right side of the cabinet also needed veneer replacement, although this side had a small good area near the front of the cabinet.
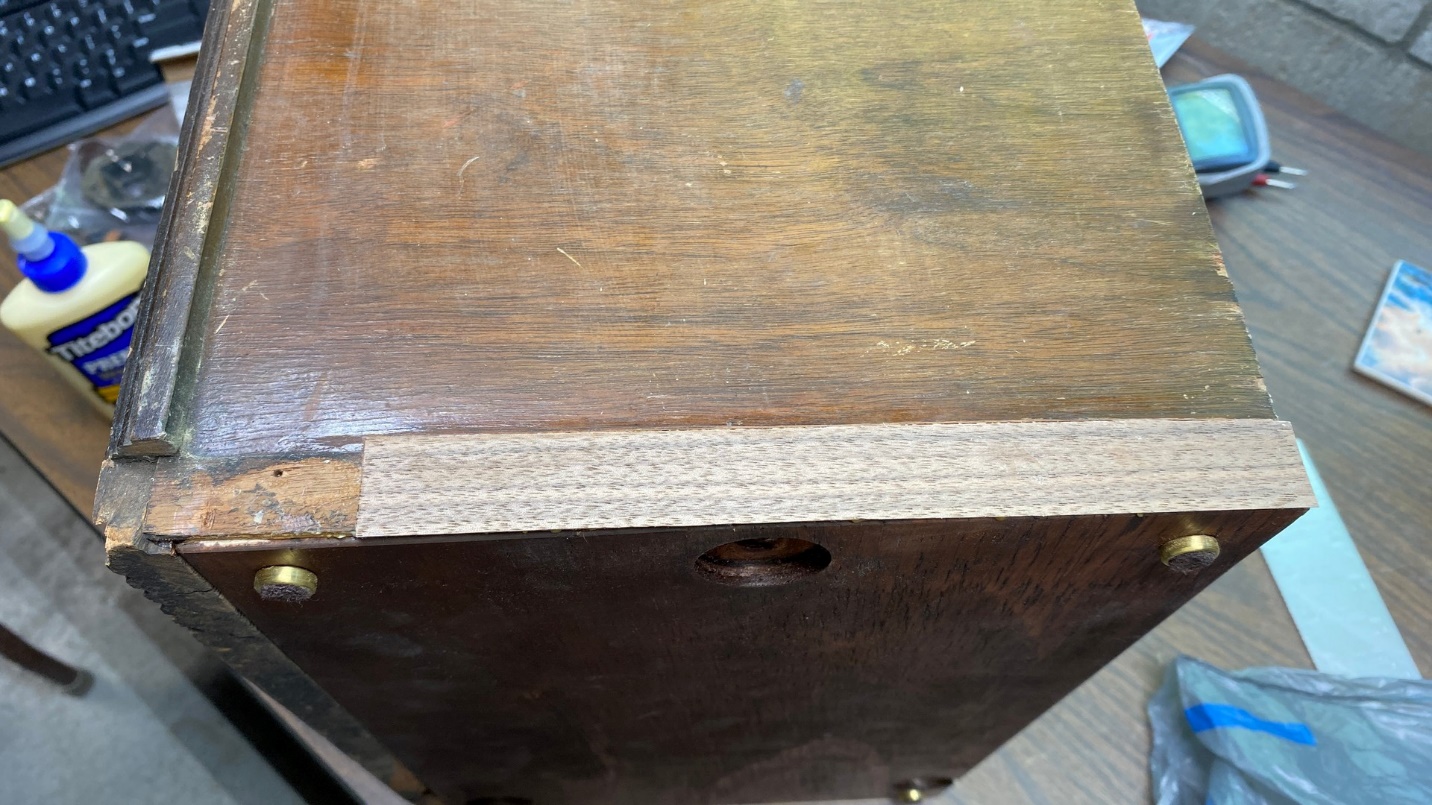
Having cut a large rectangular opening on the right side of the cabinet, I prepare to glue on an identically sized piece of new veneer.
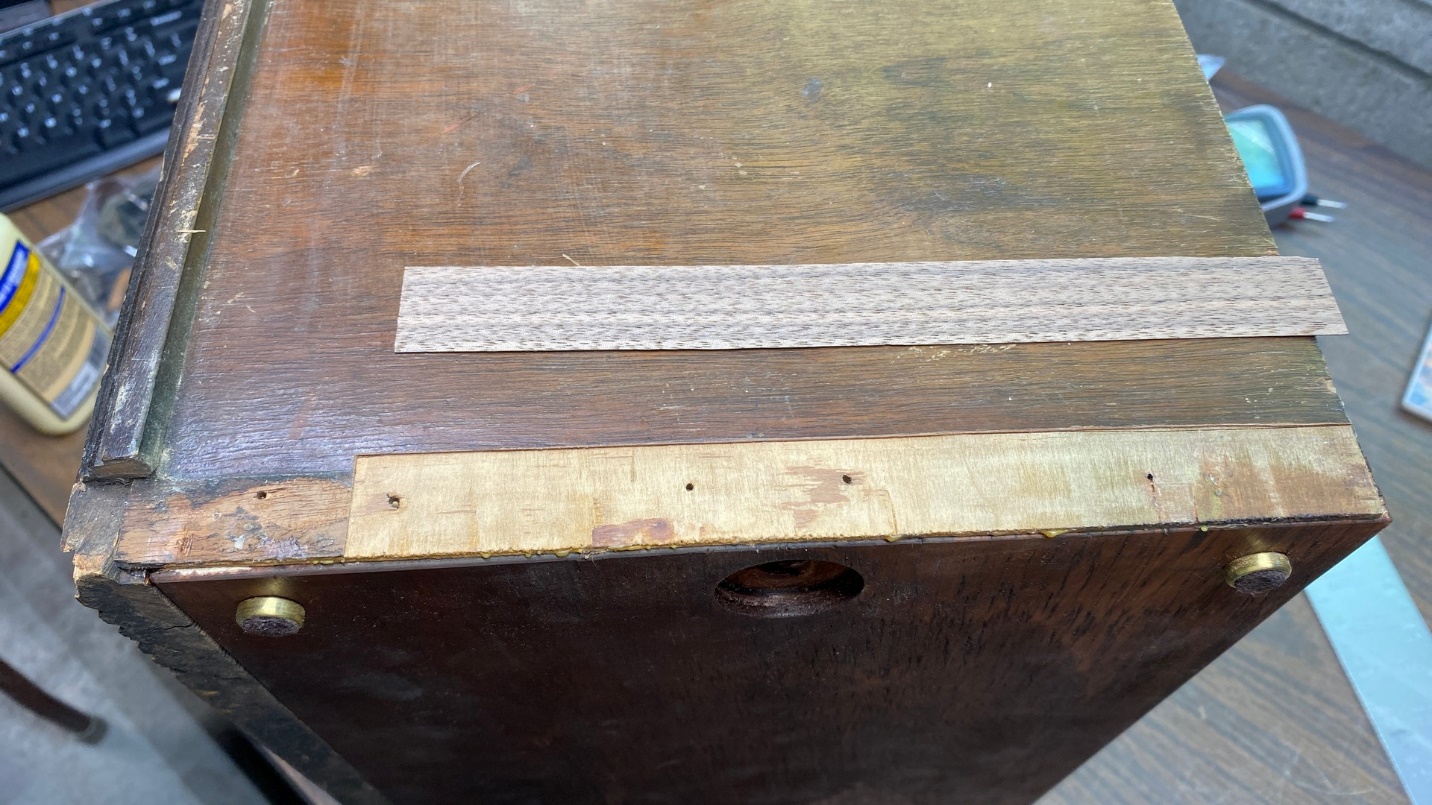
On the right side of the cabinet, I made a square cut, leaving the good portion of the original veneer. Then, I cut a piece of new veneer to match the missing area.
A test fit of the new veneer indicates it was cut properly, and is ready to be glued into place.
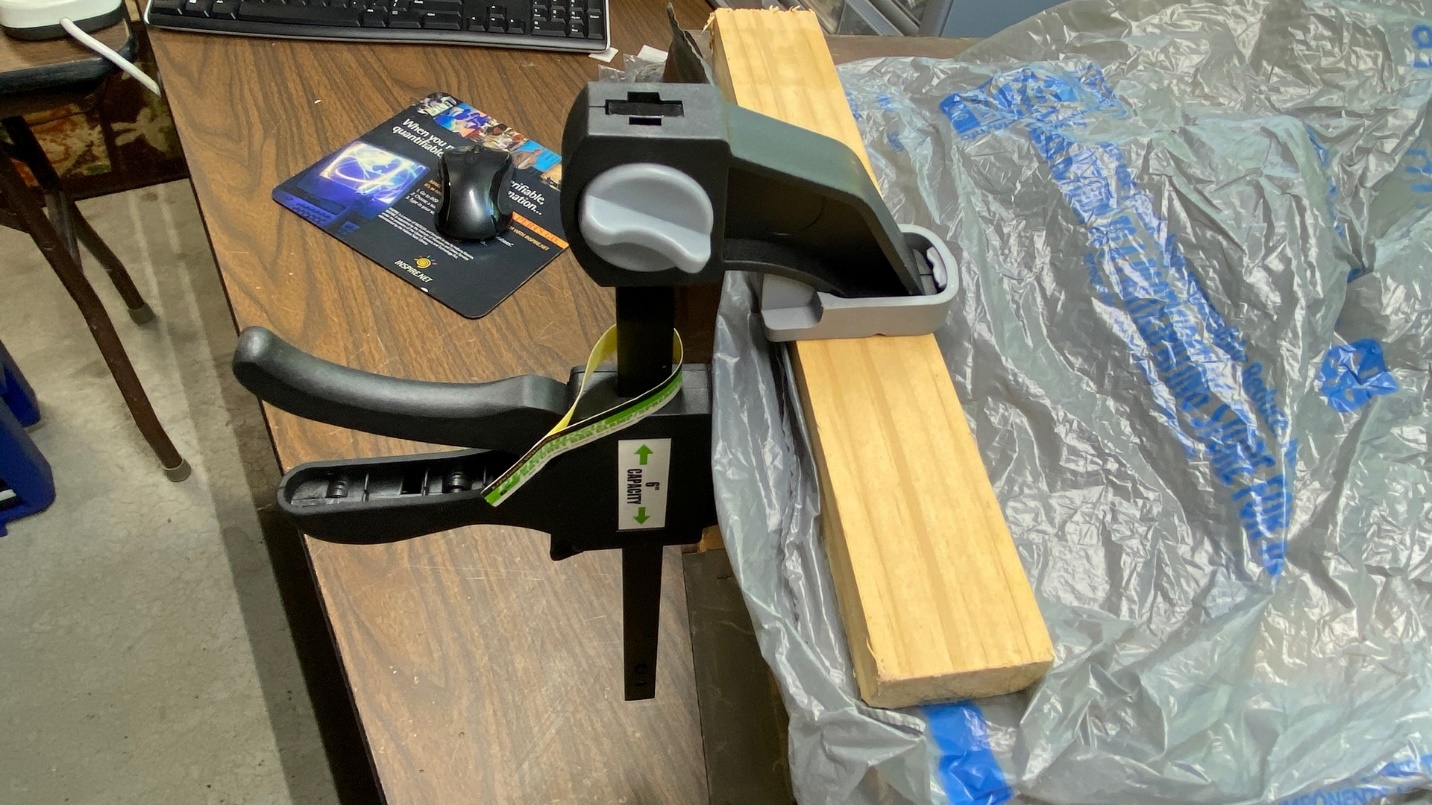
Using three bar clamps, I glued the new veneer into place. I also used a piece of wood, covered by a plastic shopping bag, to hold the new veneer in place while the glue dried.
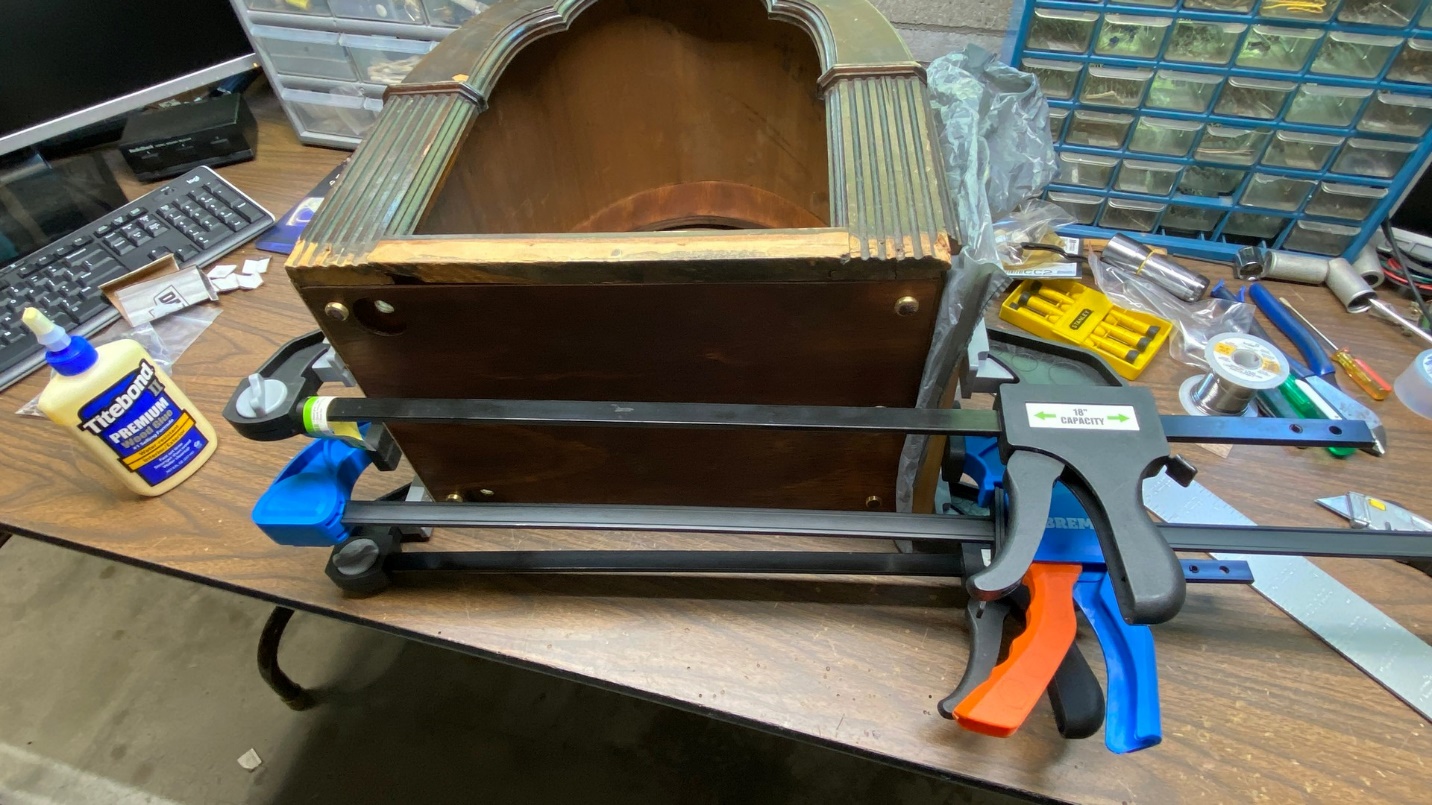
Gluing the new veneer on the bottom right side of the cabinet.
I then repeated the process for the veneer on the left side of the cabinet.
Now I was faced with an uneven area where veneer was missing.
Missing veneer on the right side of the cabinet, at the back edge.
I decided to cut a triangular place in the cabinet’s outer veneer layer. This was easily accomplished using a framing square and an X-Acto knife. I also used the square to cut the areas out for the new veneer on the bottom of the cabinet on both sides, as well as to cut the new veneer to size.
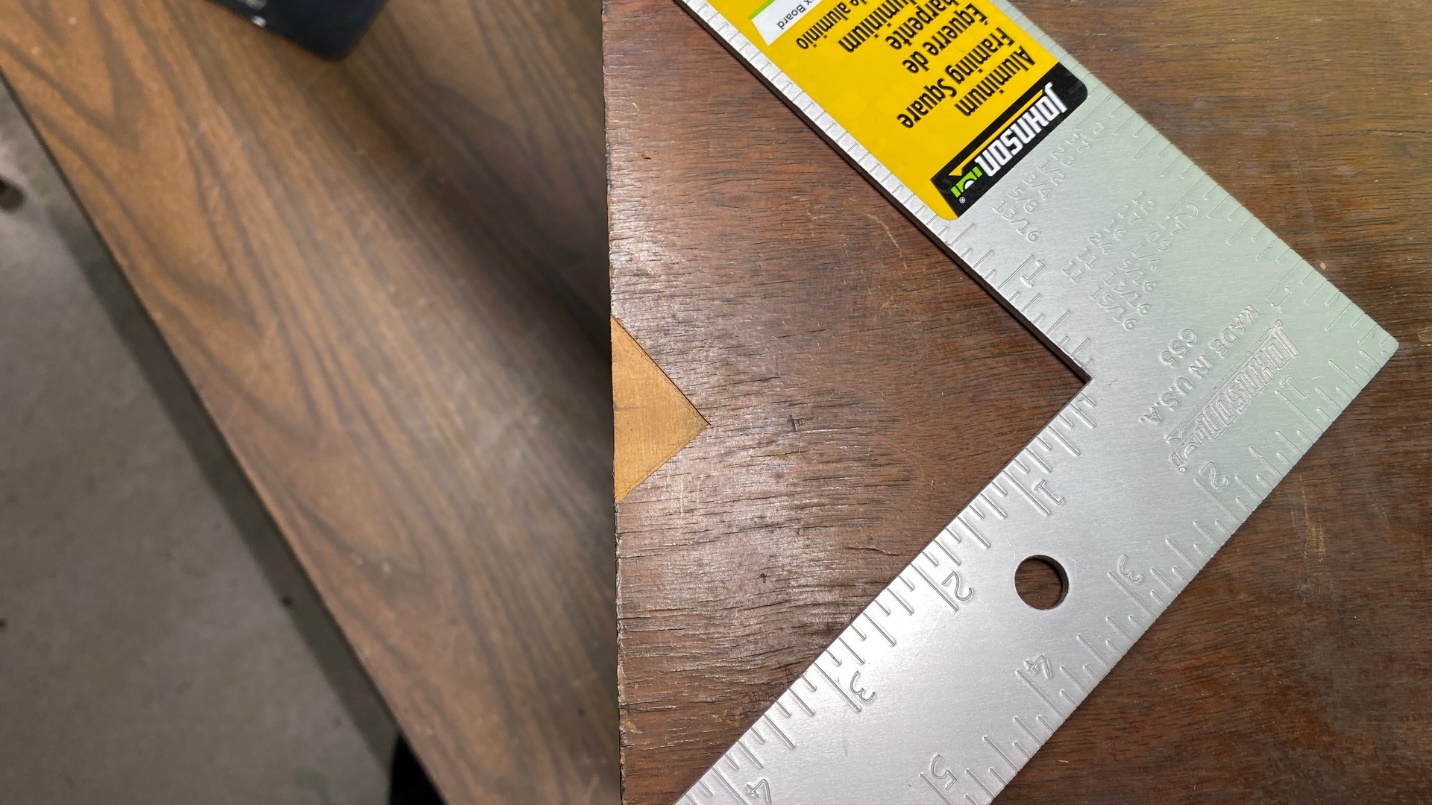
Using a framing square to cut out an area in the right side of the cabinet.
I then carefully cut a triangular piece of new walnut veneer to fit this triangular area in the cabinet.
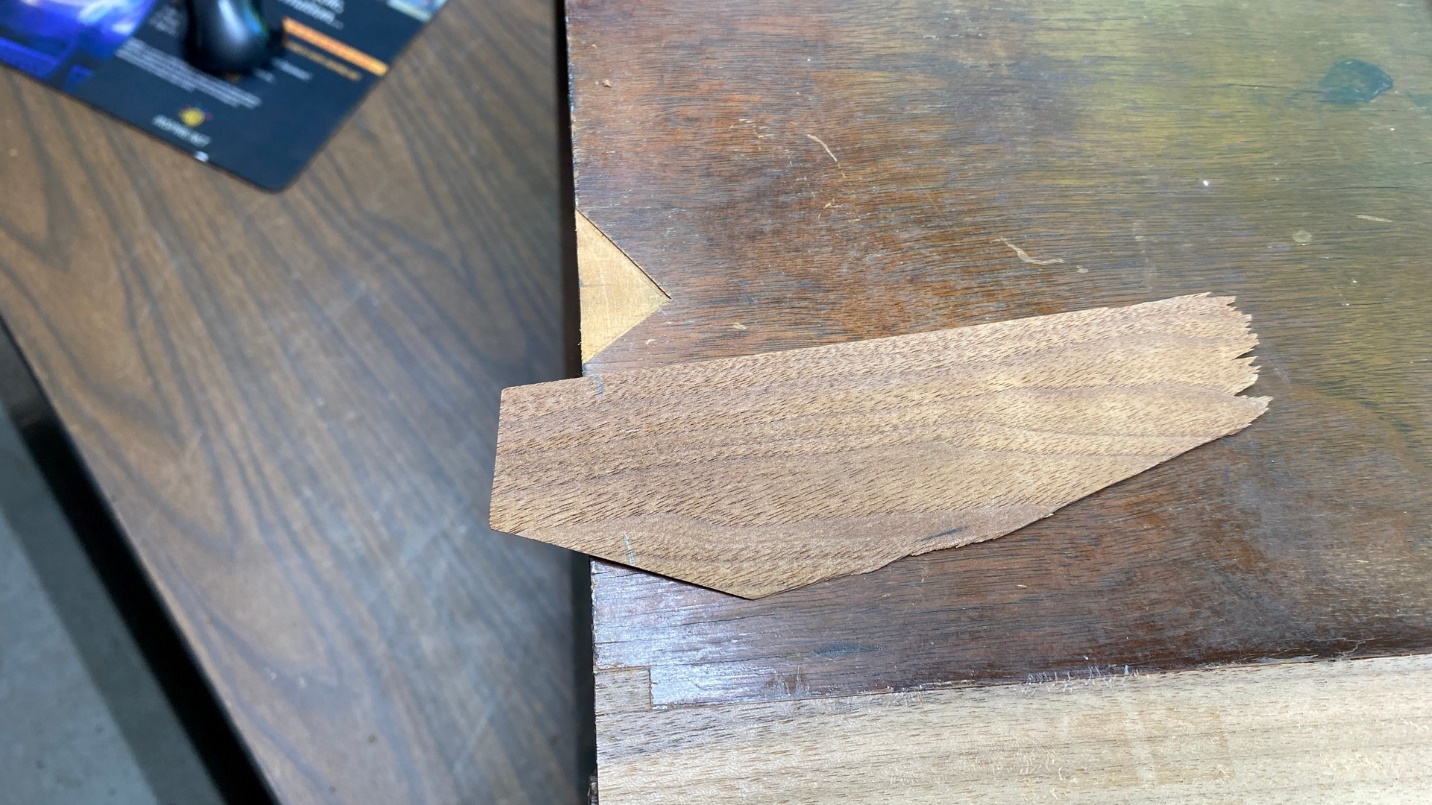
Preparing to cut a piece of new veneer to the same shape and size of the cut area in the cabinet.
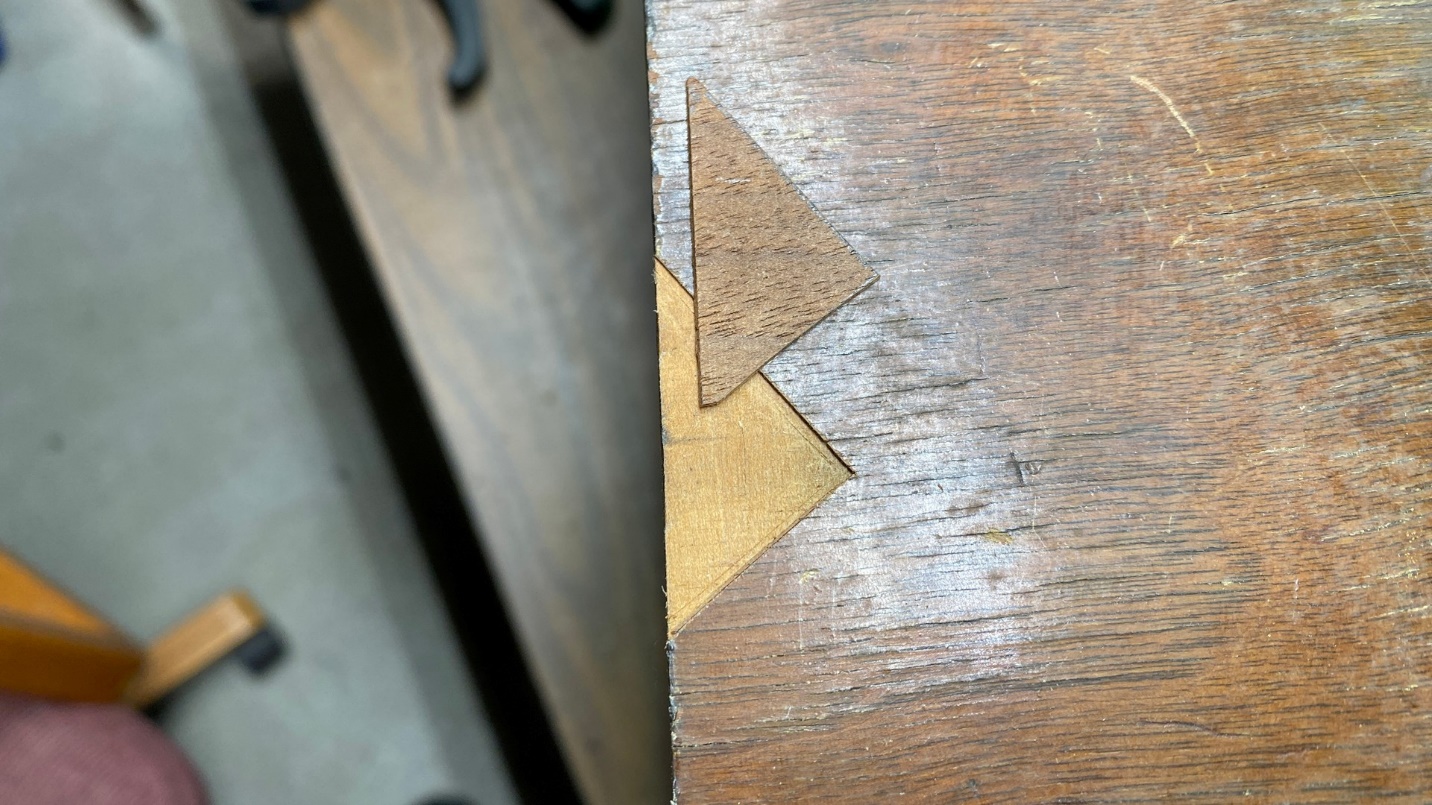
The new veneer is now cut.
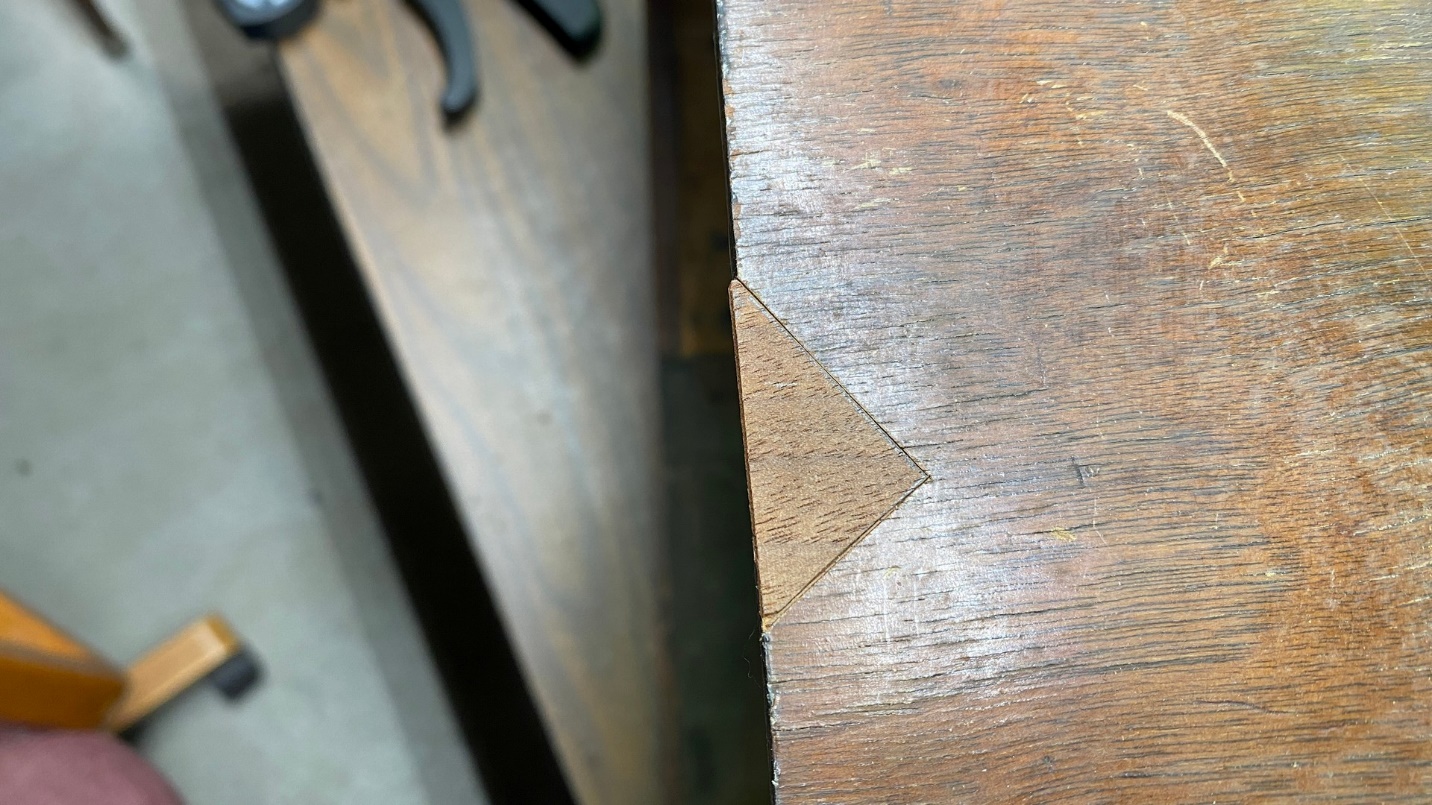
It fits perfectly! Well, nearly so; it will require some sanding on the back edge once the glue is dry.
Having cut the new veneer to size and finding that it would fit, I then glued it into place. Once again, an old plastic shopping bag was placed over the new veneer, and a piece of wood was used in conjunction with a bar clamp to hold this in place while the glue dried.
It was now time to turn my attention to the missing veneer pieces at the back of the front arch. This is a common occurrence on Philco cathedral cabinets. Since the front arch has a small “lip” which protrudes above the sides and top, handling over the decades often causes pieces of this veneer to come loose and fall off.
One area on the left side of the cabinet received a new piece of veneer to replace a missing piece.
I replaced one spot on the back of the front arch where veneer was missing with a new piece of veneer. This was a mistake; new veneer, unfortunately, is not as thick as veneer which the cabinet makers had used in 1931. But since I had already glued it down before I noticed it, I left it alone.
There were several other areas along the back edge of the front arch where small pieces of veneer were missing. For these remaining areas, I was able to harvest veneer pieces from the back of the front arch of the model 70 cabinet which I had deemed as unrepairable.
The missing veneer on other areas of the back of the front arch were replaced with old veneer from another Philco 70 cabinet.
To apply these veneer pieces, I had to apply glue to the cabinet, lay the veneer into place, then use the steam iron to make the glue quickly set. There is not a good way to clamp these areas, so I was forced to take that shortcut. But it seemed to turn out fine.
At this point, I need to turn my attention to the fancy veneer covering the front of the front arch. Before tackling that, however, I had a decision to make. I’m afraid I’ve run out of space for this installment, however, so I shall have to continue next time to let you know what sort of decision I needed to make concerning this cabinet. Stay tuned!