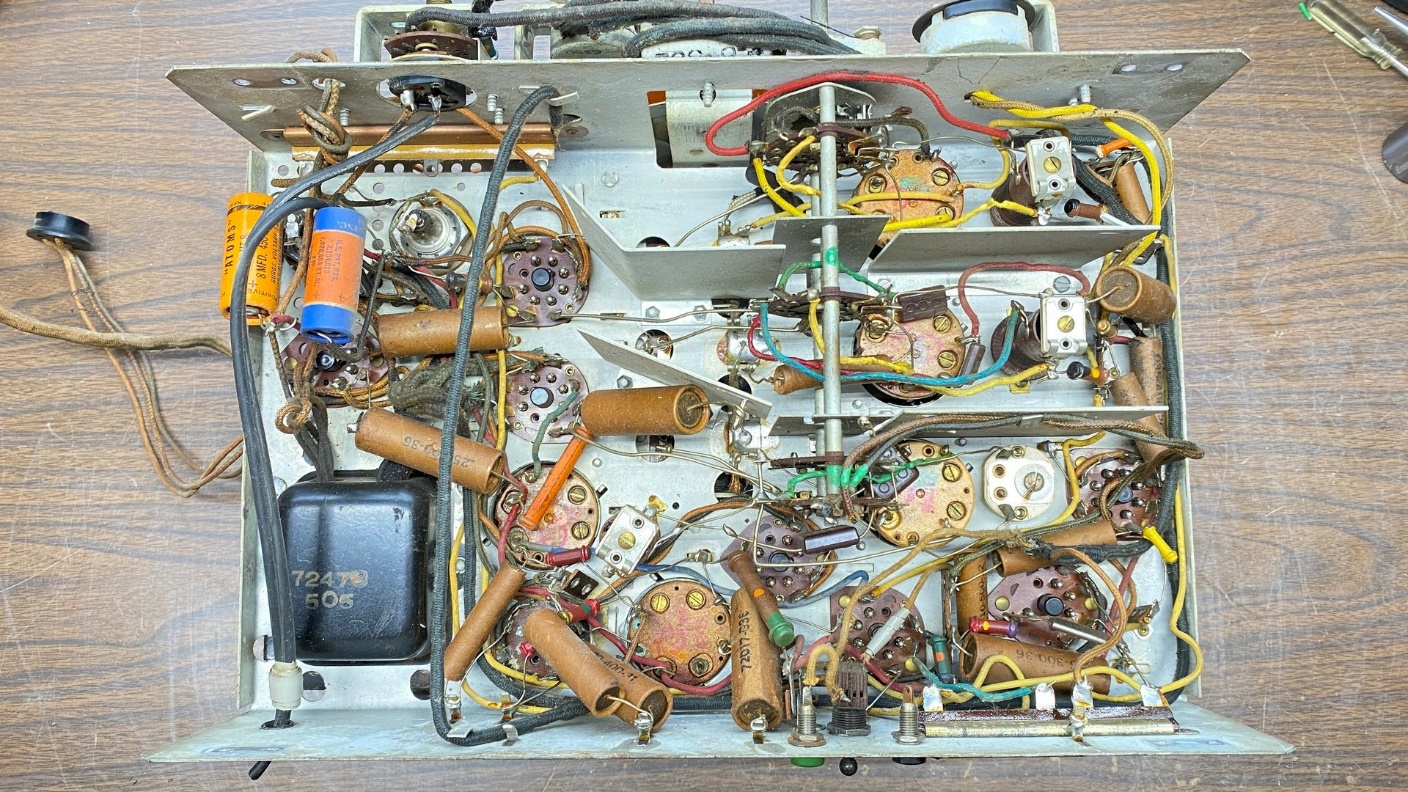
As you may recall in Part 1 of this series, I had come across a burnt IF tube socket while looking the chassis over. I knew that replacing this socket was needed, and that this would likely be perhaps the most difficult thing to do as part of this RCA’s restoration. Therefore, I decided to begin my work on this chassis with the IF tube socket.
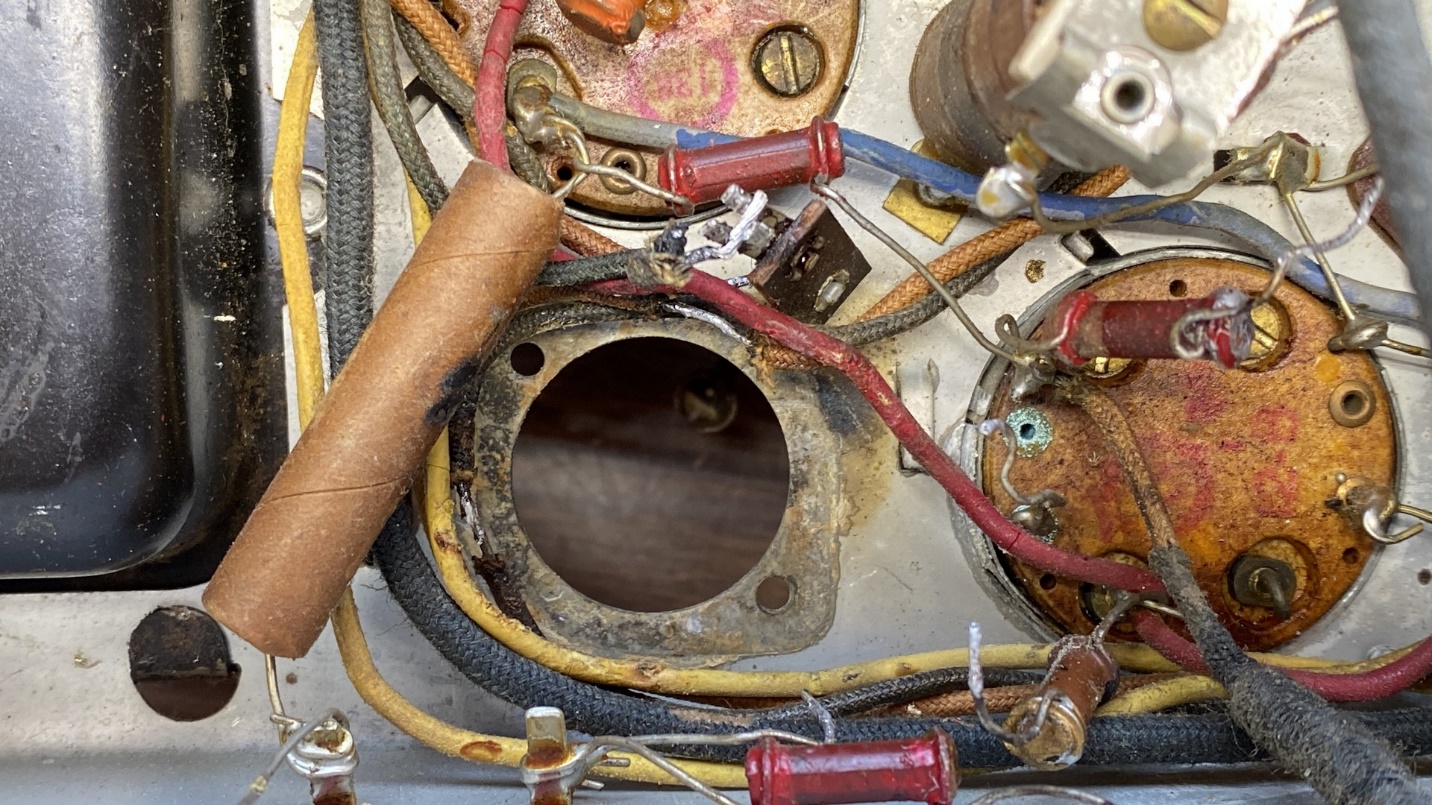
Parts and wires are crowded around the IF tube socket and will need to be moved out of the way.
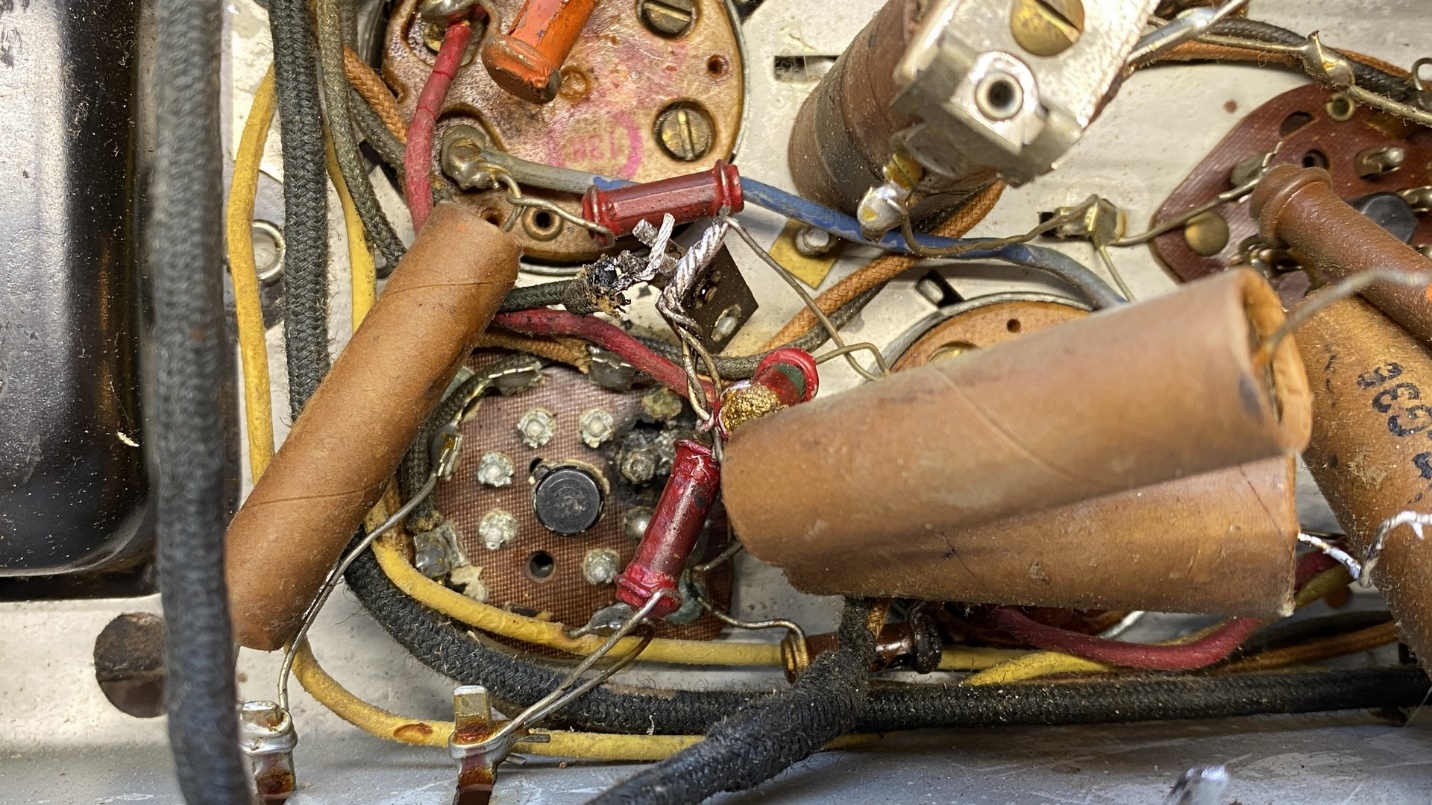
As you can see in the photo above, there were wires, capacitors, and resistors in the way of reaching the actual wires and components connected to the tube socket itself. So, I began by removing two of the paper capacitors and two of the resistors. Once this was done, an audio cable and a few other components could be moved out of the way.
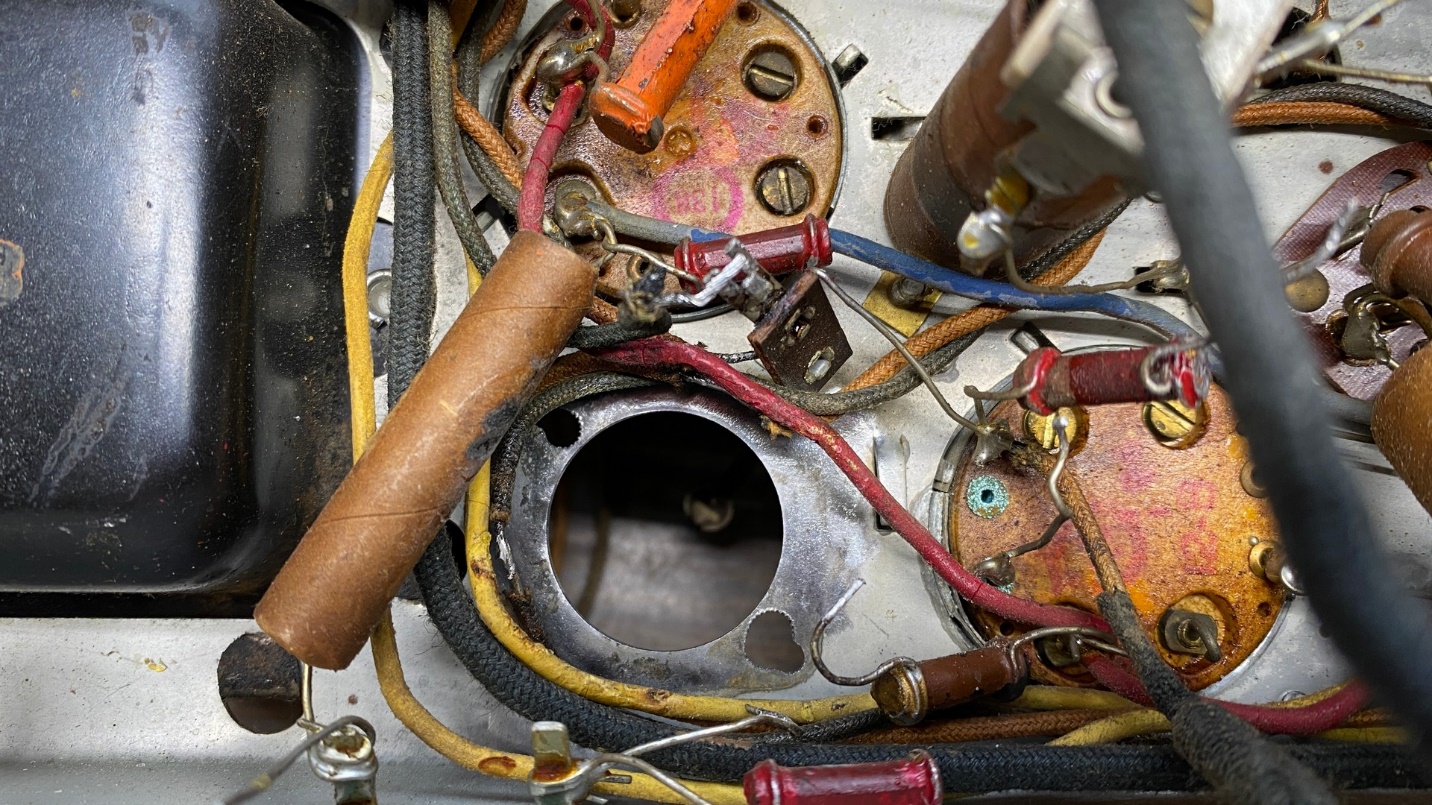
Next, the wires connected to the tube socket terminals were unsoldered and removed. The result may be seen below.
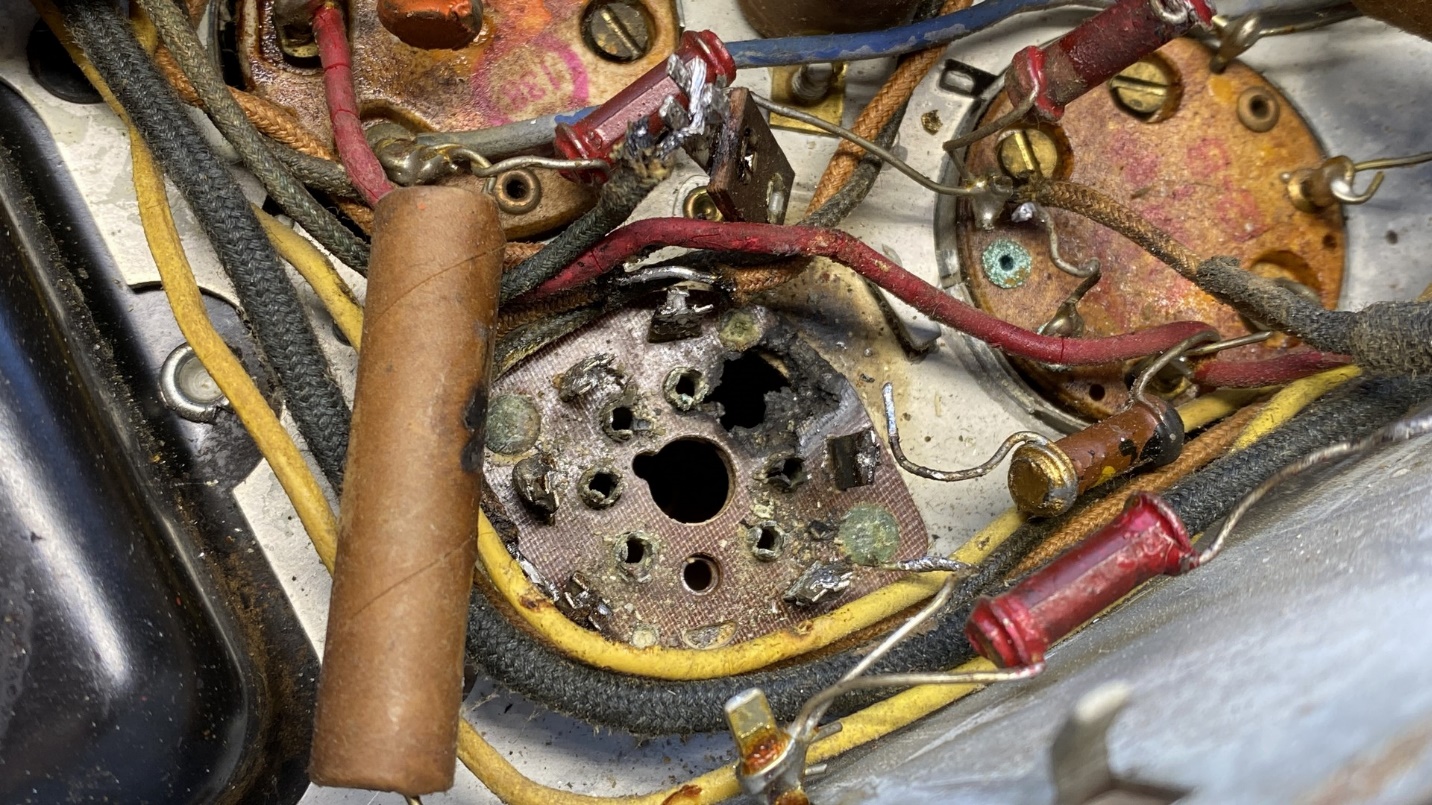
A badly burned IF tube socket.
Why the “repair person” did not replace this socket in 1972 is beyond me. This was extremely poor workmanship and is, quite frankly, inexcusable.
You can see there is corrosion on and around the socket and its terminals.
The 6K7 tube would not simply pull out of its socket as it should have. Instead, I had to gently tap each tube socket pin, one at a time, until the tube could be removed.
Top view of the burned IF tube socket.
It is my opinion that the socket was damaged from rodent urine. After the mouse had relieved itself, someone applied power to the radio, resulting in a burn at pin 3 which is the plate contact of the 6K7 tube.
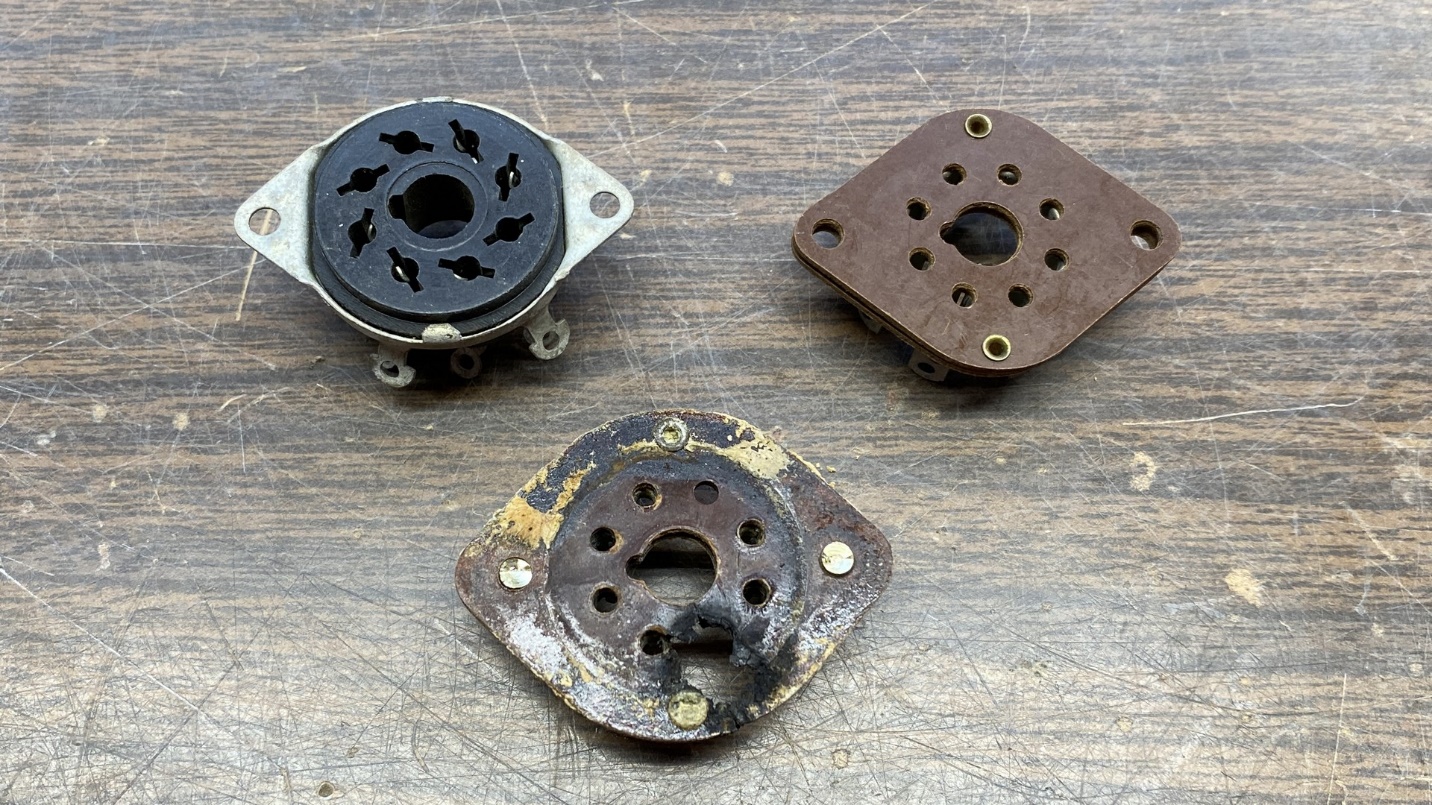
The burned socket along with two possible replacement sockets.
I drilled out the two rivets holding the damaged socket in place and removed it from the chassis. I reiterate: there was no excuse for this socket to have not been replaced.
I made a serious effort to get rid of many of my spare radio parts last spring due to the cancer. I knew I still had a few tube sockets left. The key word here is “few”. When I went to my spare parts bin, I suddenly remembered just how few octal sockets remained in my stash after the cleanout.
I had a choice of either an Amphenol MIP socket or a phenolic wafer socket. I was leaning toward the MIP simply because it would be easier to install into the chassis with pop rivets. I am not skilled at using old-fashioned rivets; neither do I have the necessary tools for installing these.
And I discovered there was another problem – the mounting holes of both my replacement sockets were wider apart than the original RCA socket. This means the holes would have to be widened.
I knew I could turn the holes into slots with the appropriate Dremel bit, so I was not concerned about that issue.
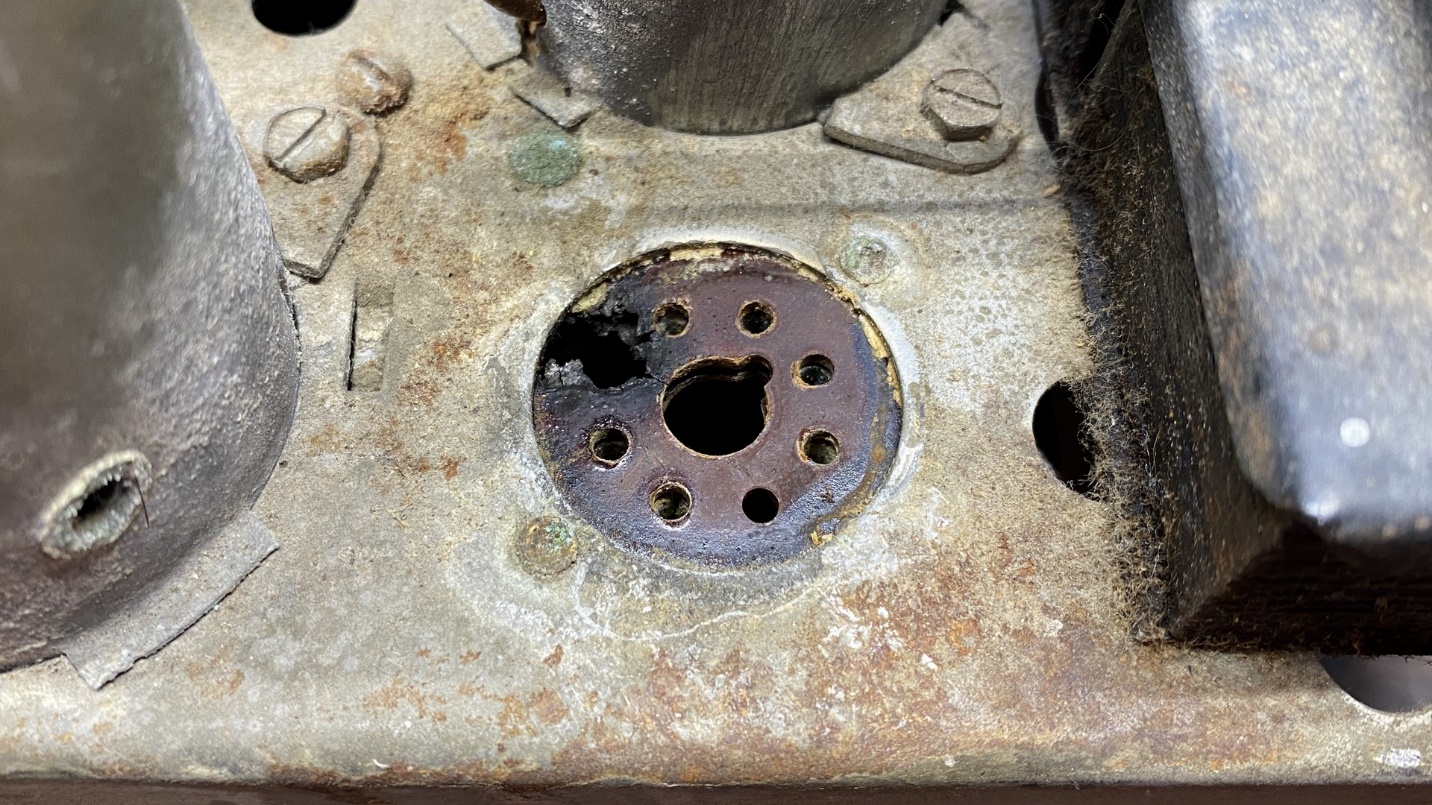
Corrosion may be seen on the steel chassis where the tube socket had been.
However, before installing another socket, the corrosion left under the chassis would have to be addressed. This would call for a small Dremel steel brush to carefully brush the corrosion off the metal where the old socket had been placed.
I made a trip to a local hardware store and procured the necessary Dremel bits.
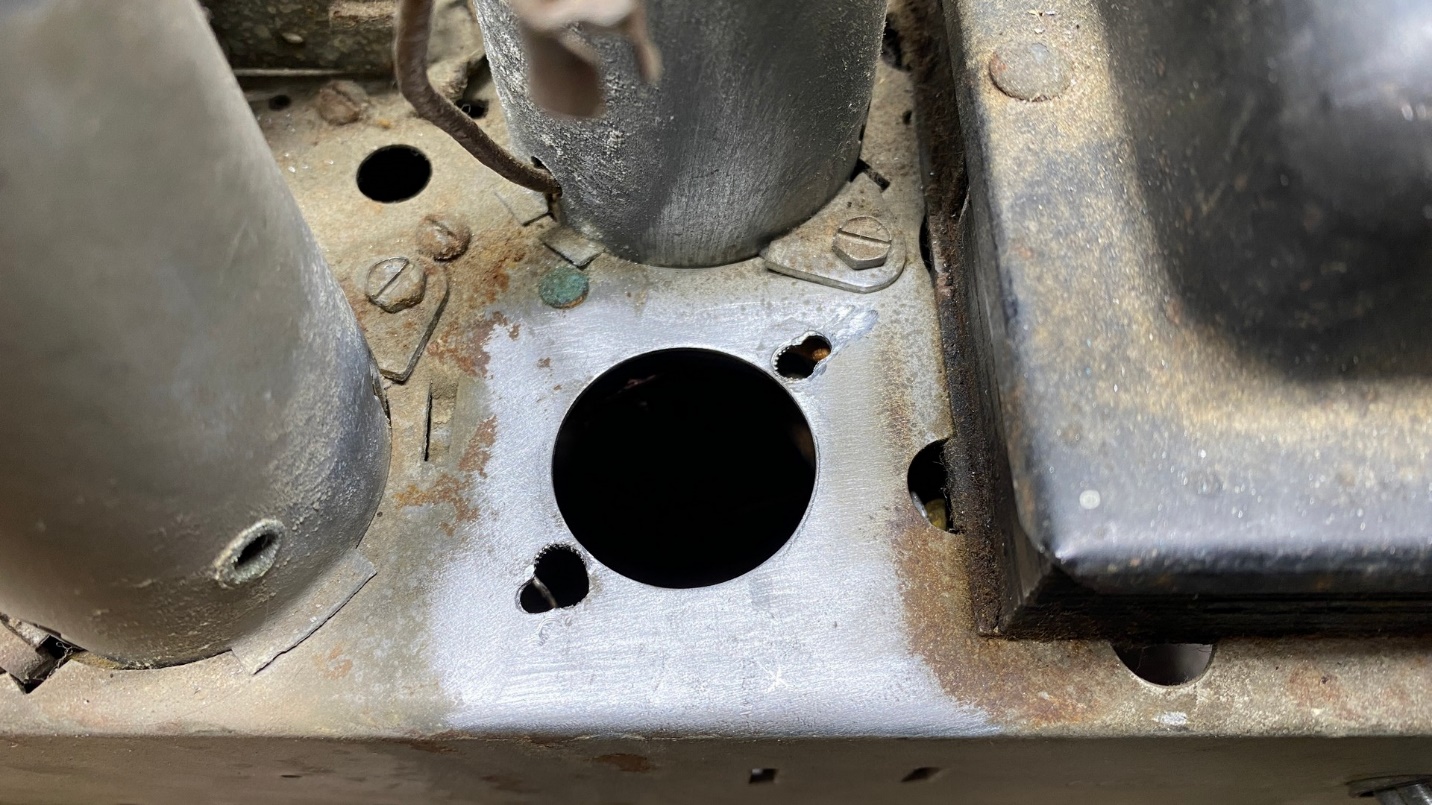
OOPS! I accidentally went overboard enlarging those mounting holes.
I purchased a carbide cutter (grinding bit), a pack of two metal cup brushes, a pack of two abrasive buffs, and the EZ lock mandrel which the buffs required.
With these parts now on hand, I put the carbide cutter into my Ryobi “Dremel” tool with the intention of making slots out of the two tube socket mounting holes. Unfortunately, as you can see in the photo above, I managed to lose control of the tool and bit, and it made the hole much larger at first instead of making a slotted hole as I had intended.
The same thing started to happen with the second hole but I managed to keep a greater control of the tool and bit this time and did a somewhat better job at making a slotted hole.
I then switched to the EX lock mandrel and one of the abrasive buffs, and went over the metal surrounding the tube socket opening on top of the chassis. Soon, I had a very clean area on top and the rust and corrosion were all gone.
Next, I switched to one of the cup brushes and went over the metal on the underside of the chassis around the tube socket opening. This too removed all the corrosion.
The corrosion around the tube socket opening under the chassis is now gone.
Many of those wires going around that tube socket opening are going to be replaced anyway, so I was not concerned if I damaged any of them with the cup brush.
I thought about how I was going to manage mounting a new tube socket with those oversize mounting holes caused by the carbide cutter. Then an idea came to me – why not use steel pop rivets with flat washers?
I decided to use the Amphenol MIP tube socket after all, mainly because its metal mounting flange would cover up those oversize holes on the bottom of the chassis. The flat washers worked beautifully on top of the chassis as you may see in the photo below.
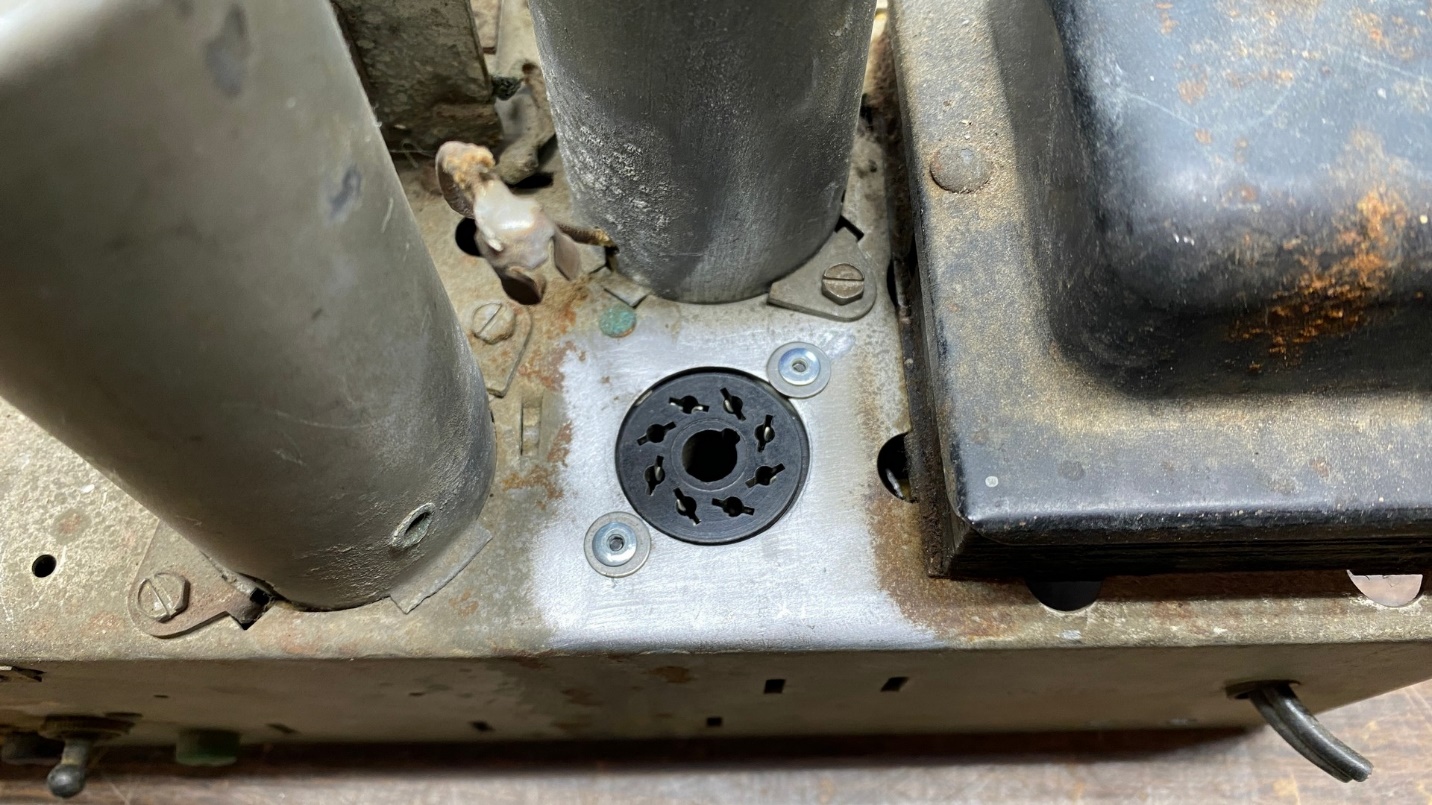
The flat washers used with the pop rivets completely hide the damage caused by the carbide cutter, and allowed the tube socket to be properly installed.
I sat and looked at the new-old-stock tube socket and the surrounding metal for a while. Then an idea came to my mind. I knew I was going to remove (and likely replace) the tuning condenser anyway. Why not remove as many of the above-chassis components as I could and go over the entire top portion of the chassis with the abrasive buff?
In my next installment, I will discuss how I went about making this happen. Until then!