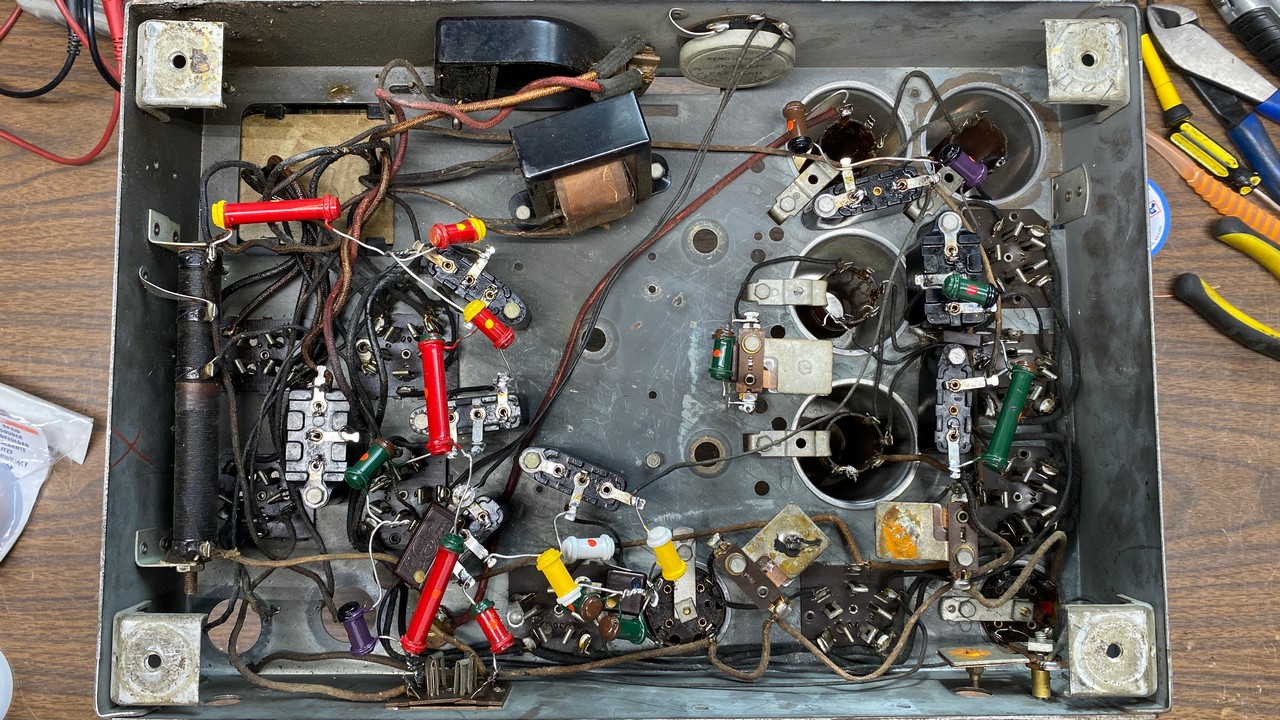
The 0.1 uF, 630 volt film capacitors arrived soon enough from Mouser Electronics, and I was then able to rebuild the last bakelite block capacitor which used two of them. Afterwards, I installed the final dogbone resistor. At this point, the chassis looked as shown in the photo above.
I thought this might be a good time to perform some preventive maintenance to the set’s volume control.
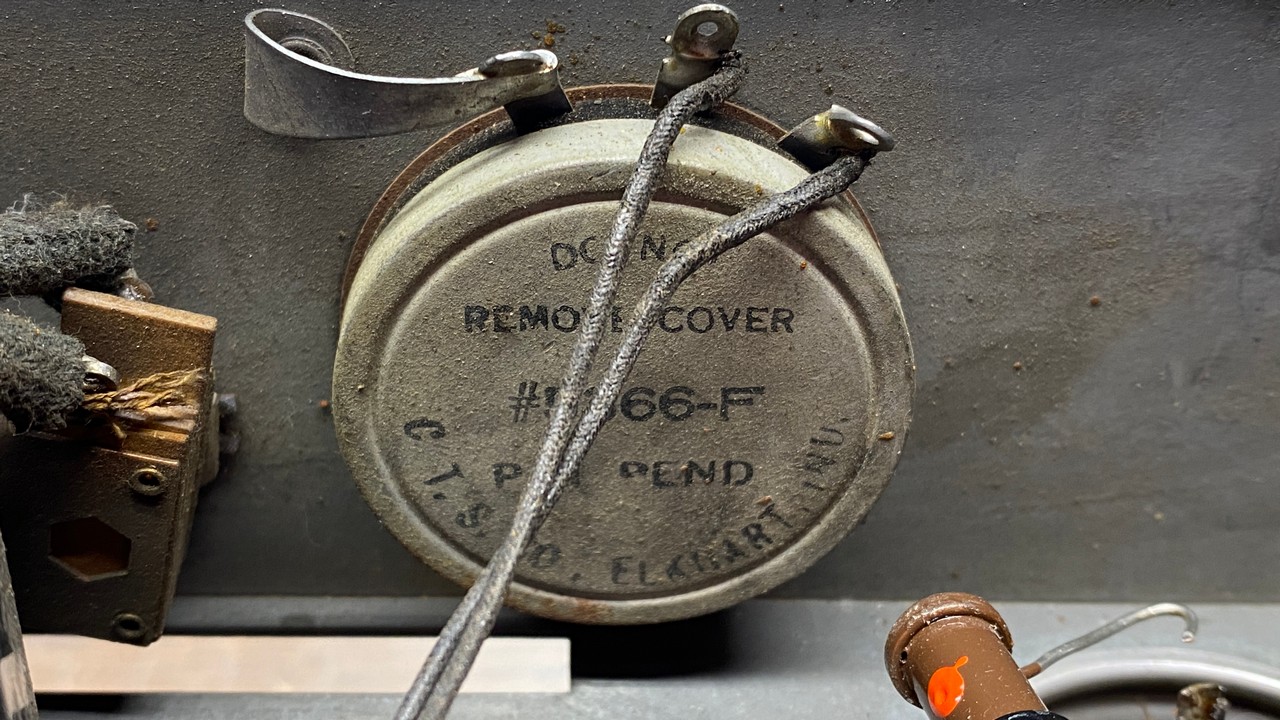
The Philco 90 volume control.
Notice that a warning is printed on the metal cover of the control, DO NOT REMOVE COVER. Of course, I paid no attention to the warning, as I knew this control was long overdue for a good cleaning.
It was not difficult to pry the cover free from the back of the control, since I had left the control bolted to the front of the chassis.
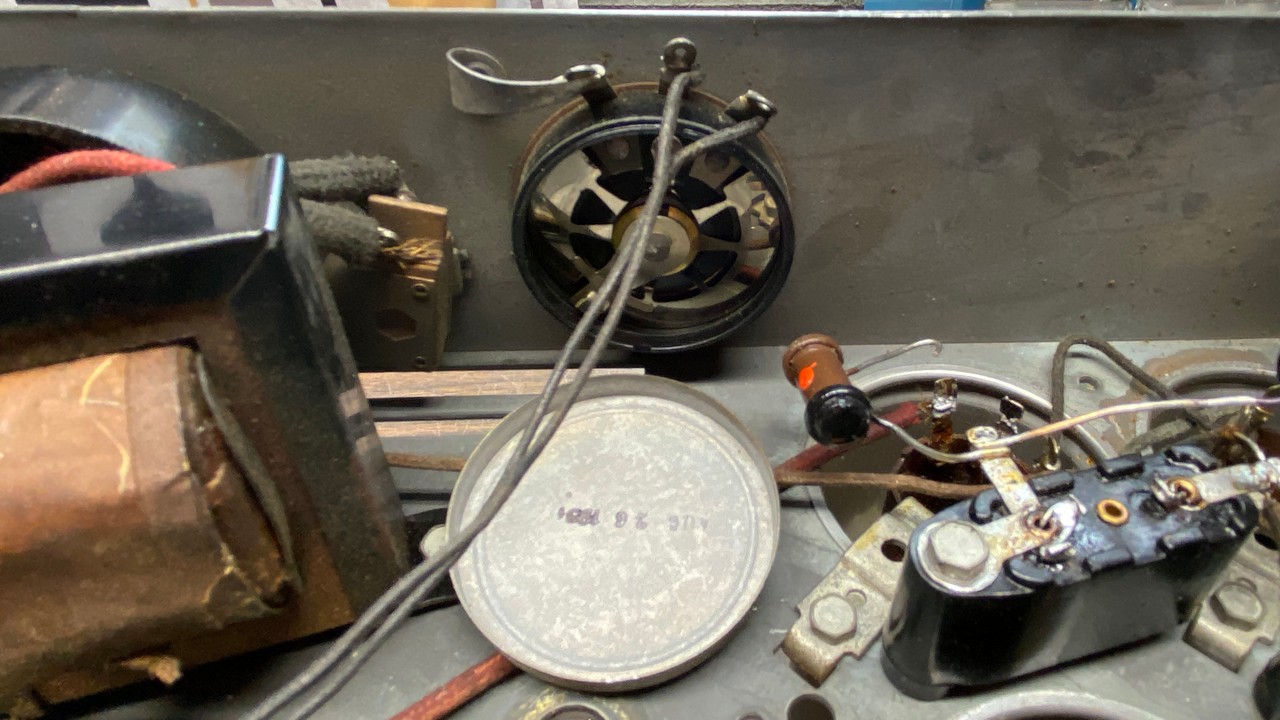
The cover is removed from the volume control for likely the first time in 92 years.
Once I removed the cover, I noticed a date had been stamped on the inside – AUG 26 1931. This is likely the date the control had been manufactured.
Did you also notice that this control was manufactured by CTS in Elkhart, Indiana (which is in far northern Indiana, on the opposite side of the state from where I live)?
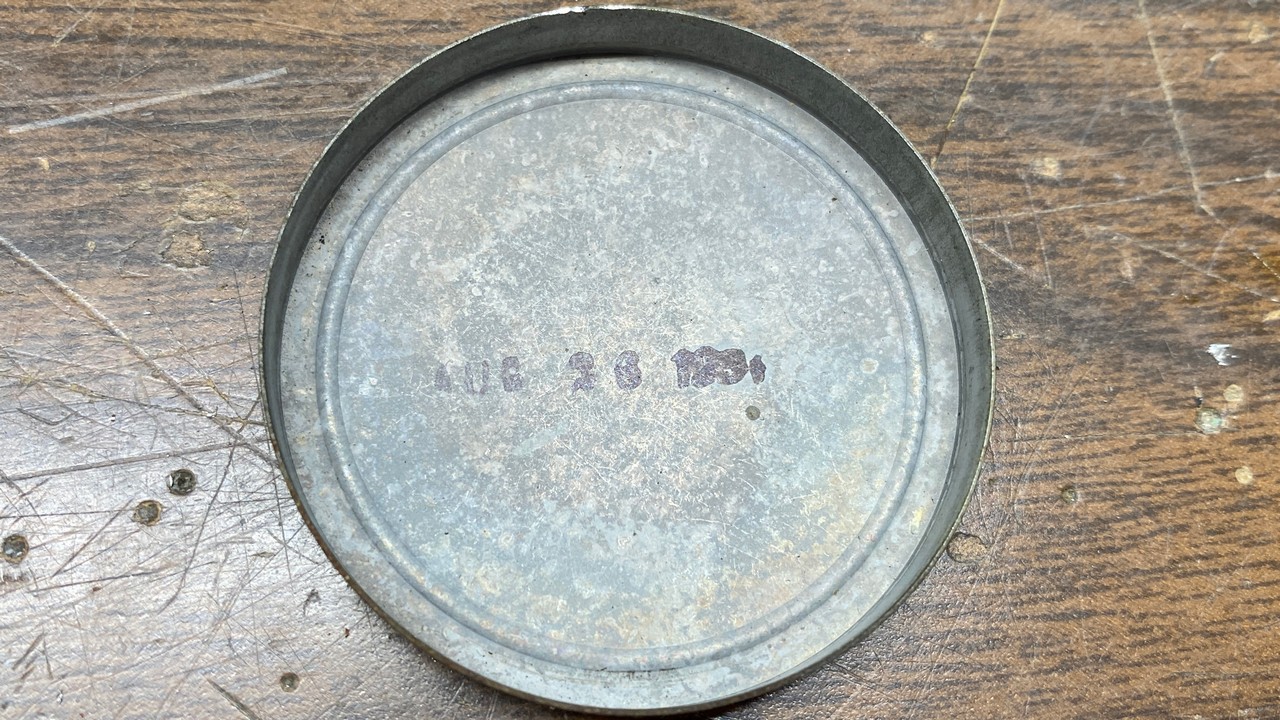
A date of “AUG 26 1931” was stamped on the inside of the volume control cover.
With the cover removed, the control was sprayed sparingly with a dose of DeoxIT FaderLube. Notice that I specifically said “FaderLube”. The product is now called “DeoxIT Fader F-Series.” (My can of the product is older, so it has a “FaderLube” label.) I mention this because it is important that potentiometers in vintage radios are cleaned with FaderLube/Fader F-Series, and not DeoxIT D5. The D5 product can permanently damage potentiometers by removing carbon from the control. The control depends on having a deposit of carbon to control the particular radio circuit (volume or tone) and without the carbon, the control is rendered useless.
Rule of thumb:
Use DeoxIT D5 for switches.
Use DeoxIT FaderLube/Fader F-Series for carbon (and plastic) potentiometers.
This document from Caig, the manufacturer of DeoxIT, explains which of their products is suitable for certain applications.
Anyway, once the FaderLube was applied to the control, I rotated the control through its range approximately 50 times to allow the product to clean and lubricate the control. After this, the control was much easier to turn.
I finished this portion of the job by carefully pressing the back cover back onto the control.
Next, I decided to go ahead and install new rubber grommets for the tuning condenser. The originals were two-piece units which were installed from the top and the bottom of the chassis.
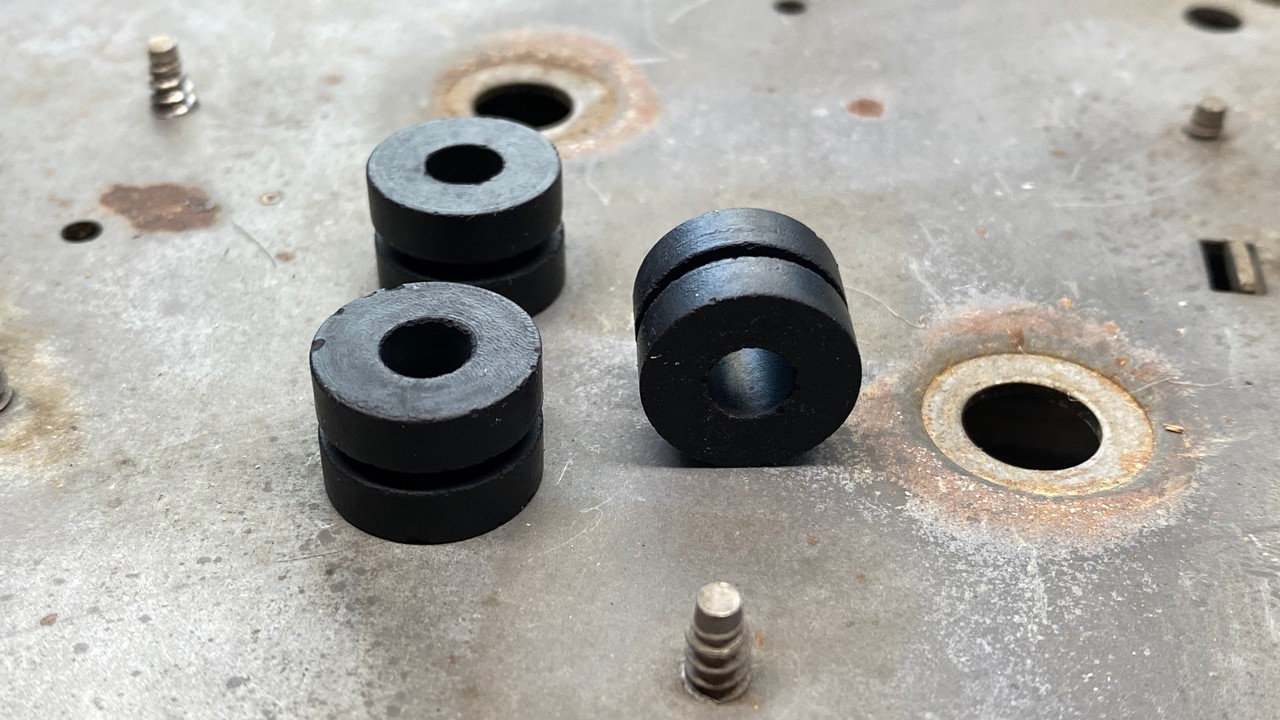
New rubber grommets for the tuning condenser.
These grommets, as you can see above, are one-piece instead of two-piece. This means that once they are in place, I will not have to worry about trying to keep the grommets in place while reinstalling the tuning condenser.
They are also a harder rubber than the original gum rubber washers. You can obtain original style gum rubber washers from Renovated Radios. The only reason I did not use their grommets is because (a) the ease of installation of the tuning condenser using single piece grommets, and (b) I happened to have a number of these grommets, having purchased a large supply of them some time ago from McMaster-Carr.
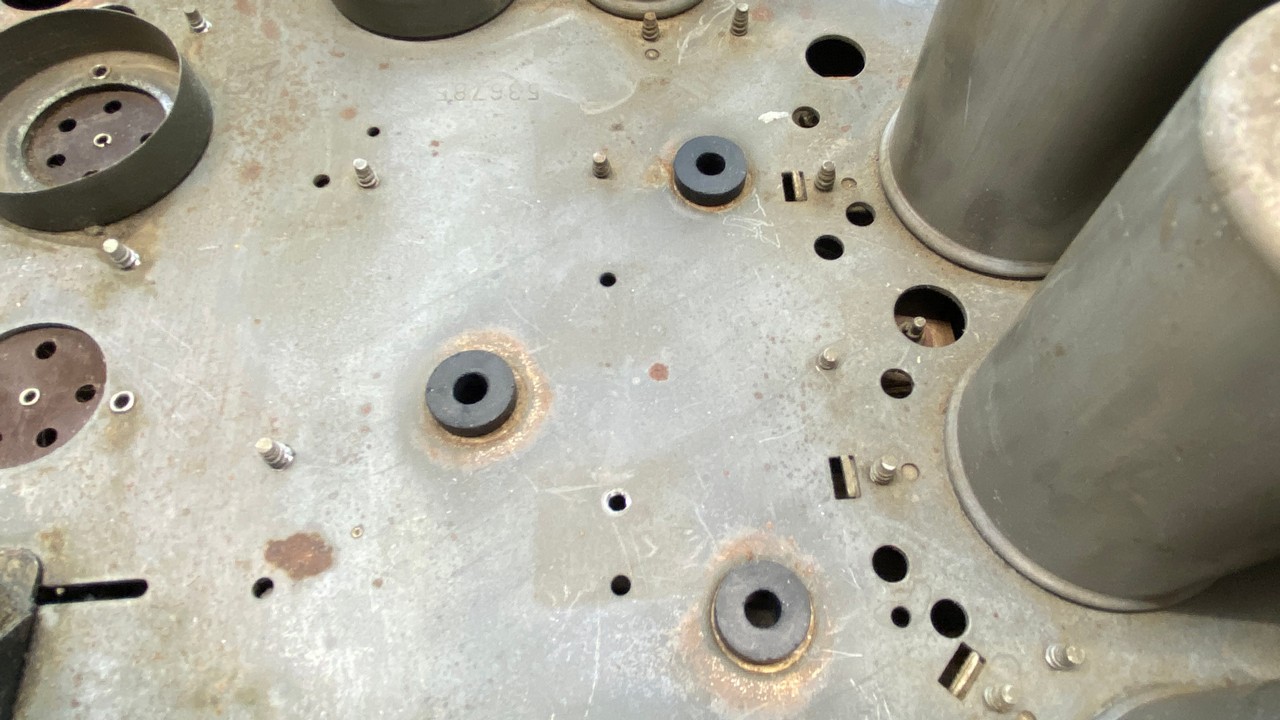
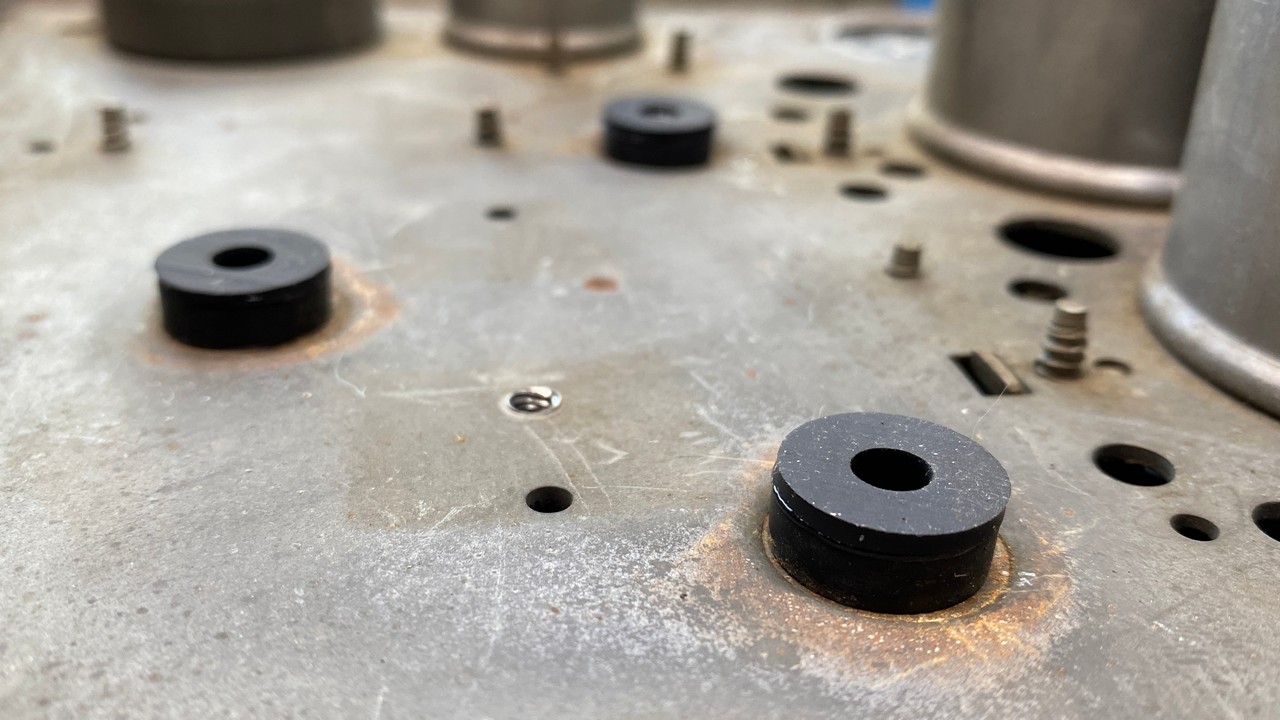
The new grommets are now in place on the chassis.
The McMaster-Carr single-piece grommets are difficult to install, but with some patience and perseverance, the job was completed in a reasonable length of time.
These grommets are not quite tall enough to hold the tuning condenser at the proper height. I had planned for this when I bought the grommets by also purchasing several flat rubber washers, also from McMaster-Carr.
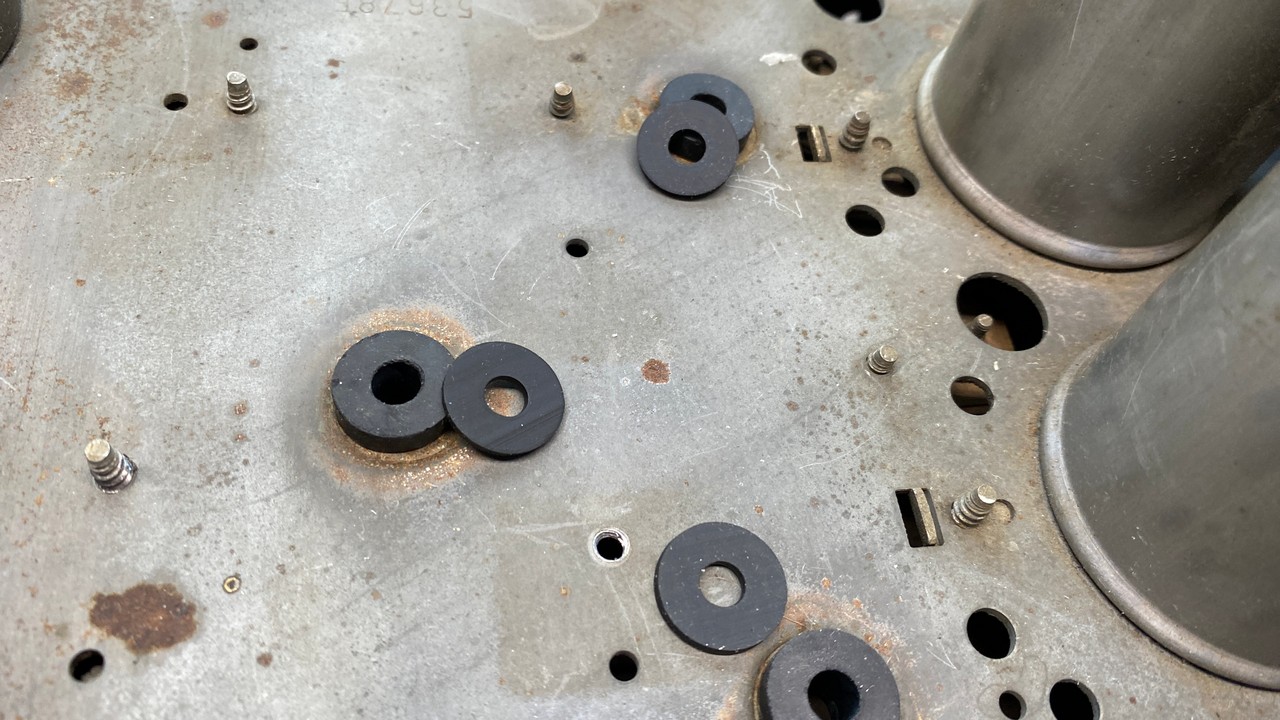
Rubber washers about to be glued on top of the grommets.
Using super glue, the washers were quickly glued to the tops of the grommets. Now, when I am ready to reinstall the tuning condenser, it will ride at its original factory height.
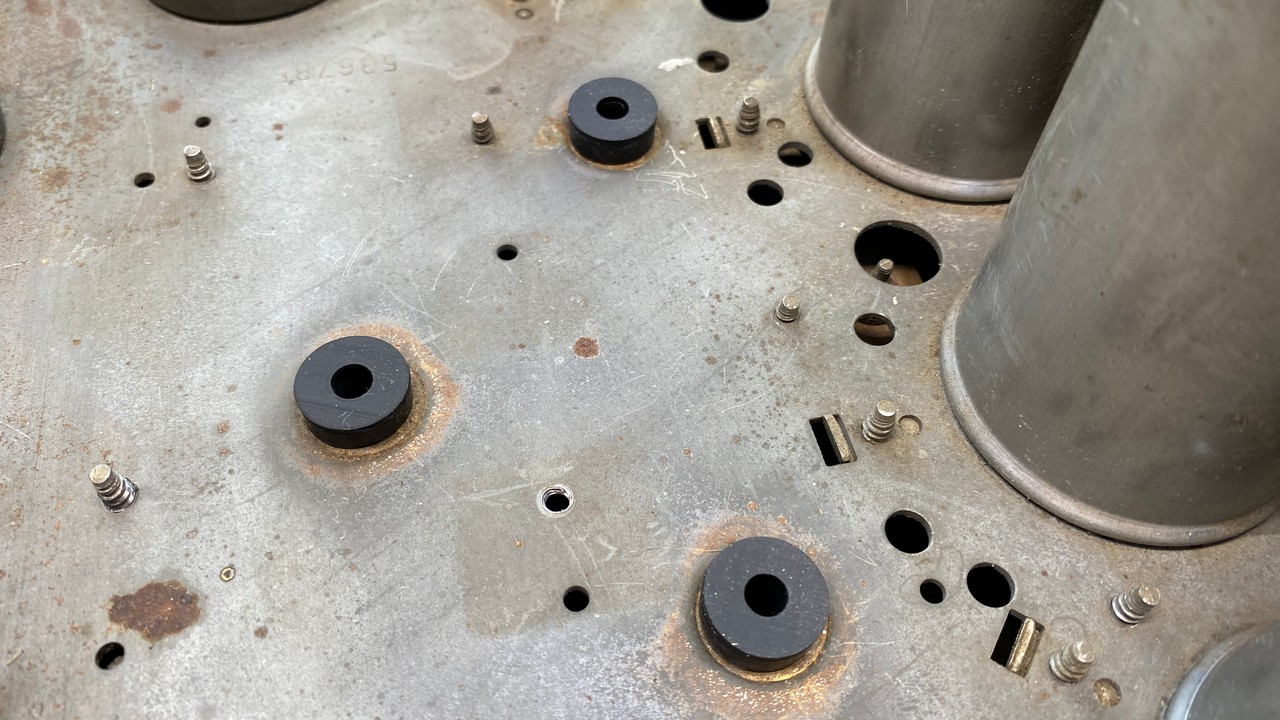
Rubber washers are now glued to the grommets.
Another view of the grommets with the washers glued to the top of each.
I was not quite ready to reinstall the tuning condenser, though, as I still had some more work to do under the chassis. I will have to tell you what else I did to the 90 chassis in the next installment, though, as we are all out of space for this time. Please join me next time for more.