I have been thinking about building a new computer for myself for several months now. I had built one for myself in 2017, with what was then all new components inside a Dell Alienware Area 51 R2 case. The computer had performed flawlessly all this time, but I was a bit annoyed when Microsoft announced a new version of Windows last year – Windows 11 – and made it clear that “older” computers, including mine, would not be supported.
The computer I had built was based on a 7th generation Intel Core i7 processor (Core i7-7700K), and was not supported for Windows 11. There are ways to install Windows 11 on older machines, however, and I performed the simple “hack” needed to make Windows 11 work on my machine.
But I digress. The news that the cancer had become active again made me think even harder about whether or not I should even consider building a new system. Debbie urged me to go ahead and do this. So, since I had sold several of my Fisher items, I used this influx of cash to finance this venture.
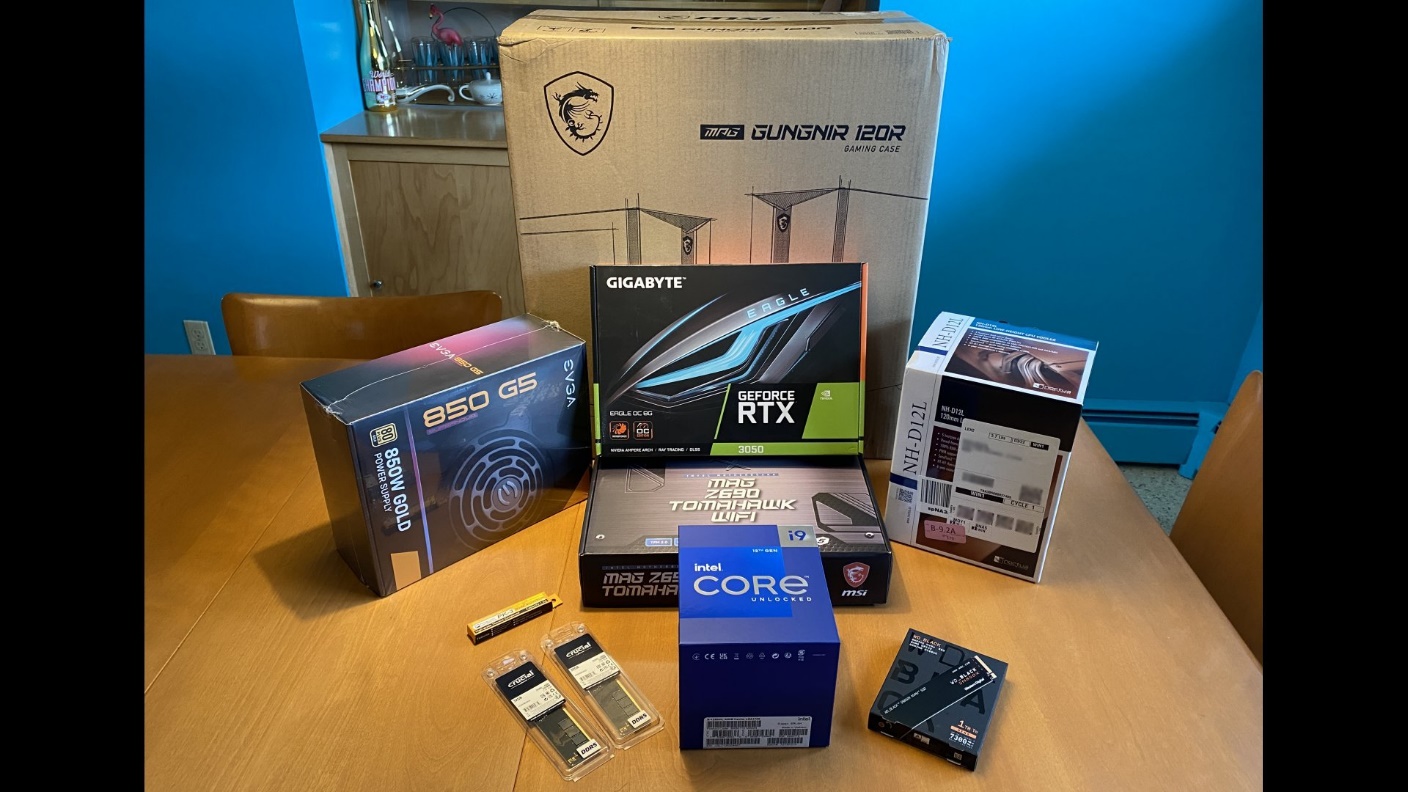
Instead of taking everything out of that Area 51 case and rebuilding inside it, I decided to purchase a new tower case to house everything. I picked the MSI MPG Gungnir 120R case since the new computer was going to be a mostly MSI computer anyway. I had been very impressed with the performance of the previous computer I had built in 2017, which uses an MSI motherboard, so I decided to use as much MSI equipment as I could for the new build.
Certainly, I could have simply purchased a newly manufactured computer – in fact MSI makes complete computers as well as parts to build custom systems. However, to acquire a new tower PC which had the components I wanted would have cost me nearly double what this build ended up costing. In all, I think I actually spent a little less on this computer than I did on the one which I had built in 2017.
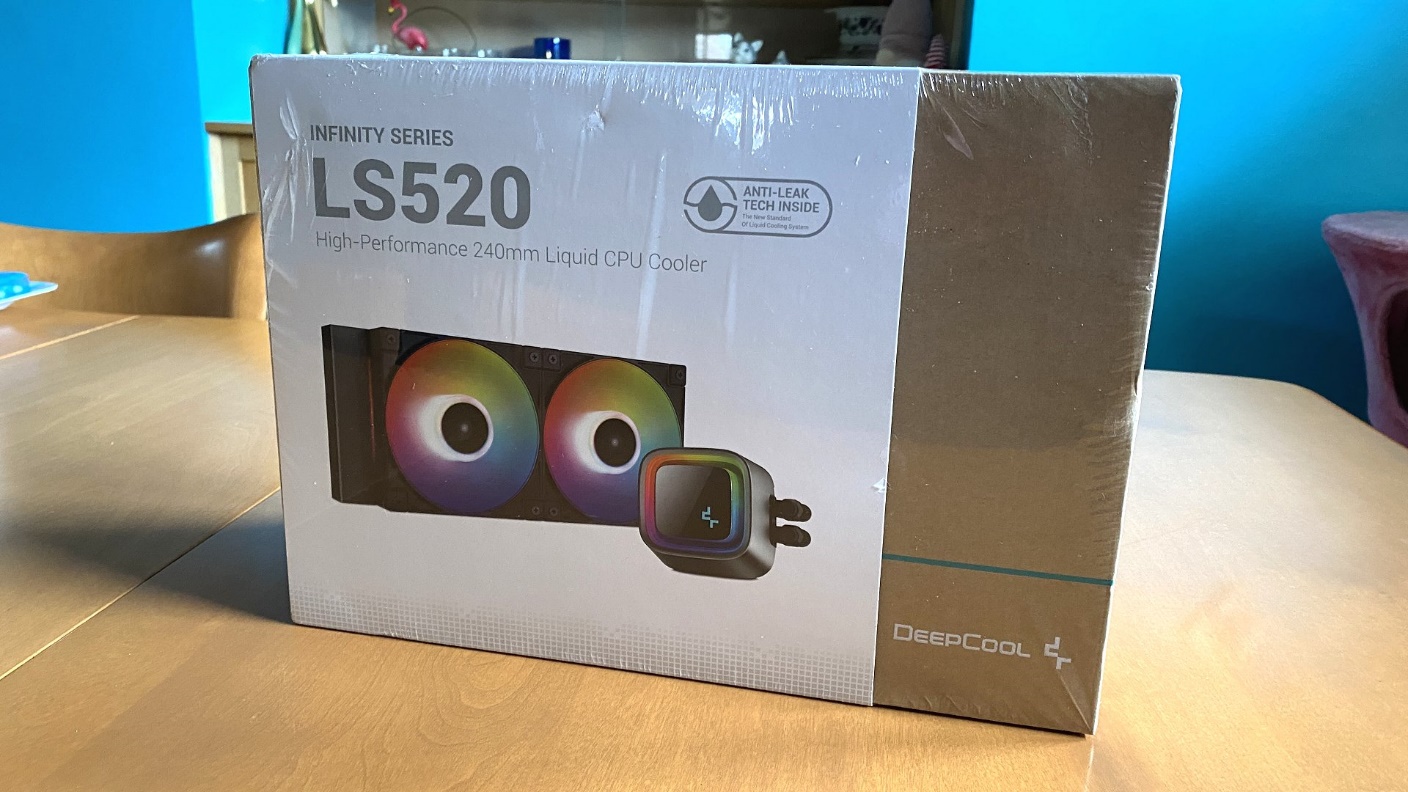
This DeepCool LS520 liquid cooler was purchased for this computer build, but was ultimately not used and was returned.
I spent a fair amount of time online learning about the new components I thought about using in this new build. I had wanted to use an Intel Core i9 processor in 2017, but the price made me decide to go with an i7 instead. This time, I wanted to purchase an i9. I ended up with a 12th generation Core i9-12900K, only one generation behind Intel’s current line of 13th generation processors. It was just old enough to be more reasonably priced yet still new enough to use some of the latest computer features; notably, DDR5 memory (RAM). Most importantly, it would be fully compatible with Windows 11.
Based upon my previous experience with an MSI motherboard, there was no question the new motherboard would also be an MSI. I chose an MSI MAG Z790 Tomahawk Wi-Fi board, a more budget priced board which I felt would be quite good enough for my purposes (web browsing, writing, some audio recording/editing, and photo editing).
The only games I play are Microsoft Solitaire Collection, so no, I didn’t really need a serious “gaming” computer. I just like to have plenty of computer “horsepower”. Really, a computer with an Intel i5 processor would have been suitable. But, if you are looking at, say, a Dodge Challenger and like a vehicle with plenty of power, do you get the base V6 model or do you get the Hellcat? You get the idea.
I already had a like-new Gigabyte NVIDIA RTX 3050 graphics card in my previous computer, and I had already decided to install it in my new computer build. I had an older EVGA NVIDIA GTX 1050 Ti graphics card which I would put into the older computer build.
The power supply in my previous computer is an EVGA 850 G2. It has performed flawlessly for nearly six years, so I decided the new build would also have an EVGA power supply. The new one is an 850 G5.
RAM seems to be a bit cheaper now than it was in 2017, so I purchased 64 GB (two 32 GB sticks) of DDR5 4800 RAM for the new computer. The new MSI motherboard can hold up to 128 GB of RAM, but 64 GB will be more than plenty. (My old computer has 48 GB of RAM.)
I had noticed that online reviews of the MSI liquid cooler I had considered purchasing were not that great, so I decided to get a DeepCool LS520 instead. Later, I began having second thoughts about using a liquid cooler since there is a very slight chance of leakage with any liquid cooler. And as I did not want my expensive investment to be ruined by a liquid leak, I ended up returning the DeepCool unit and buying a Noctua NH-D12L CPU cooler instead. This is a heatsink with fan, using no liquid. I made sure it was compatible with the Core i9-12900K before purchasing.
I was going to get the Noctua NH-D15 chromax.black cooler, but its 170mm height would have made its top very close to the glass side panel of my computer case and I did not want that. This is why I chose the NH-D12L instead – it is shorter and ended up giving me an inch or so of space between the top of the cooler and the glass side panel of the computer case.
So, with all the parts on hand (see the top photo), the kitchen table (or, more correctly, dining room table) work began.

First of all, I removed the new MSI Gungnir computer case from its box. I removed its side panels and put them away temporarily. The case was then placed on a towel to protect the table.
The first thing to do was to install the motherboard. That was easy, using screws furnished with the computer case.
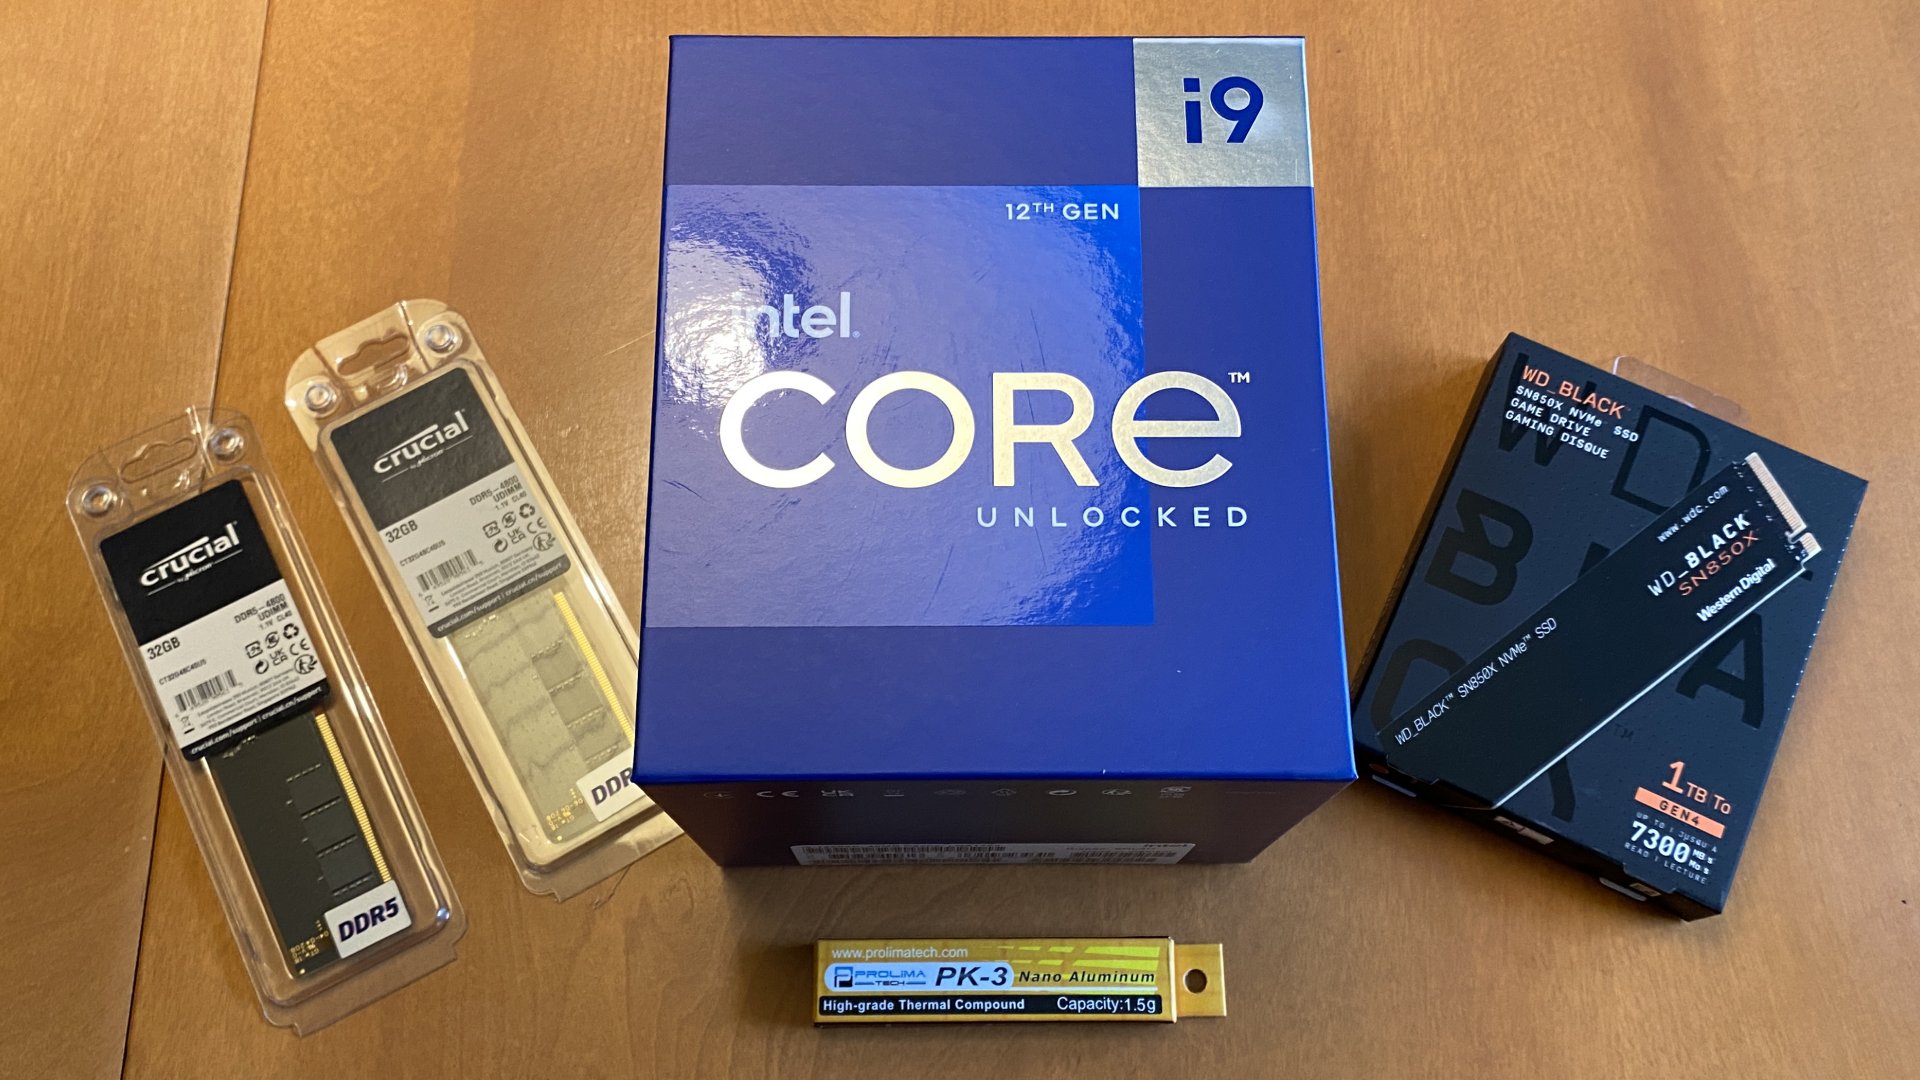
The first items to be installed on the motherboard – RAM, CPU, and an MVMe M.2 SSD.
Once the motherboard was securely fastened inside the case, assembly of components began in earnest. The first thing I installed was the new Western Digital Black 1 TB NVME M.2 SSD. This would be the boot drive of the new computer.
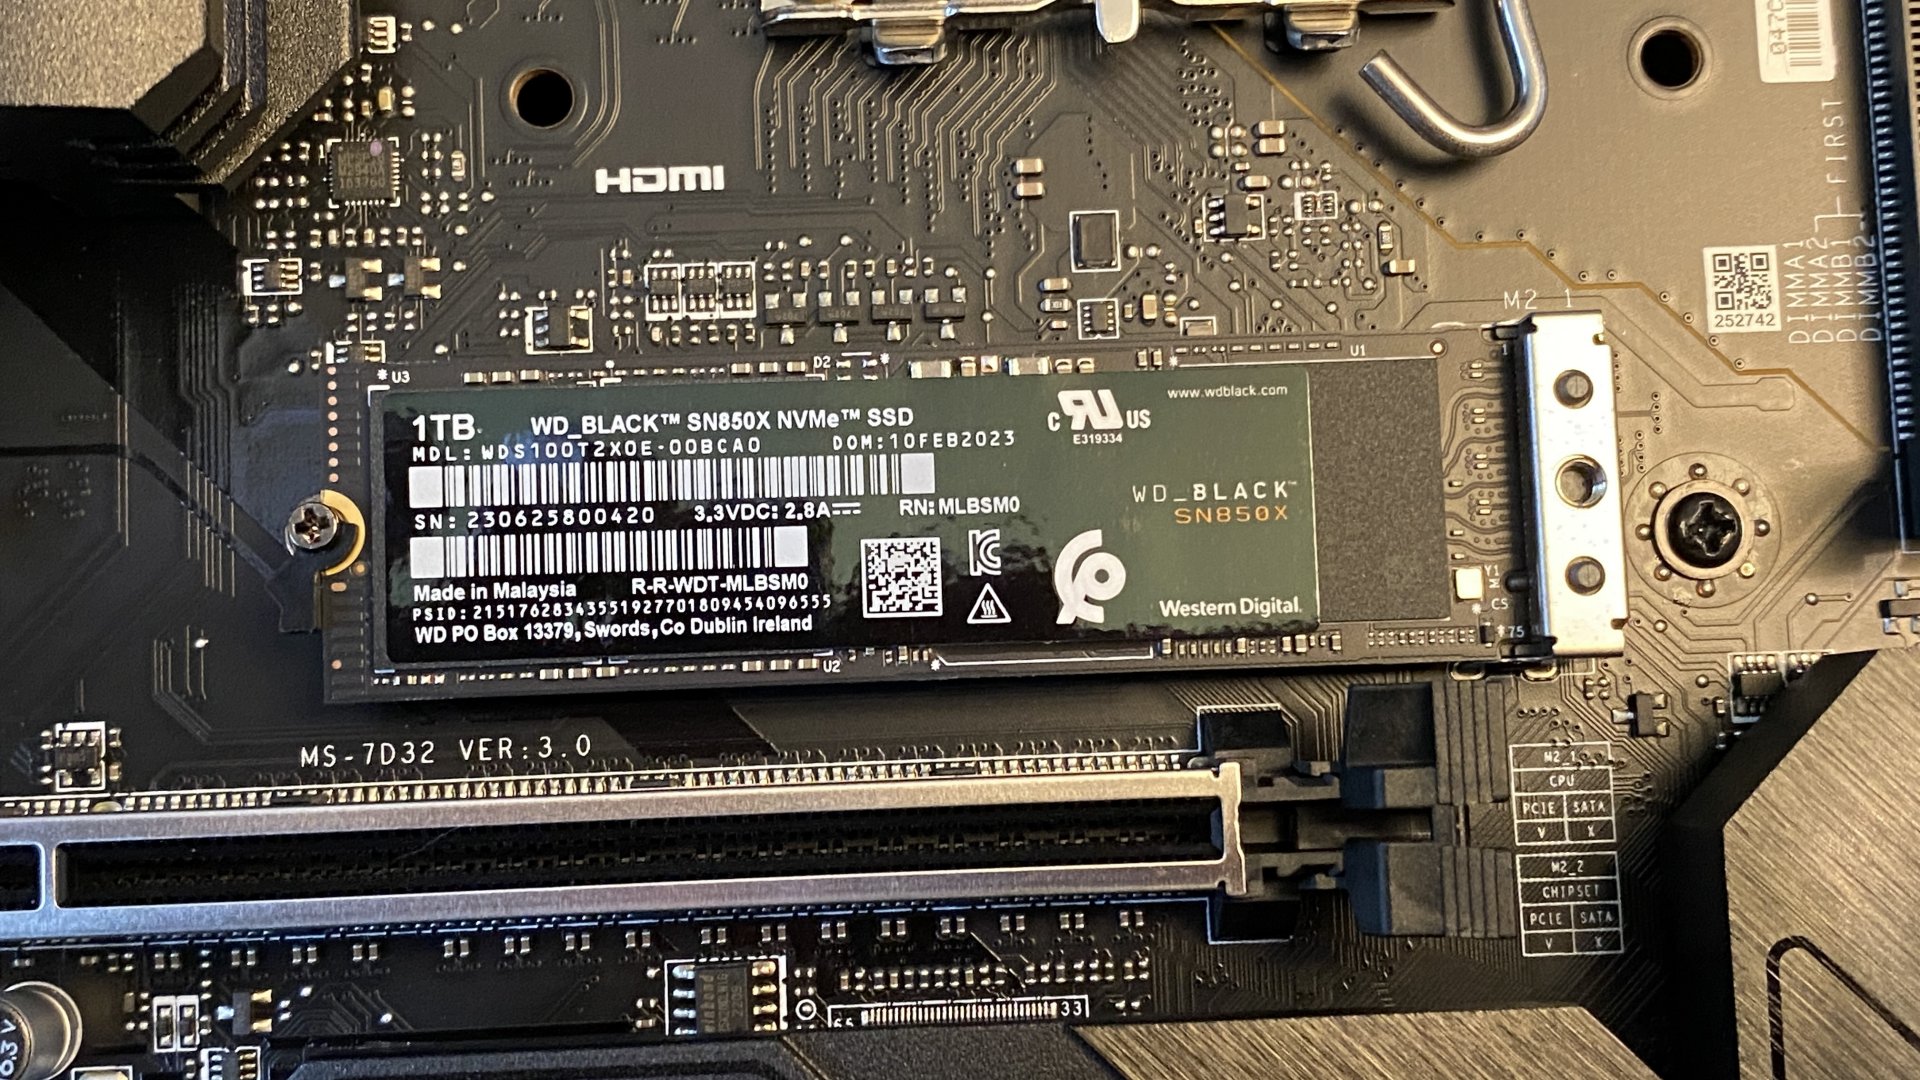
The new SSD is installed into one of the motherboard’s four M.2 slots.
Installation involved the removal of a heat shield, physically installing the new SSD in its slot, and reinstalling the heat shield. It was very simple.
I had mentioned this motherboard has a total of four M.2 slots. It also has the capacity to add up to six SATA drives. Therefore, if one had a large enough computer case, one could build a computer with four M.2 drives plus six 2.5” or 3.5” SSDs or hard drives! That is a lot of drive capacity!
I would be removing a 2.5” SSD plus two 3.5” hard drives from my old computer to reinstall in this new computer, so this was not a problem. The case was made to hold up to two 2.5” drives and two additional 3.5” drives.
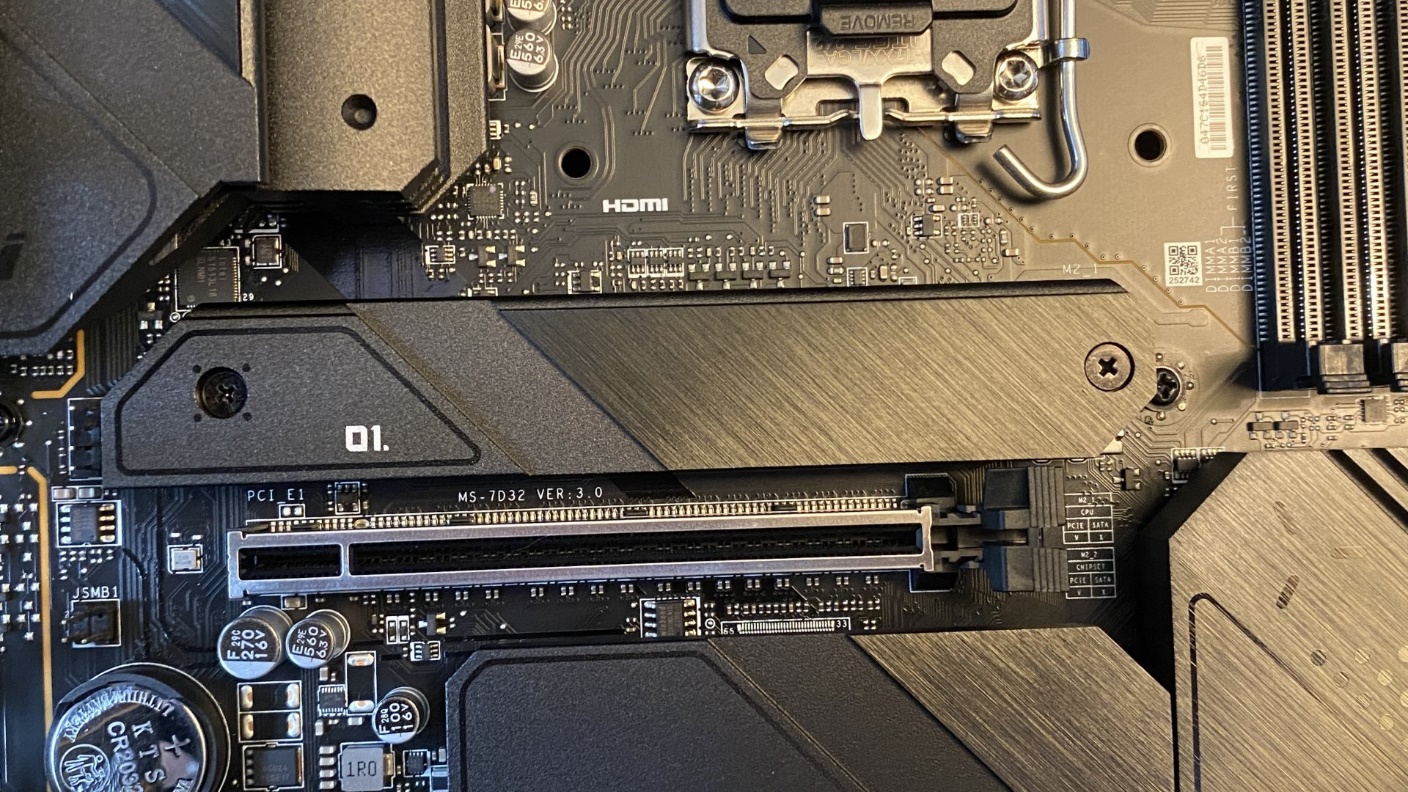
New SSD now in place under the heat shield.
Next, I installed the RAM sticks in the motherboard. They can only be installed one way in their sockets thanks to a slot in each RAM stick which prevents them from being improperly installed.
Once that was done, it was time to install the processor (CPU). If you are not paying attention, you could install this incorrectly, so it is very important to take note of where pin 1 is on the CPU. This is noted by a tiny gold triangle on the CPU itself. Make sure this triangle matches up with the triangle symbol on the socket pointing to pin 1.
Once I carefully laid the CPU in its socket and made absolutely sure the chip was oriented as it should be, I closed the cover and its lever, locking the CPU in place on the motherboard.
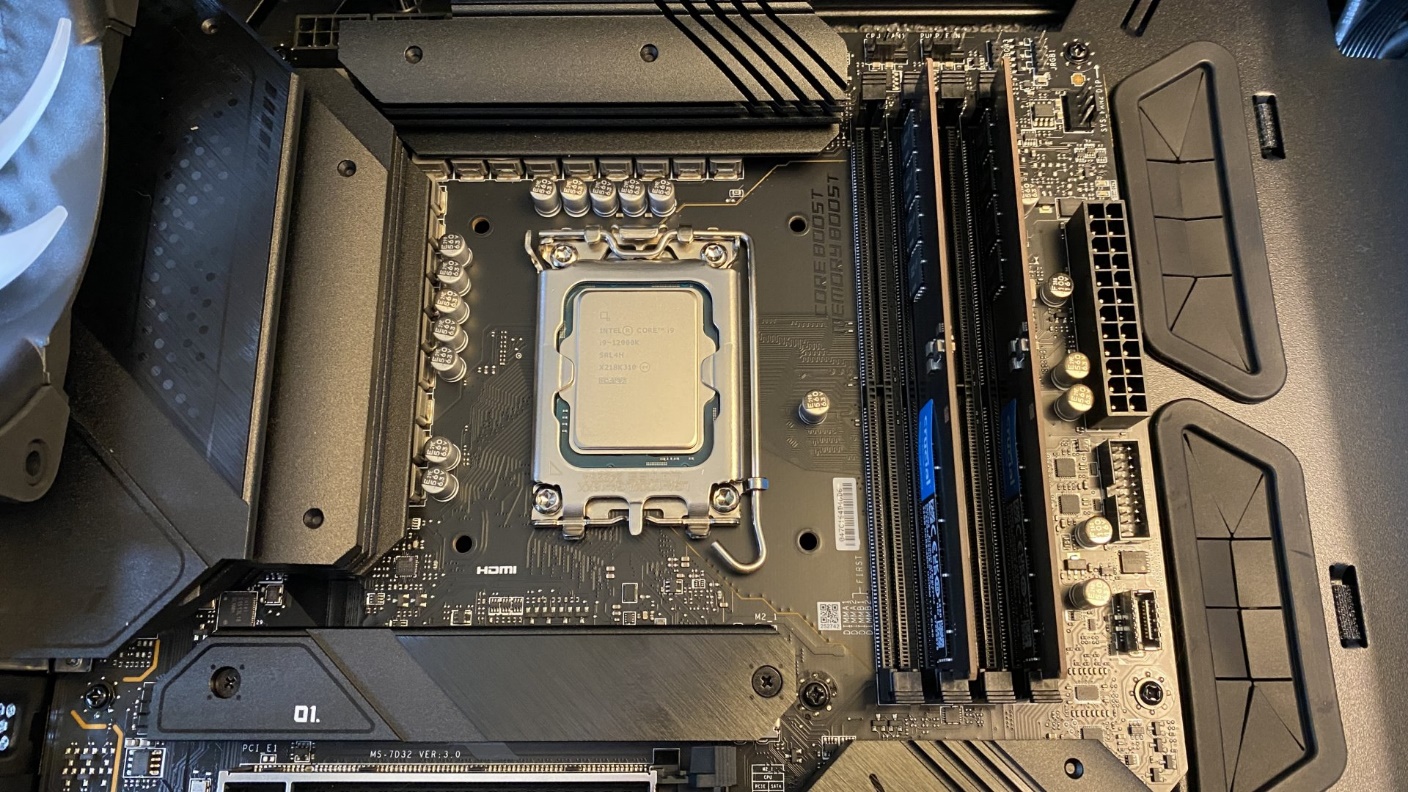
The new Core i9-12900K processor is installed on the motherboard.
Next, the CPU cooler needed to be installed. This is a two-step process. First, a backing plate must be installed on the back of the motherboard behind the CPU socket. This plate has four screws which pass through the four corresponding holes in the motherboard. Finally, two mounting “arms” are mounted on the top side of the motherboard, on either side of the CPU socket. The entire assembly is held in place by four thumbscrews. With help from Debbie, this assembly was soon put together.
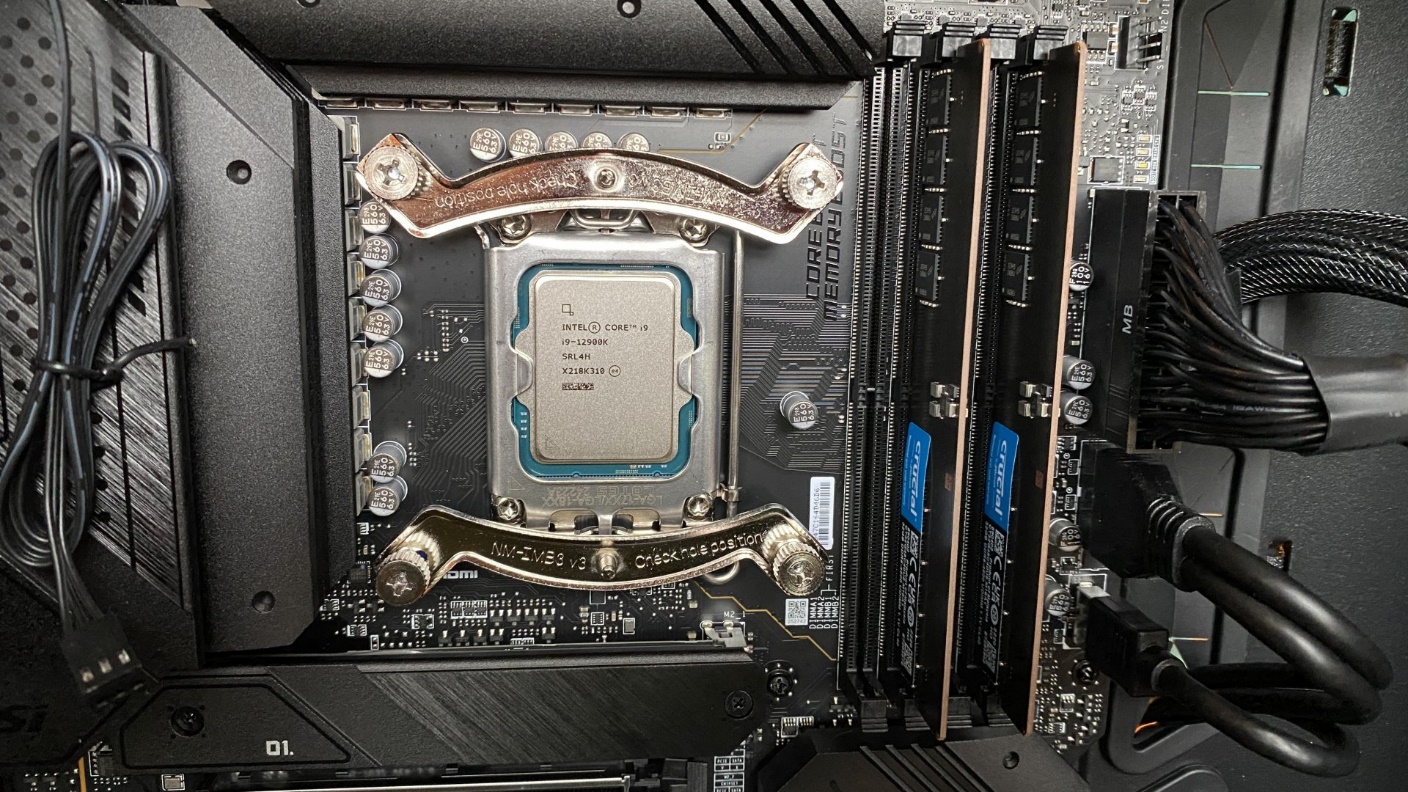
The mounting arms for the CPU cooler are installed on the motherboard, along with the backing plate (not seen as it is on the other side).
Once this is done, the actual CPU cooler itself is installed on the mounting arms. The fan must be removed before the cooler is screwed in place; once secured, the fan is then reinstalled. Make sure the fan is properly oriented to blow toward the back of the computer. There is an arrow on the fan which indicates which direction air will be pushed.
After reinstalling the fan on the cooler, plug its cable into the proper socket on the motherboard.
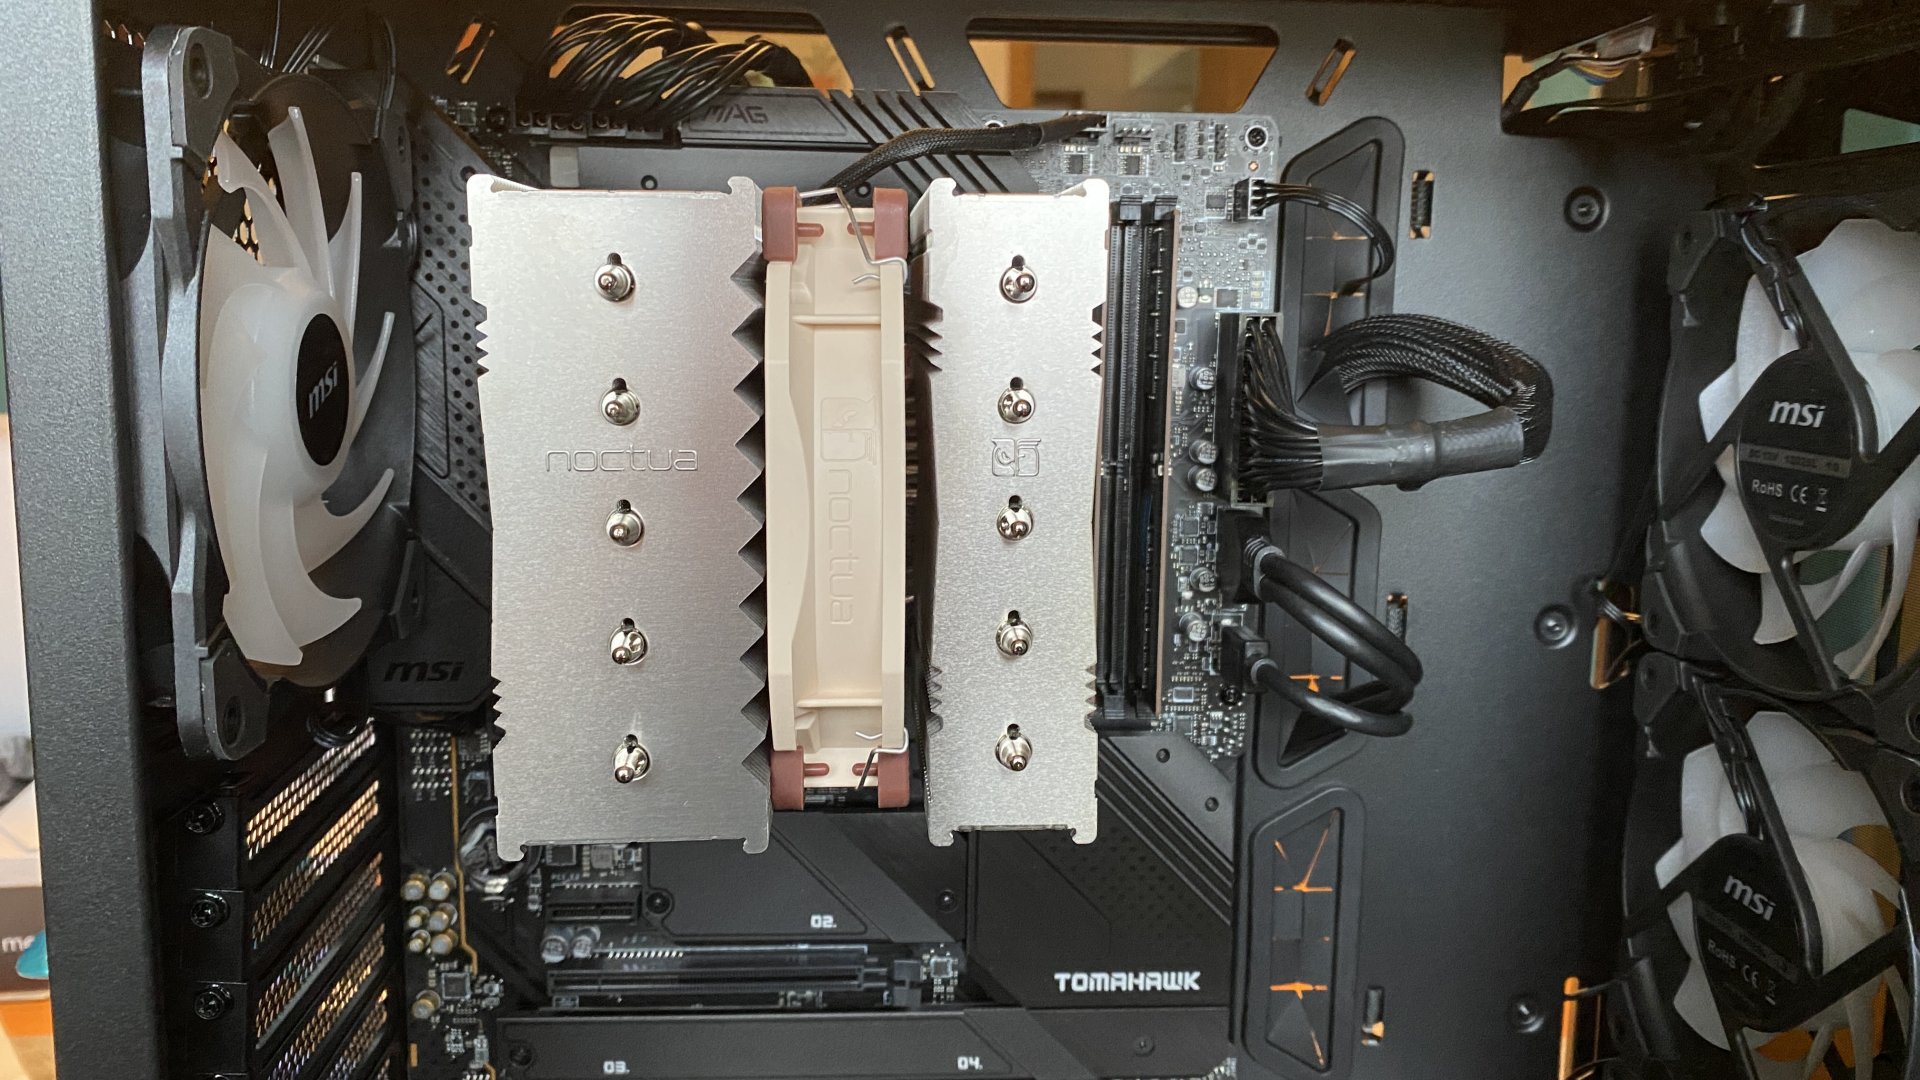
The Noctua cooler is now installed.
This is as far as I went on the first day of assembly. I had started in mid-afternoon, and quit by dinnertime. Had I started in the morning, I could have assembled the entire unit in one day.
At this point, things looked as shown below (only no electrical cables had been run nor had I installed the power supply yet):
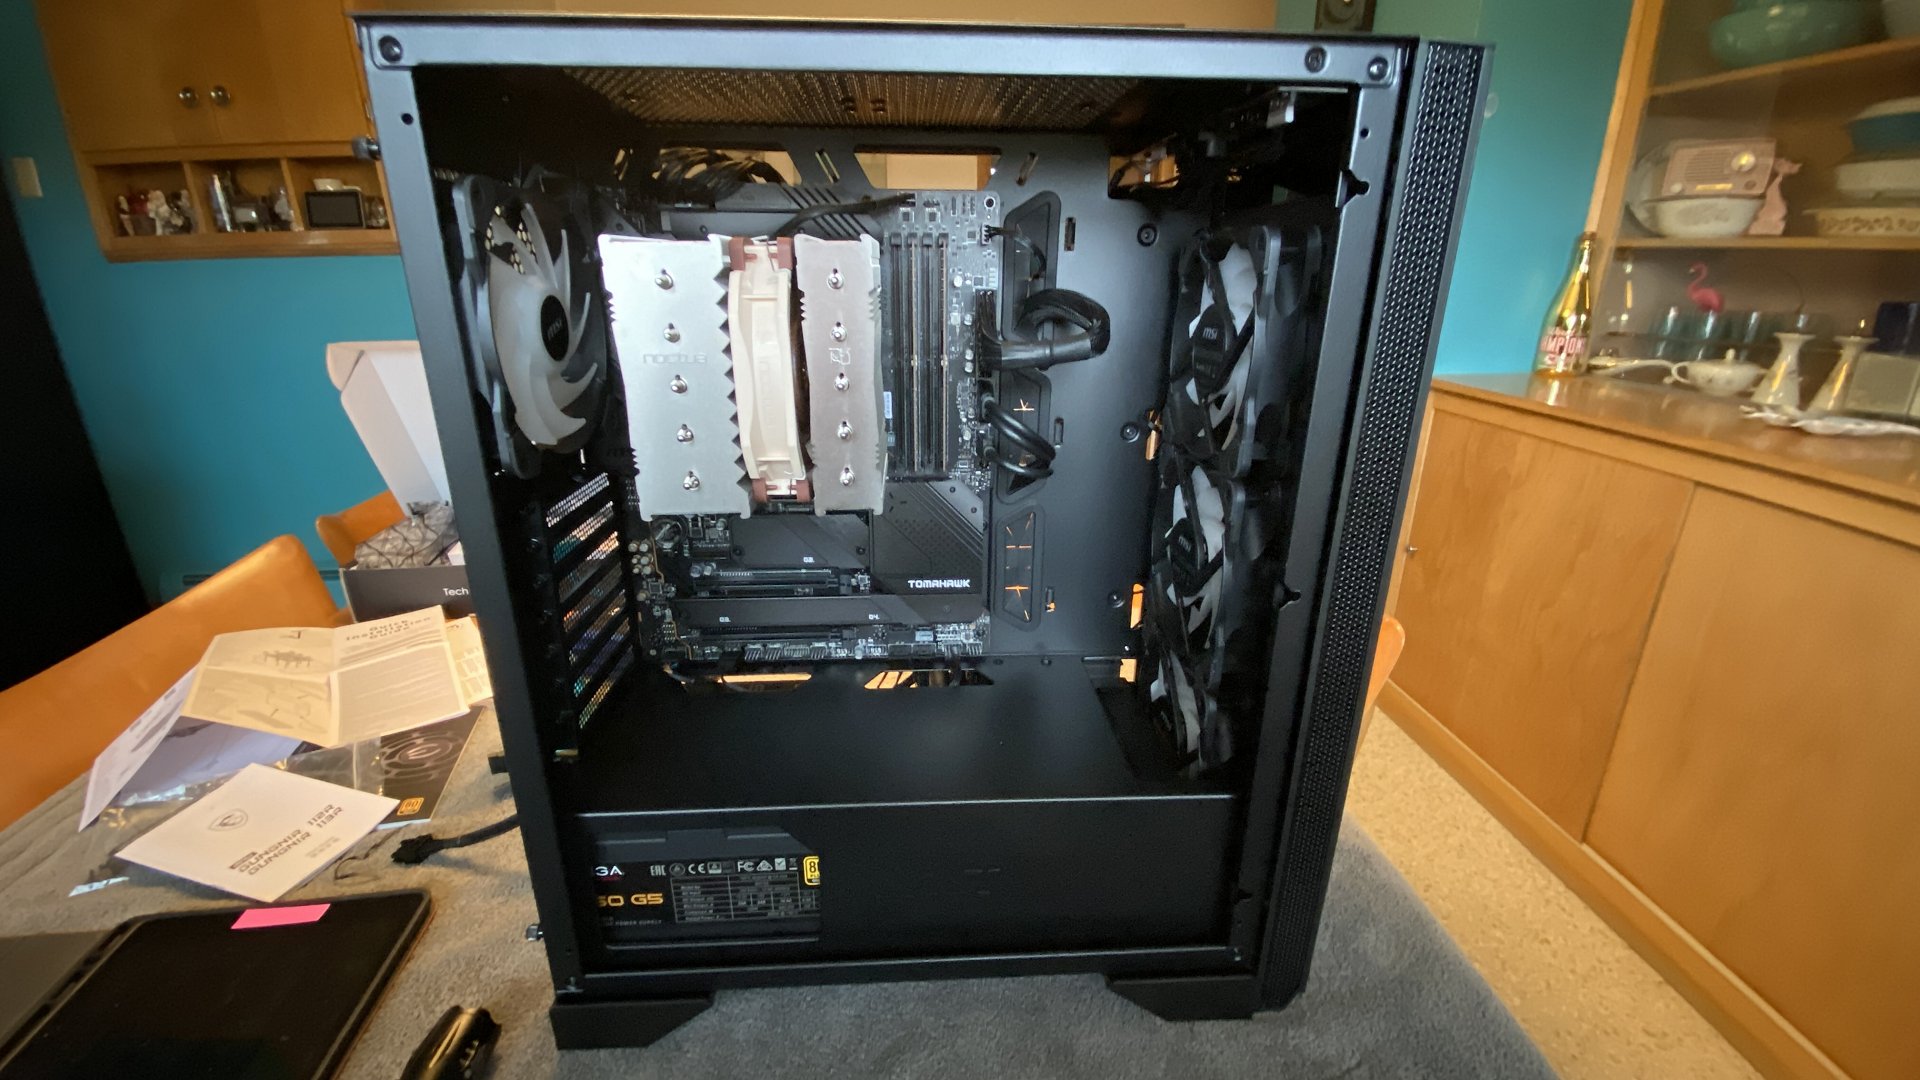
Slowly, this unit begins to look like a computer.
The next day, I began by installing the power supply. I soon realized that routing cables was not going to be an easy task with the limited amount of space available on the right side of the computer case. Not only that, but there is a very limited amount of room for the power supply itself, so you must determine which cables would be needed and then plug these into the supply before installing the supply inside the case.
At this point I installed the graphics card.
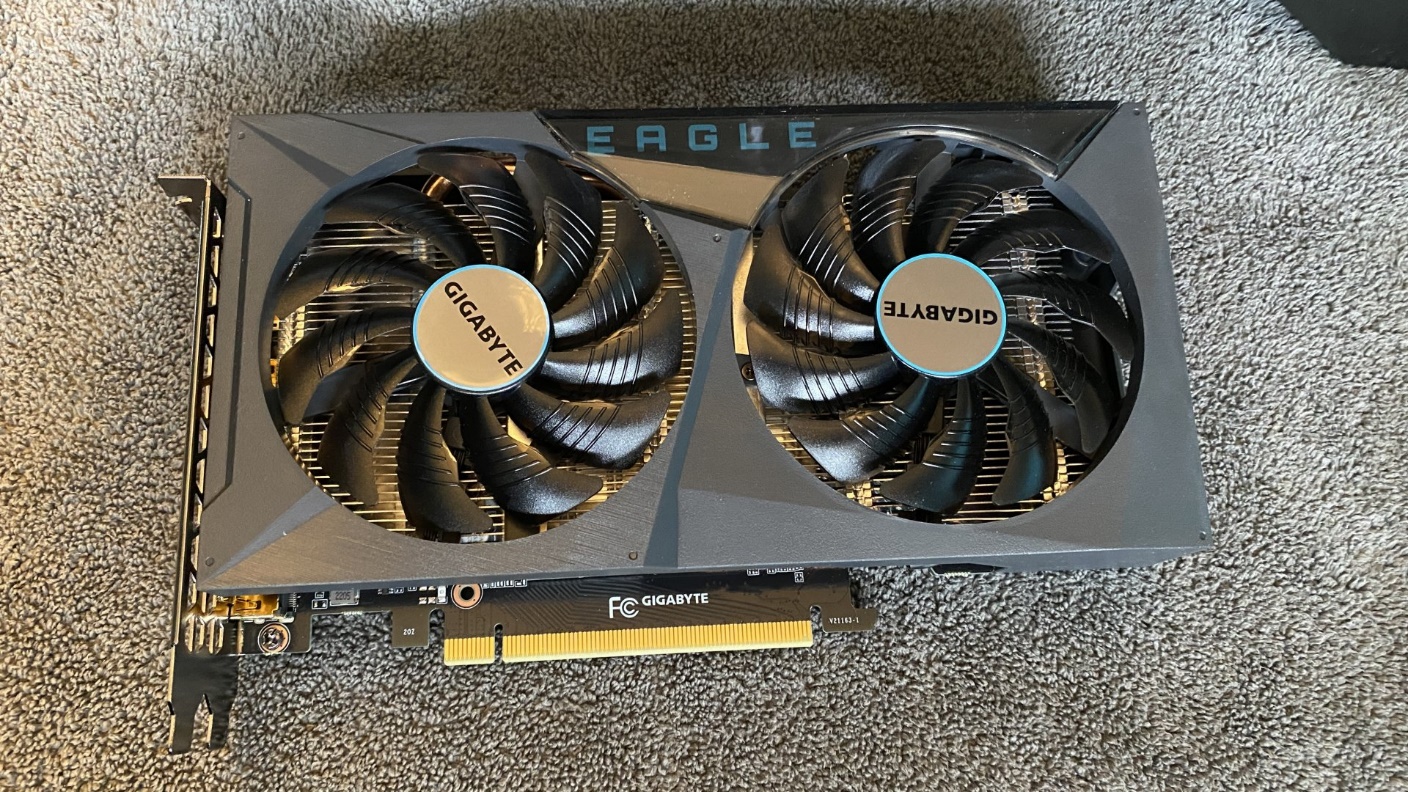
Gigabyte Eagle (NVIDIA) RTX 3050 graphics card prior to installation inside the new computer.
When I bought the Gigabyte graphics card, prices had just come back down after a couple years or so of insanely high graphics card prices caused largely by COVID. I noticed that even now, the entry level RTX 3050 cards are hard to get. I was going to purchase an MSI card but they went out of stock almost immediately, so I ended up with the Gigabyte.
Even now, RTX 3050 cards are hard to find. It is easier to get the more expensive RTX 3060 as well as the even higher priced models.
I removed the three drives previously mentioned from my old computer and installed these into the new computer. I then finished things up by routing the various power cables as best as I could.
Now it was time to try the new computer out. I did not yet install the side panels in case there was a problem. I carried the new unit into my home office, and hooked everything up. Now came the big question – Would it work?
You betcha…
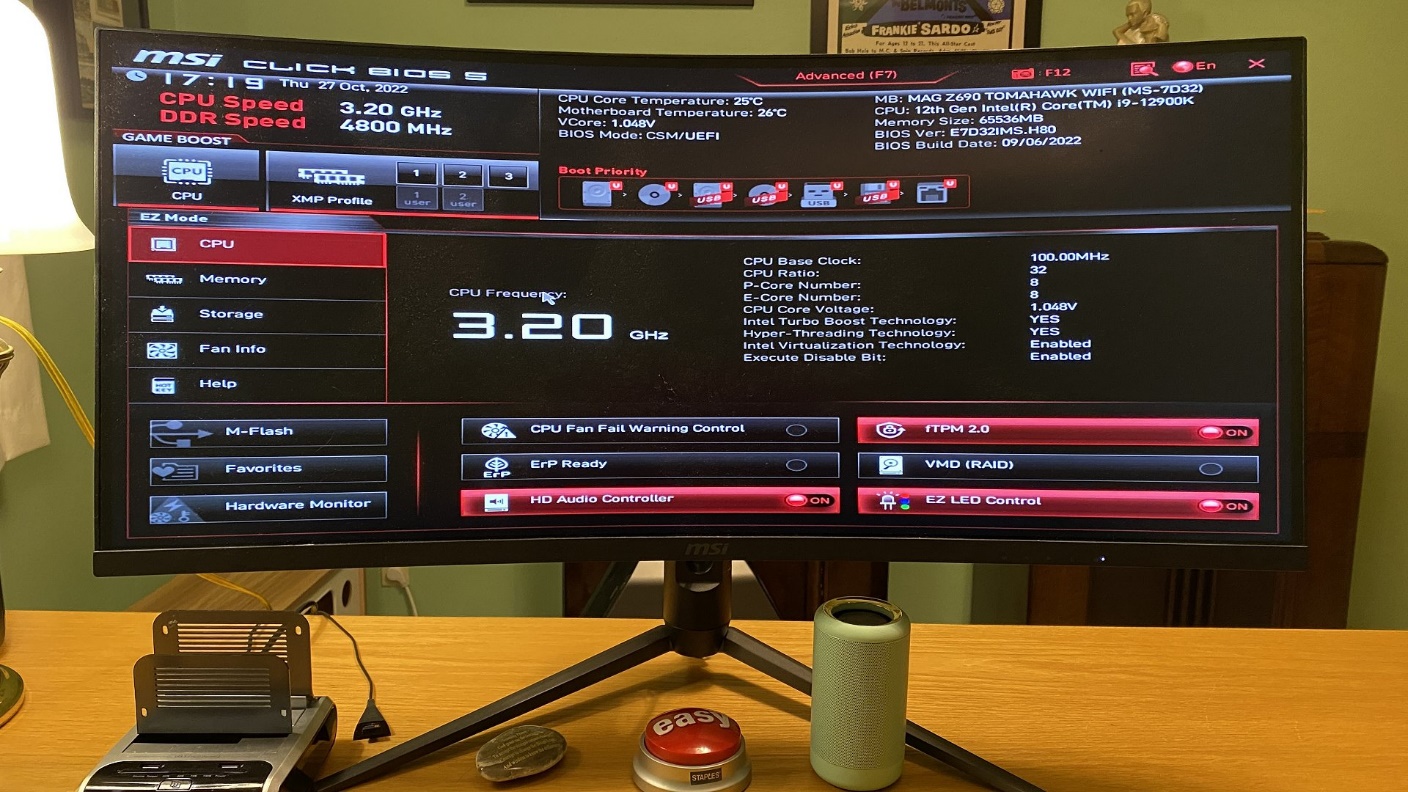
The new computer boots to the BIOS (UEFI) screen on first boot.
The computer booted up and soon displayed the BIOS (UEFI) screen. I looked it over and made a few changes to the UEFI setup. I then inserted a Windows 10 flash drive and rebooted the computer.
The computer rebooted and began to install Windows 10.
Why Windows 10?
I had a spare Windows 8.1 product key, and I knew that such an unactivated key would also work to activate Windows 10. So, I installed Windows 10, and then immediately upgraded to Windows 11. This way, I saved $200 on the cost of a new copy of Windows 11 Pro.
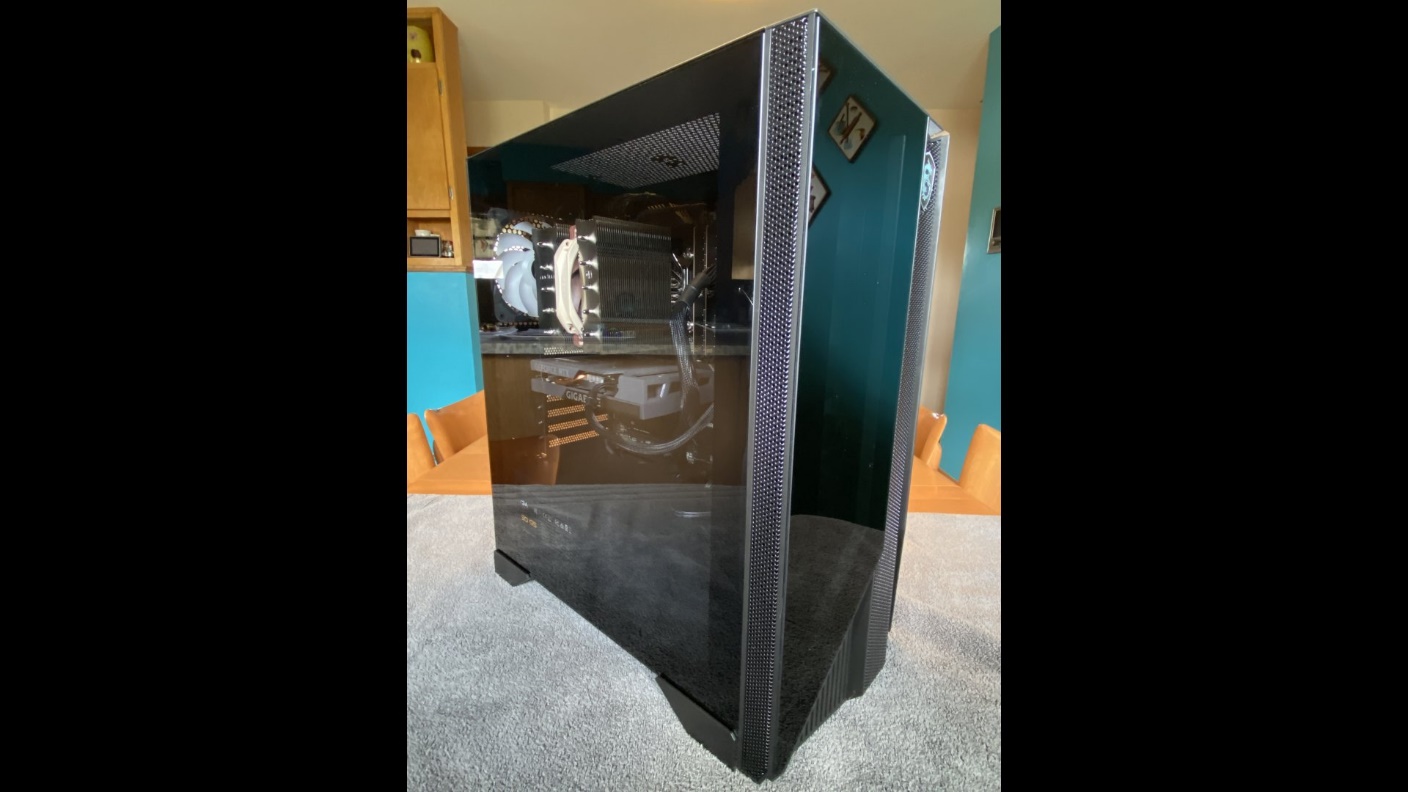
How the finished computer looks with the side panels installed.
Once I was convinced the computer was working fine, I shut it down and took it back to the dining room table to make my final adjustments. I ended up re-routing the main computer power cable in order to have enough room to be able to attach the right side panel. Once it and the glass left panel were installed, the computer was returned to my home office and put into service. In fact, I am using this very computer to write this article.
Before I placed the new computer into its new home beside my desk, I set it next to my old computer for a quick photo.
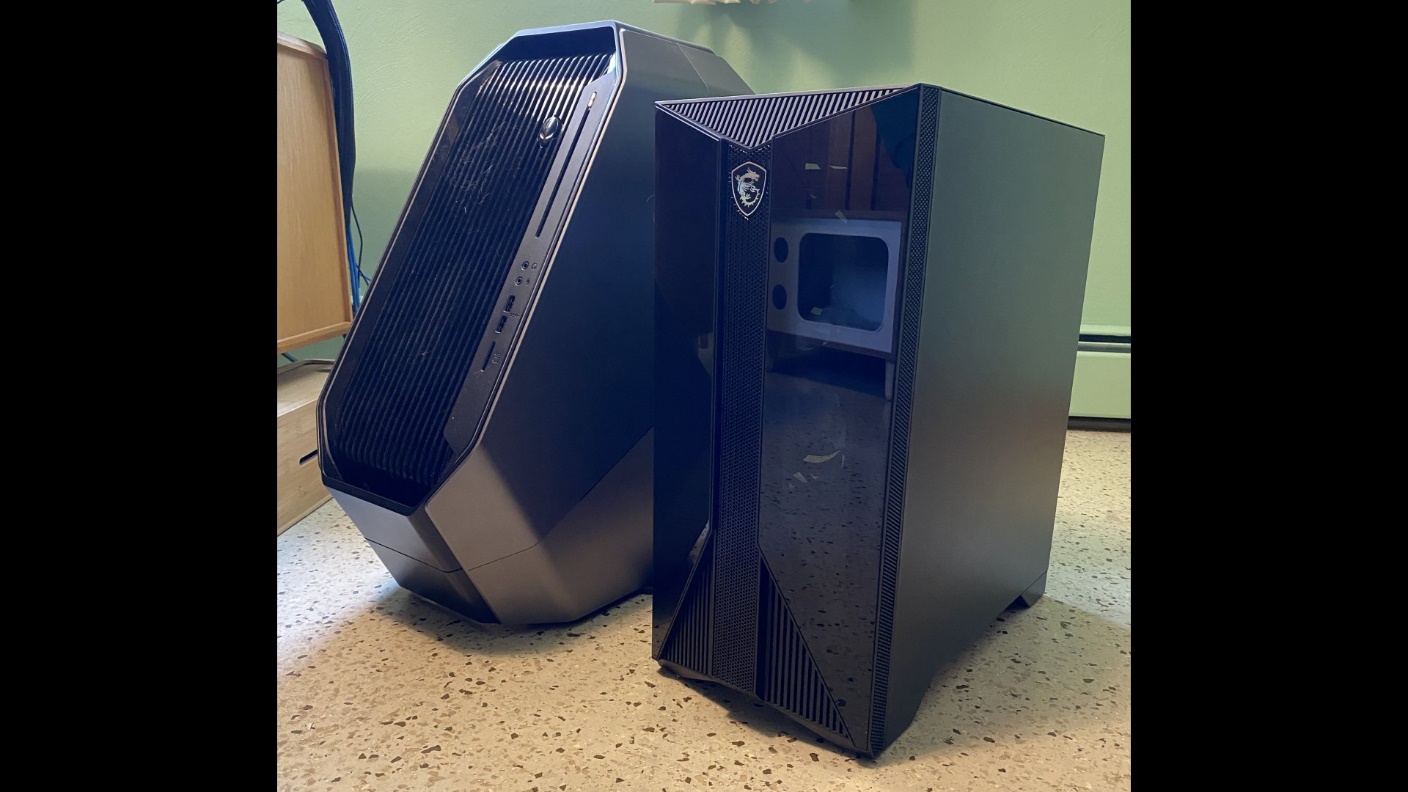
The old and the new – a 2017 Alienware Area 51-based build (left) and the new mostly-MSI computer (right).
It’s been two days now and the new computer is doing quite well. Here’s a quick look at it sitting beside my desk.
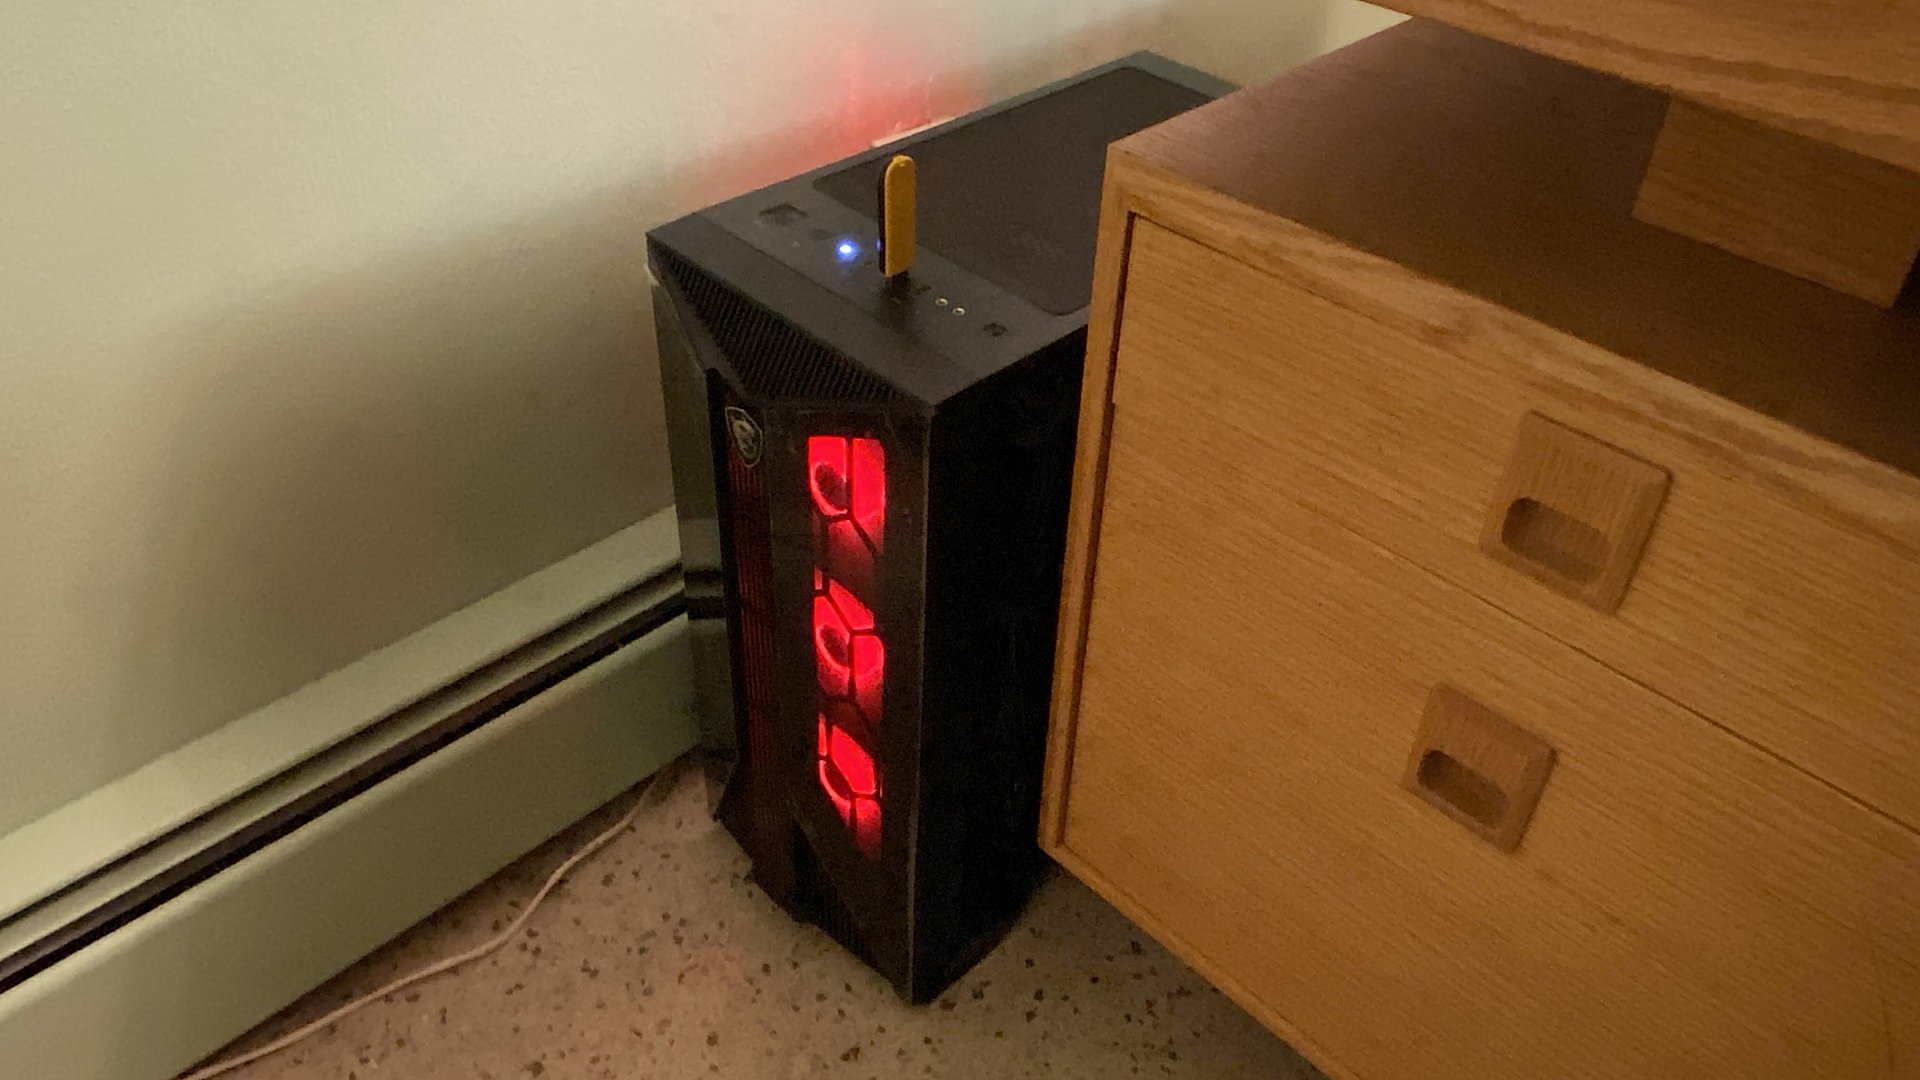
The new computer in service.
I wrote this article, not to “show off”, but to illustrate that yes, anyone can build their own computer if they have some basic mechanical and electrical/electronic knowledge. You can end up with a very nice system for less – sometimes much less – than the cost of an equivalent new pre-built computer. So, if you are considering a new computer, do consider building your own before rushing out and buying a new brand-name PC.