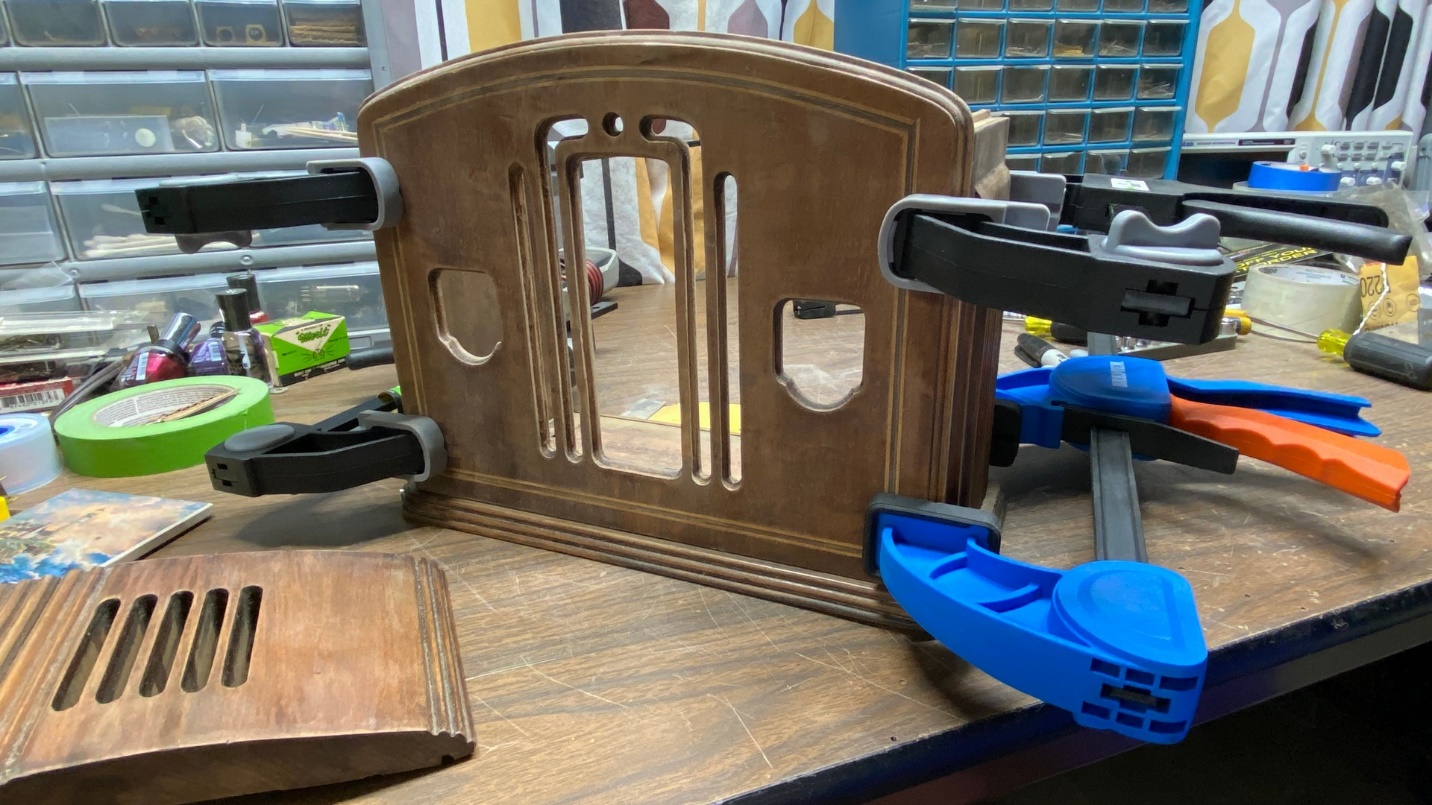
By now, I felt I had the Philco 54C front panel as good as it could be. I therefore began to glue the cabinet back together. I started by gluing the sides to the front panel. I used the base only to help hold the pieces in place; I applied no glue to the base as I would be removing it again.
Once the glue holding the front panel and sides together had set, I added the top of the cabinet, and glued this into place.
Gluing the top of the cabinet to the front panel and the sides.
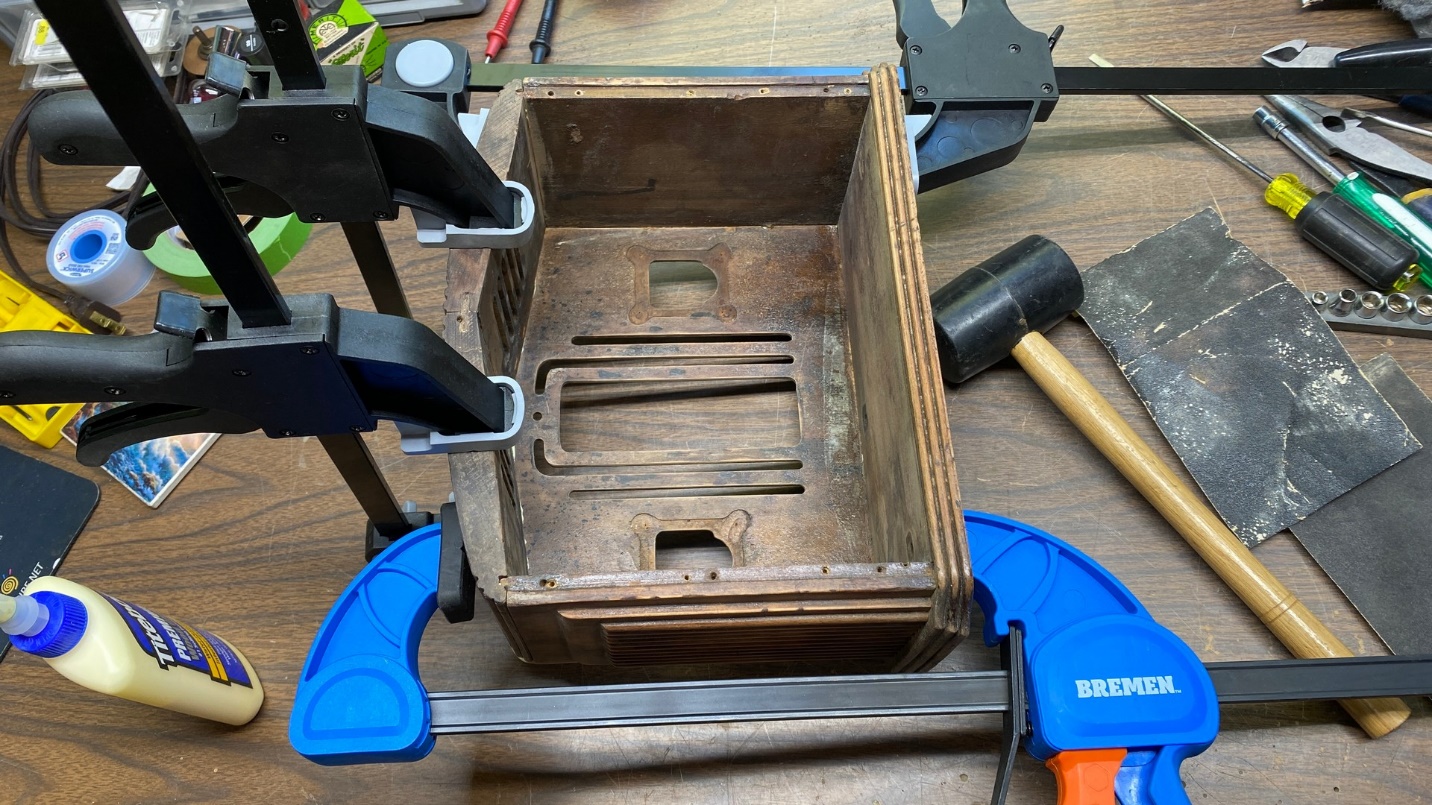
The next day, I took the cabinet body, as well as the base, outside and applied two coats of sanding sealer to both.
The cabinet body, and the base, after sanding sealer had been applied.
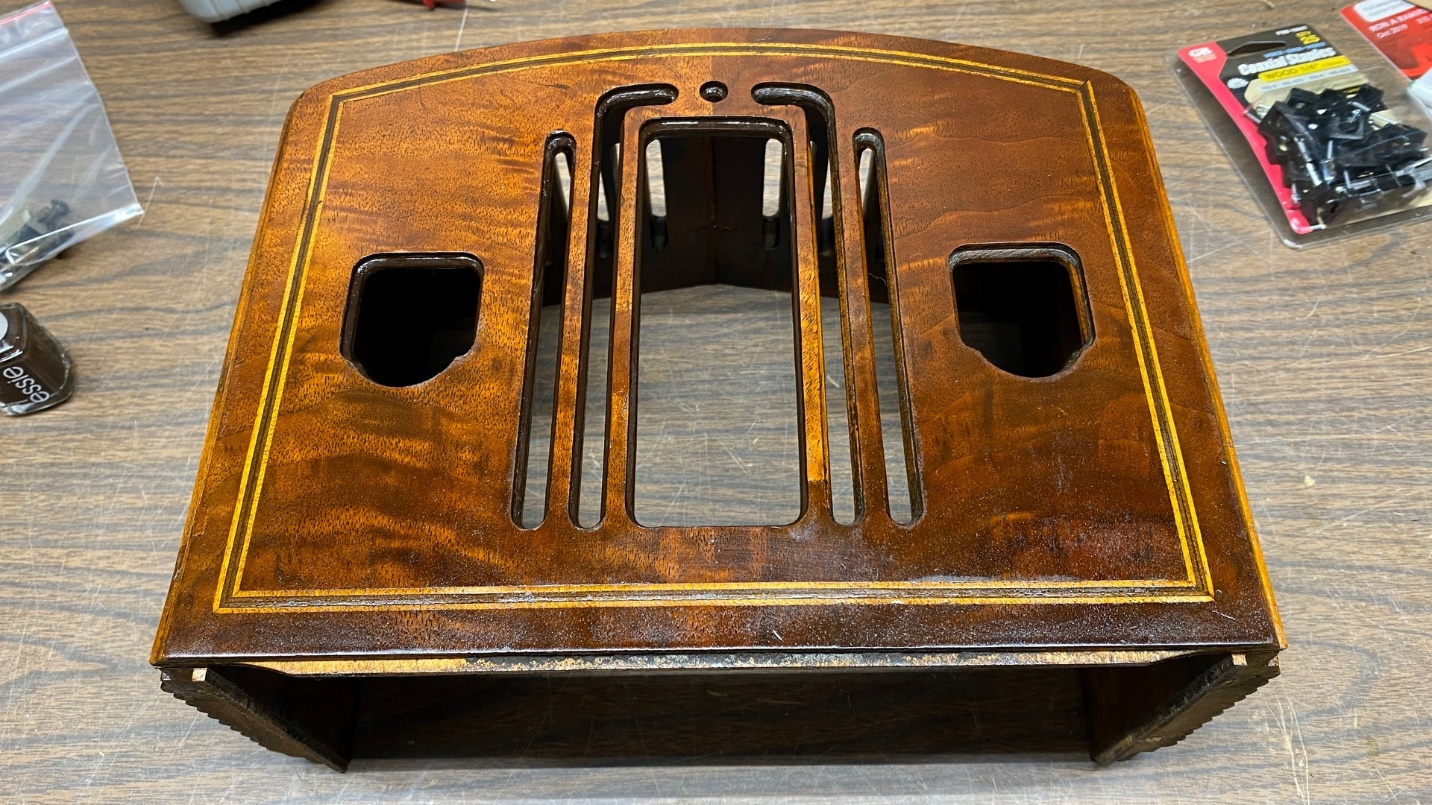
Another day passed. I then applied grain filler to the 54C front panel. The rest of the cabinet was made of what is commonly called “white wood.” This wood has a very tight grain and does not require grain filling.

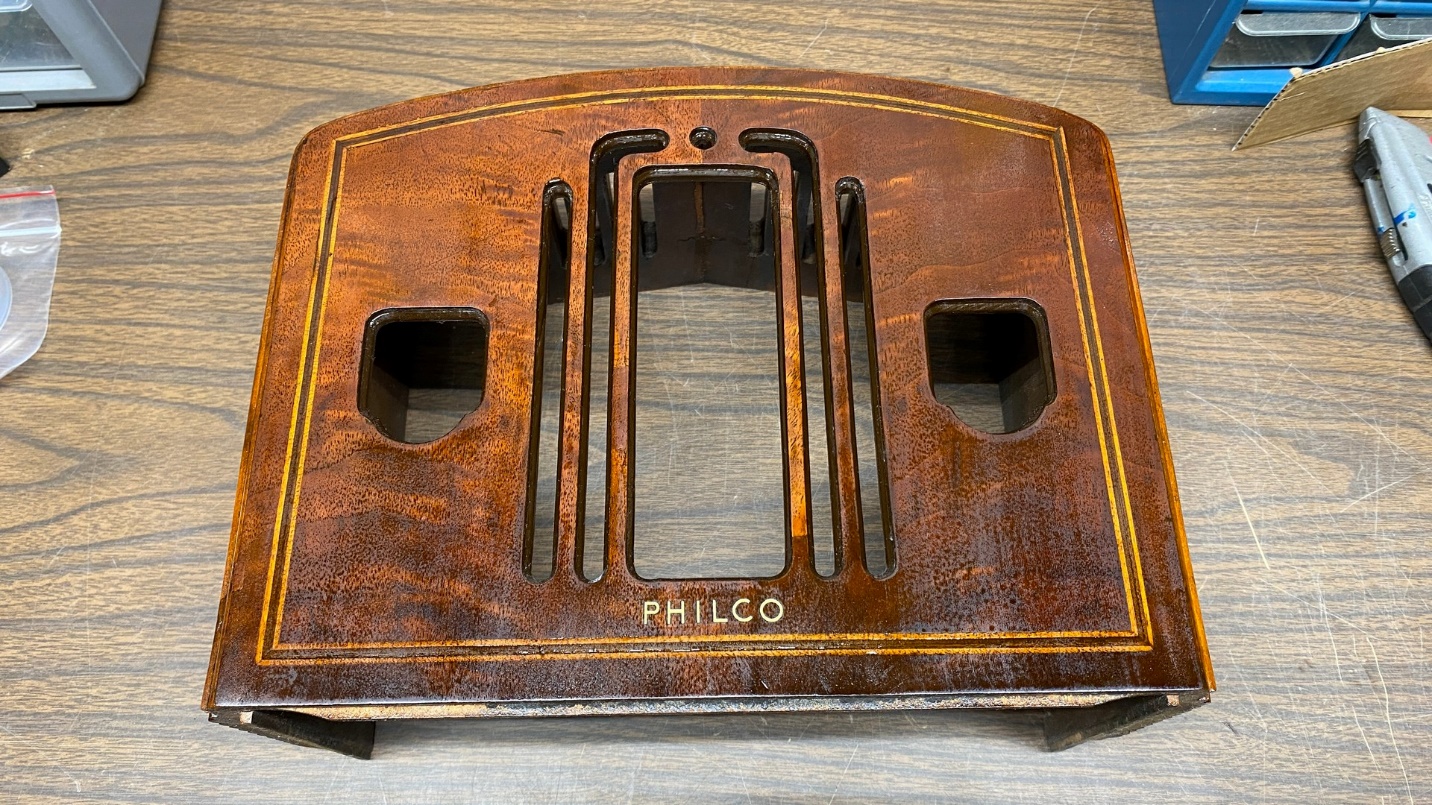
The 54C after application of grain filler.
After allowing the grain filler to dry, I sanded down the front panel, performed a few final spot repairs to the cabinet with Timber Mate filler, and then sprayed the cabinet with two coats of Mohawk Ultra Classic Dark Walnut lacquer.
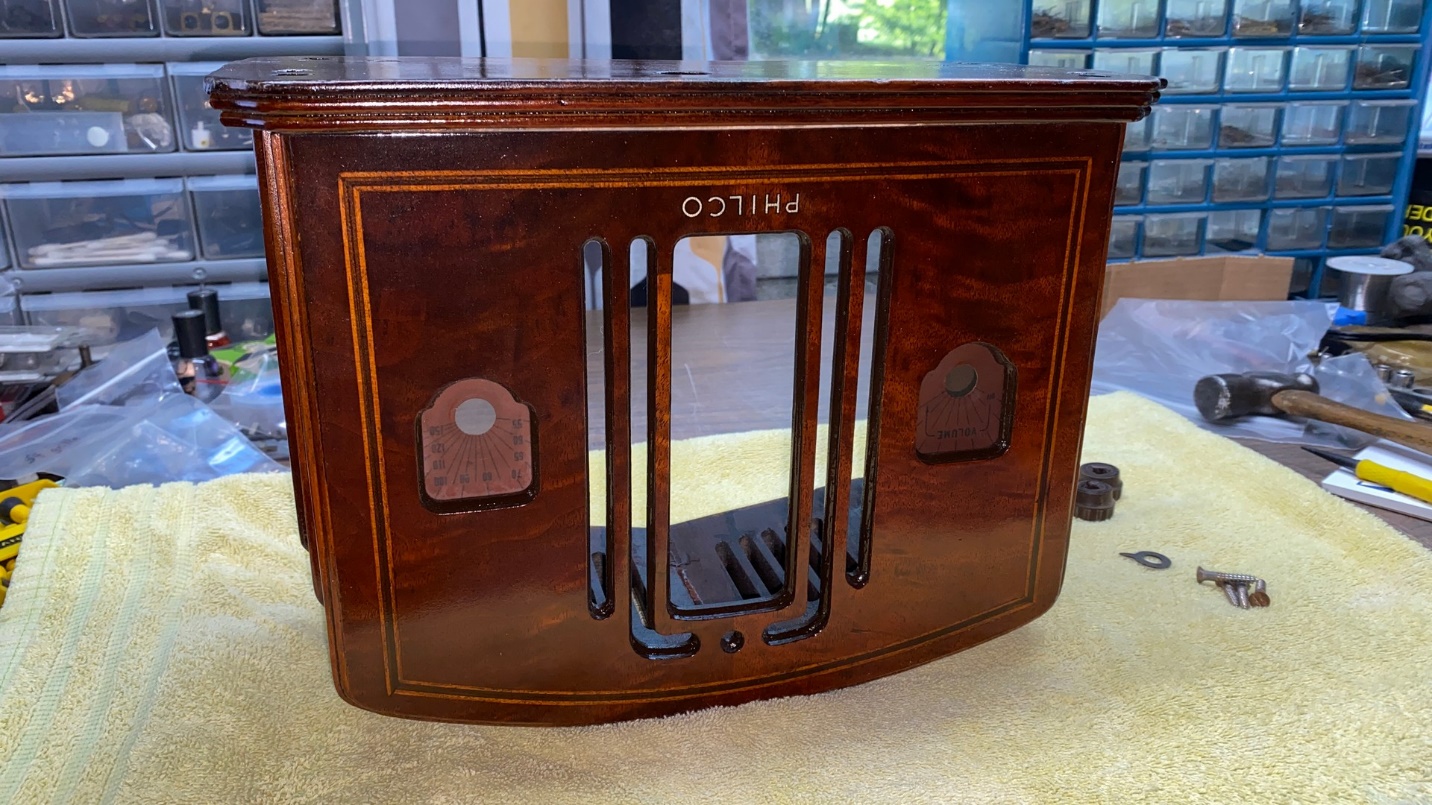
The 54C cabinet after toning lacquer had been applied. I am in the process of applying darker lacquer (nail polish) to the grille openings and the dial openings.
The next day, I looked the cabinet over. I was disappointed that one of the replacement pieces of veneer in the speaker grille appeared lighter than the veneer above and below the repaired area, and another piece of replacement veneer in the grille was darker than the surrounding wood. And these two pieces had been cut from the same piece of veneer! I thought that to be very strange.
I realized that one thing that would help this cabinet’s appearance would be to go over the routed grille openings, as well as the two dial openings, with a darker lacquer. Not knowing of an easy way to do this, I opened up a small bottle of brown nail polish (lacquer) to do the job.
There must be an easier way to do this. I am sure the factories did not painstakingly paint this contrasting color on by hand on their grille openings. I managed to get a little over half of the job done before quitting. I could tell an improvement in the cabinet’s appearance, however, in the areas where I had applied the nail polish.
The next day, I finished painting the grille openings as well as the right-hand dial opening with the brown nail polish. Then, I took the cabinet outside.
I gave the front panel, which was already a bit darker than the cabinet body, one more coat of Dark Walnut toner. The cabinet’s top and sides received two more coats of the same toner.
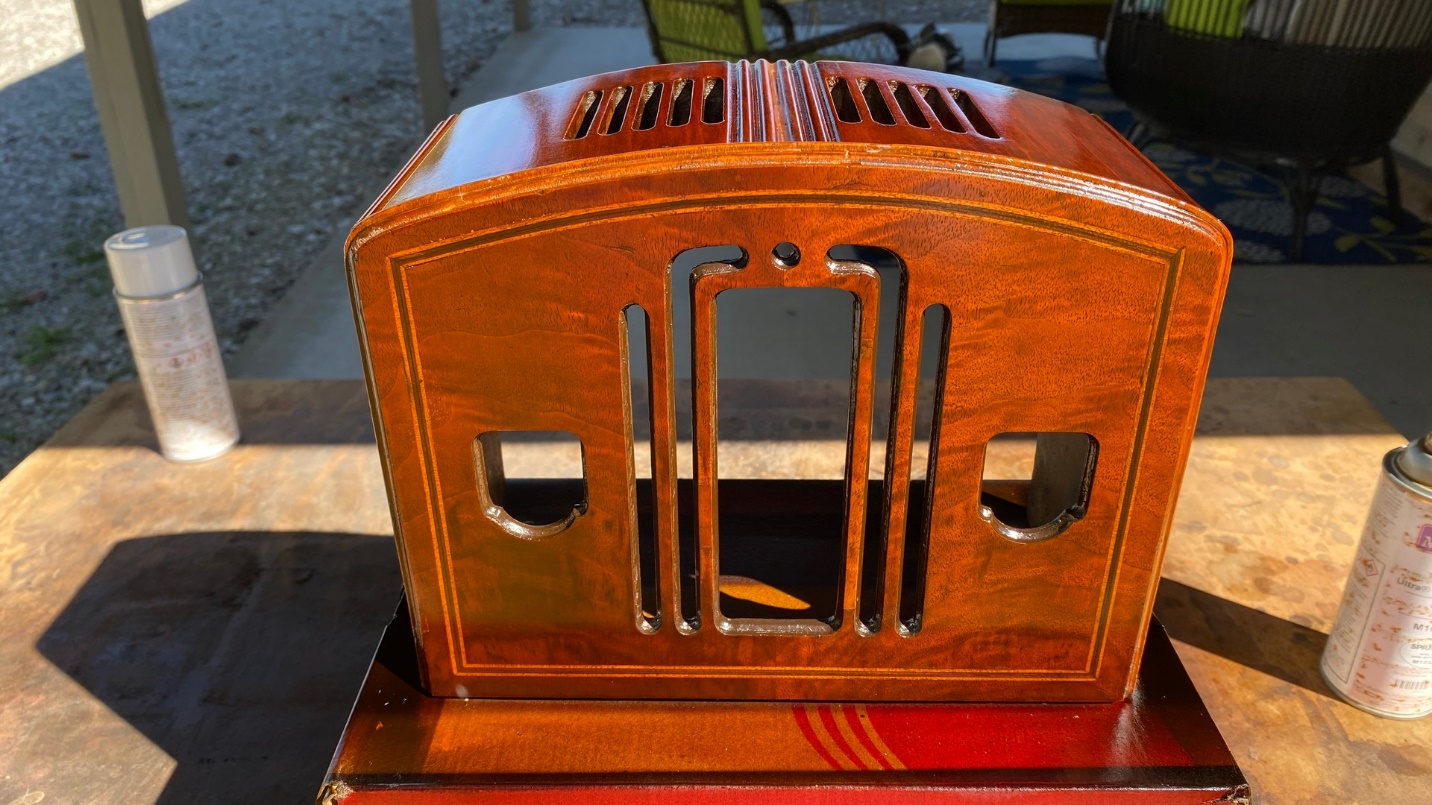
The 54C cabinet, in direct sunlight, after application of additional toner.
I added a PHILCO decal on the following day. I also finished spraying toner on the base of the cabinet.
Following the application of toner, the cabinet was set aside for a while. Later, I took it back outside and applied three coats of clear lacquer.
The next day, I wet sanded the front panel, and the top, of the cabinet with 800 grit wet/dry sandpaper. This removes much of the roughness and will make the sanded areas much smoother.
The 54C cabinet after wet sanding.
The sanded areas of the cabinet are left with a dull and slightly scratchy appearance after wet sanding. But this poses no problem, as the additional two coats of clear lacquer I would apply next would fill in any microscopic scratches, and leave the cabinet looking quite nice.
When I resumed work on this cabinet, I began by spraying the base of the cabinet – both the top and bottom – with clear lacquer. This was followed by spraying the main body of the cabinet with two final coats of clear lacquer.
Once the cabinet body and base had dried overnight, I placed a folded towel on my workbench and put the cabinet body on the towel, face down. I then reinstalled the two dial scales (volume and tuning) inside the cabinet. Having no base on the cabinet made the job very easy.
Next, I needed to reunite the cabinet body and the base. The base was originally held on by a combination of hide glue and four large wood screws. However, I did not use any glue when I put the cabinet body and base together.
I should mention that the screw holes were stripped when I disassembled the base from the cabinet body, so I glued toothpicks in each screw hole, and sanded these spots until they were smooth after the glue had dried.
The base is put back on the cabinet body.
I laid the cabinet upside down on my workbench, on top of the towel. I then carefully pressed the base back onto the cabinet body.
I drilled small pilot holes where the toothpicks had been glued into the original mounting holes, and then attached the four screws. This would hold the base and body together quite well, without the use of glue.
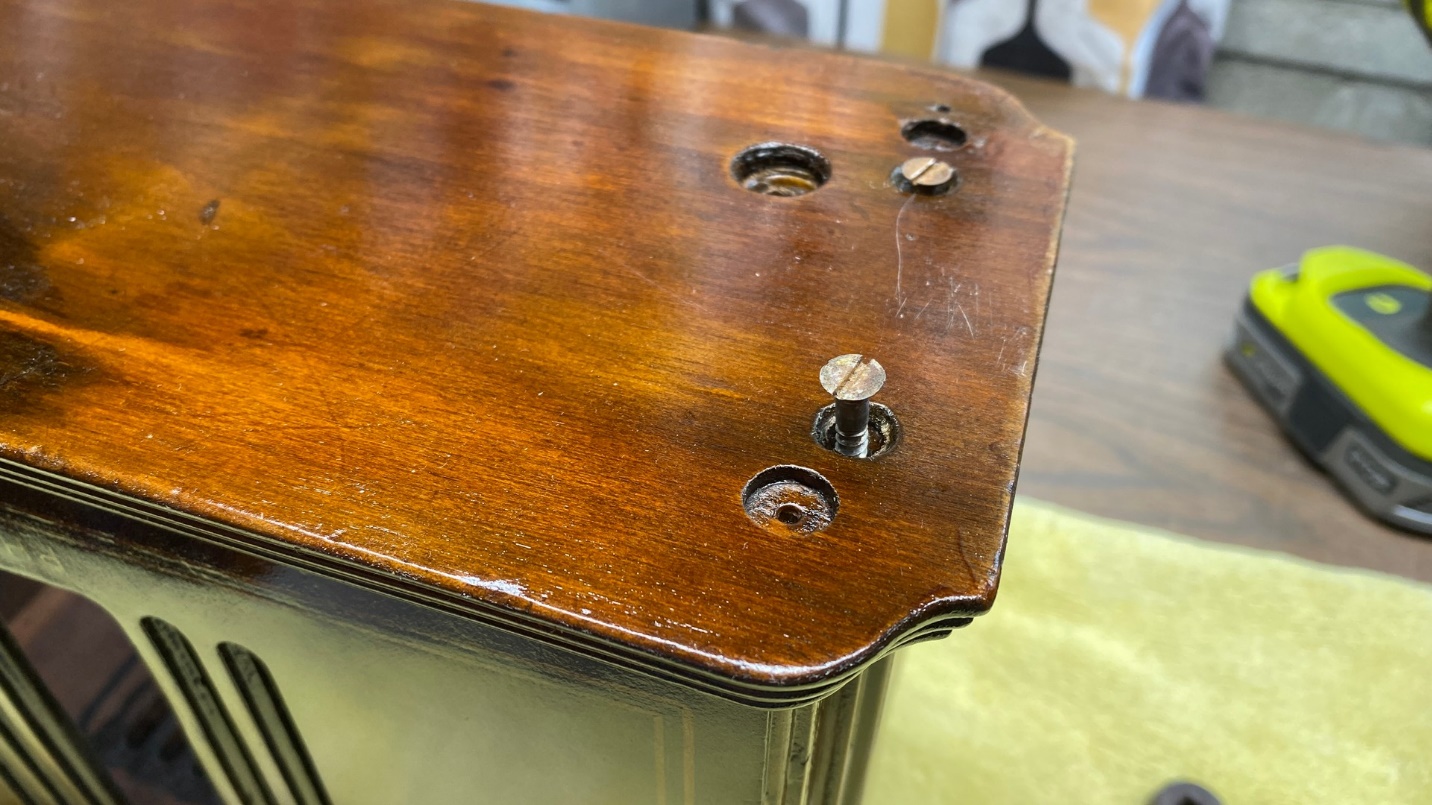
The mounting screws are being reinstalled.
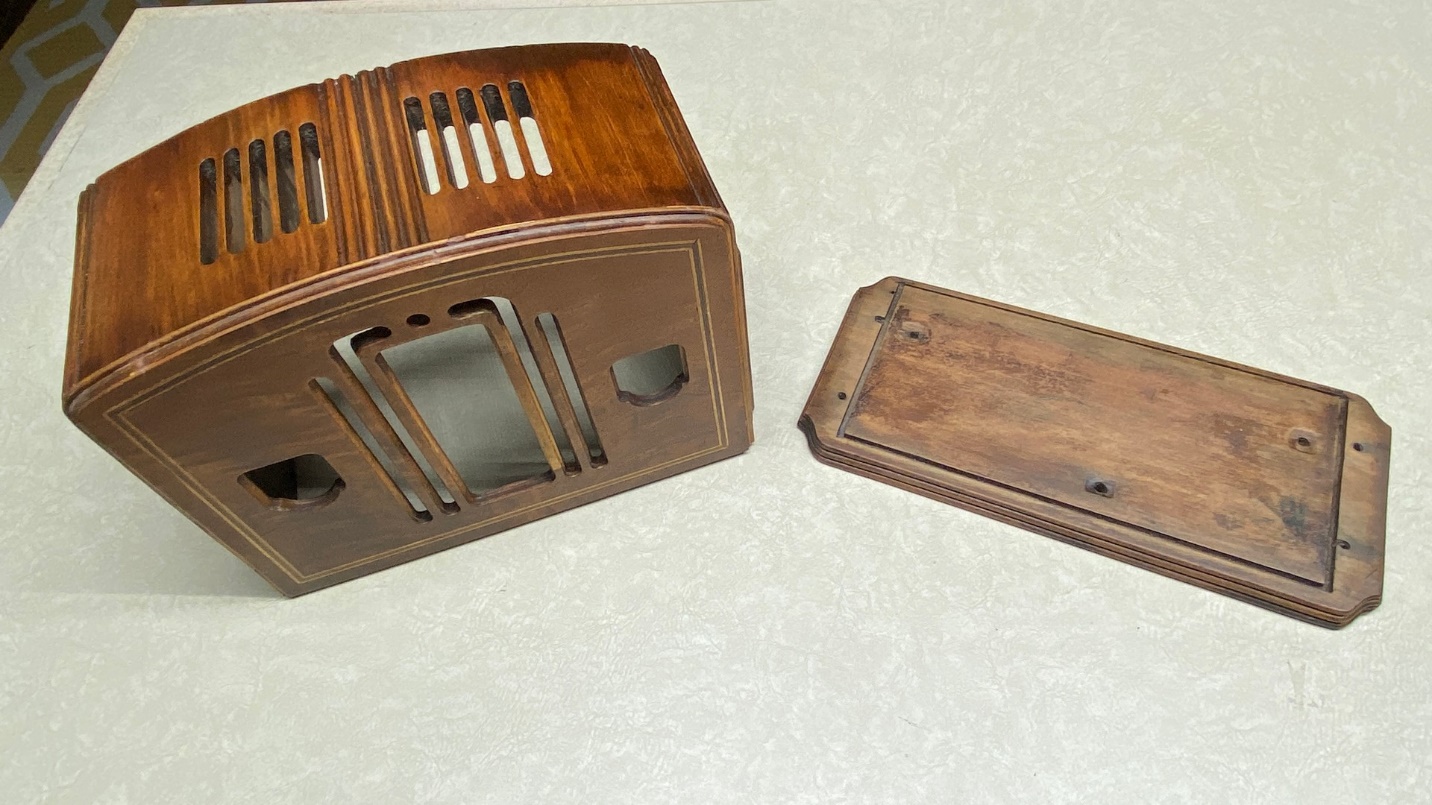
After adding some stick-on felt feet to the bottom, the cabinet was finished!

The finished product.
If you recall from Part 1 of this series, this 54C was mostly the original cabinet, with a front panel from another 54C. I think it turned out quite well.
And now, if you remember, I had refinished another 54C cabinet earlier in the summer. I had applied a two-tone finish to that cabinet, as it appeared to have evidence of two-toning before I stripped that cabinet.
I now needed to make a choice. Which cabinet was I going to keep, and which would I get rid of?
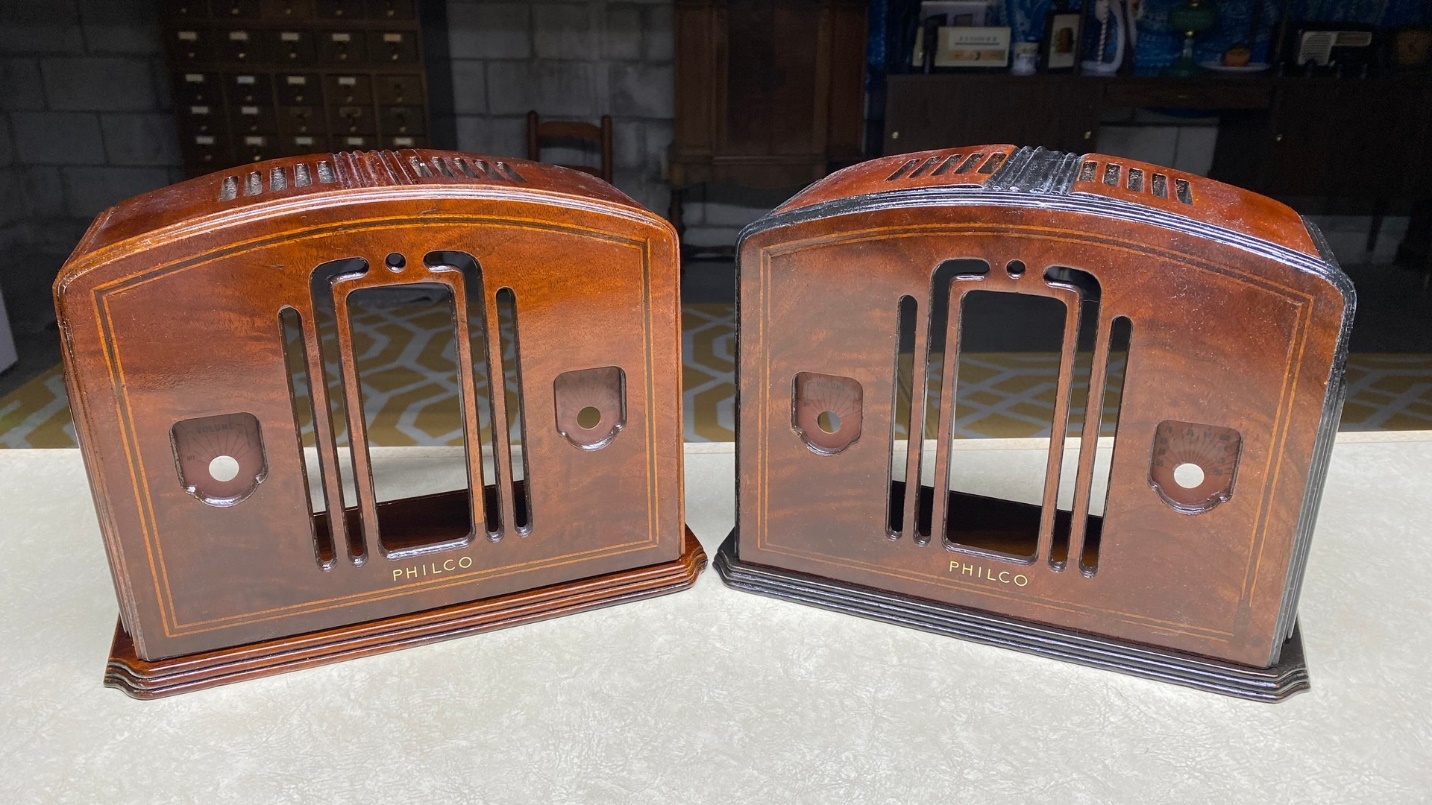
The 54C cabinet I just completed (left) and the one I finished during the summer (right).
What do you think? Compare the two cabinets above, and let me know in the comments below which one you think I should keep. I will let you know which cabinet I decided to keep in the final installment of this series, coming up in the very near future.