Contributed by Fred Mooney, KA1DGL
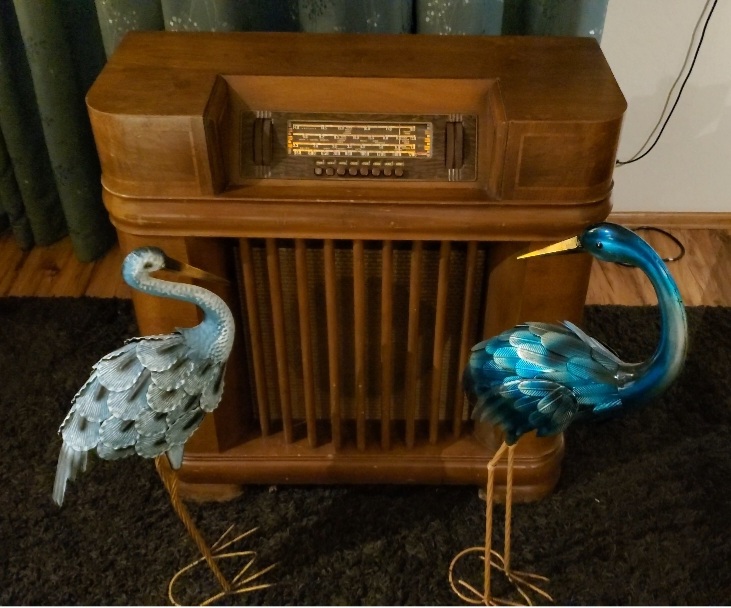
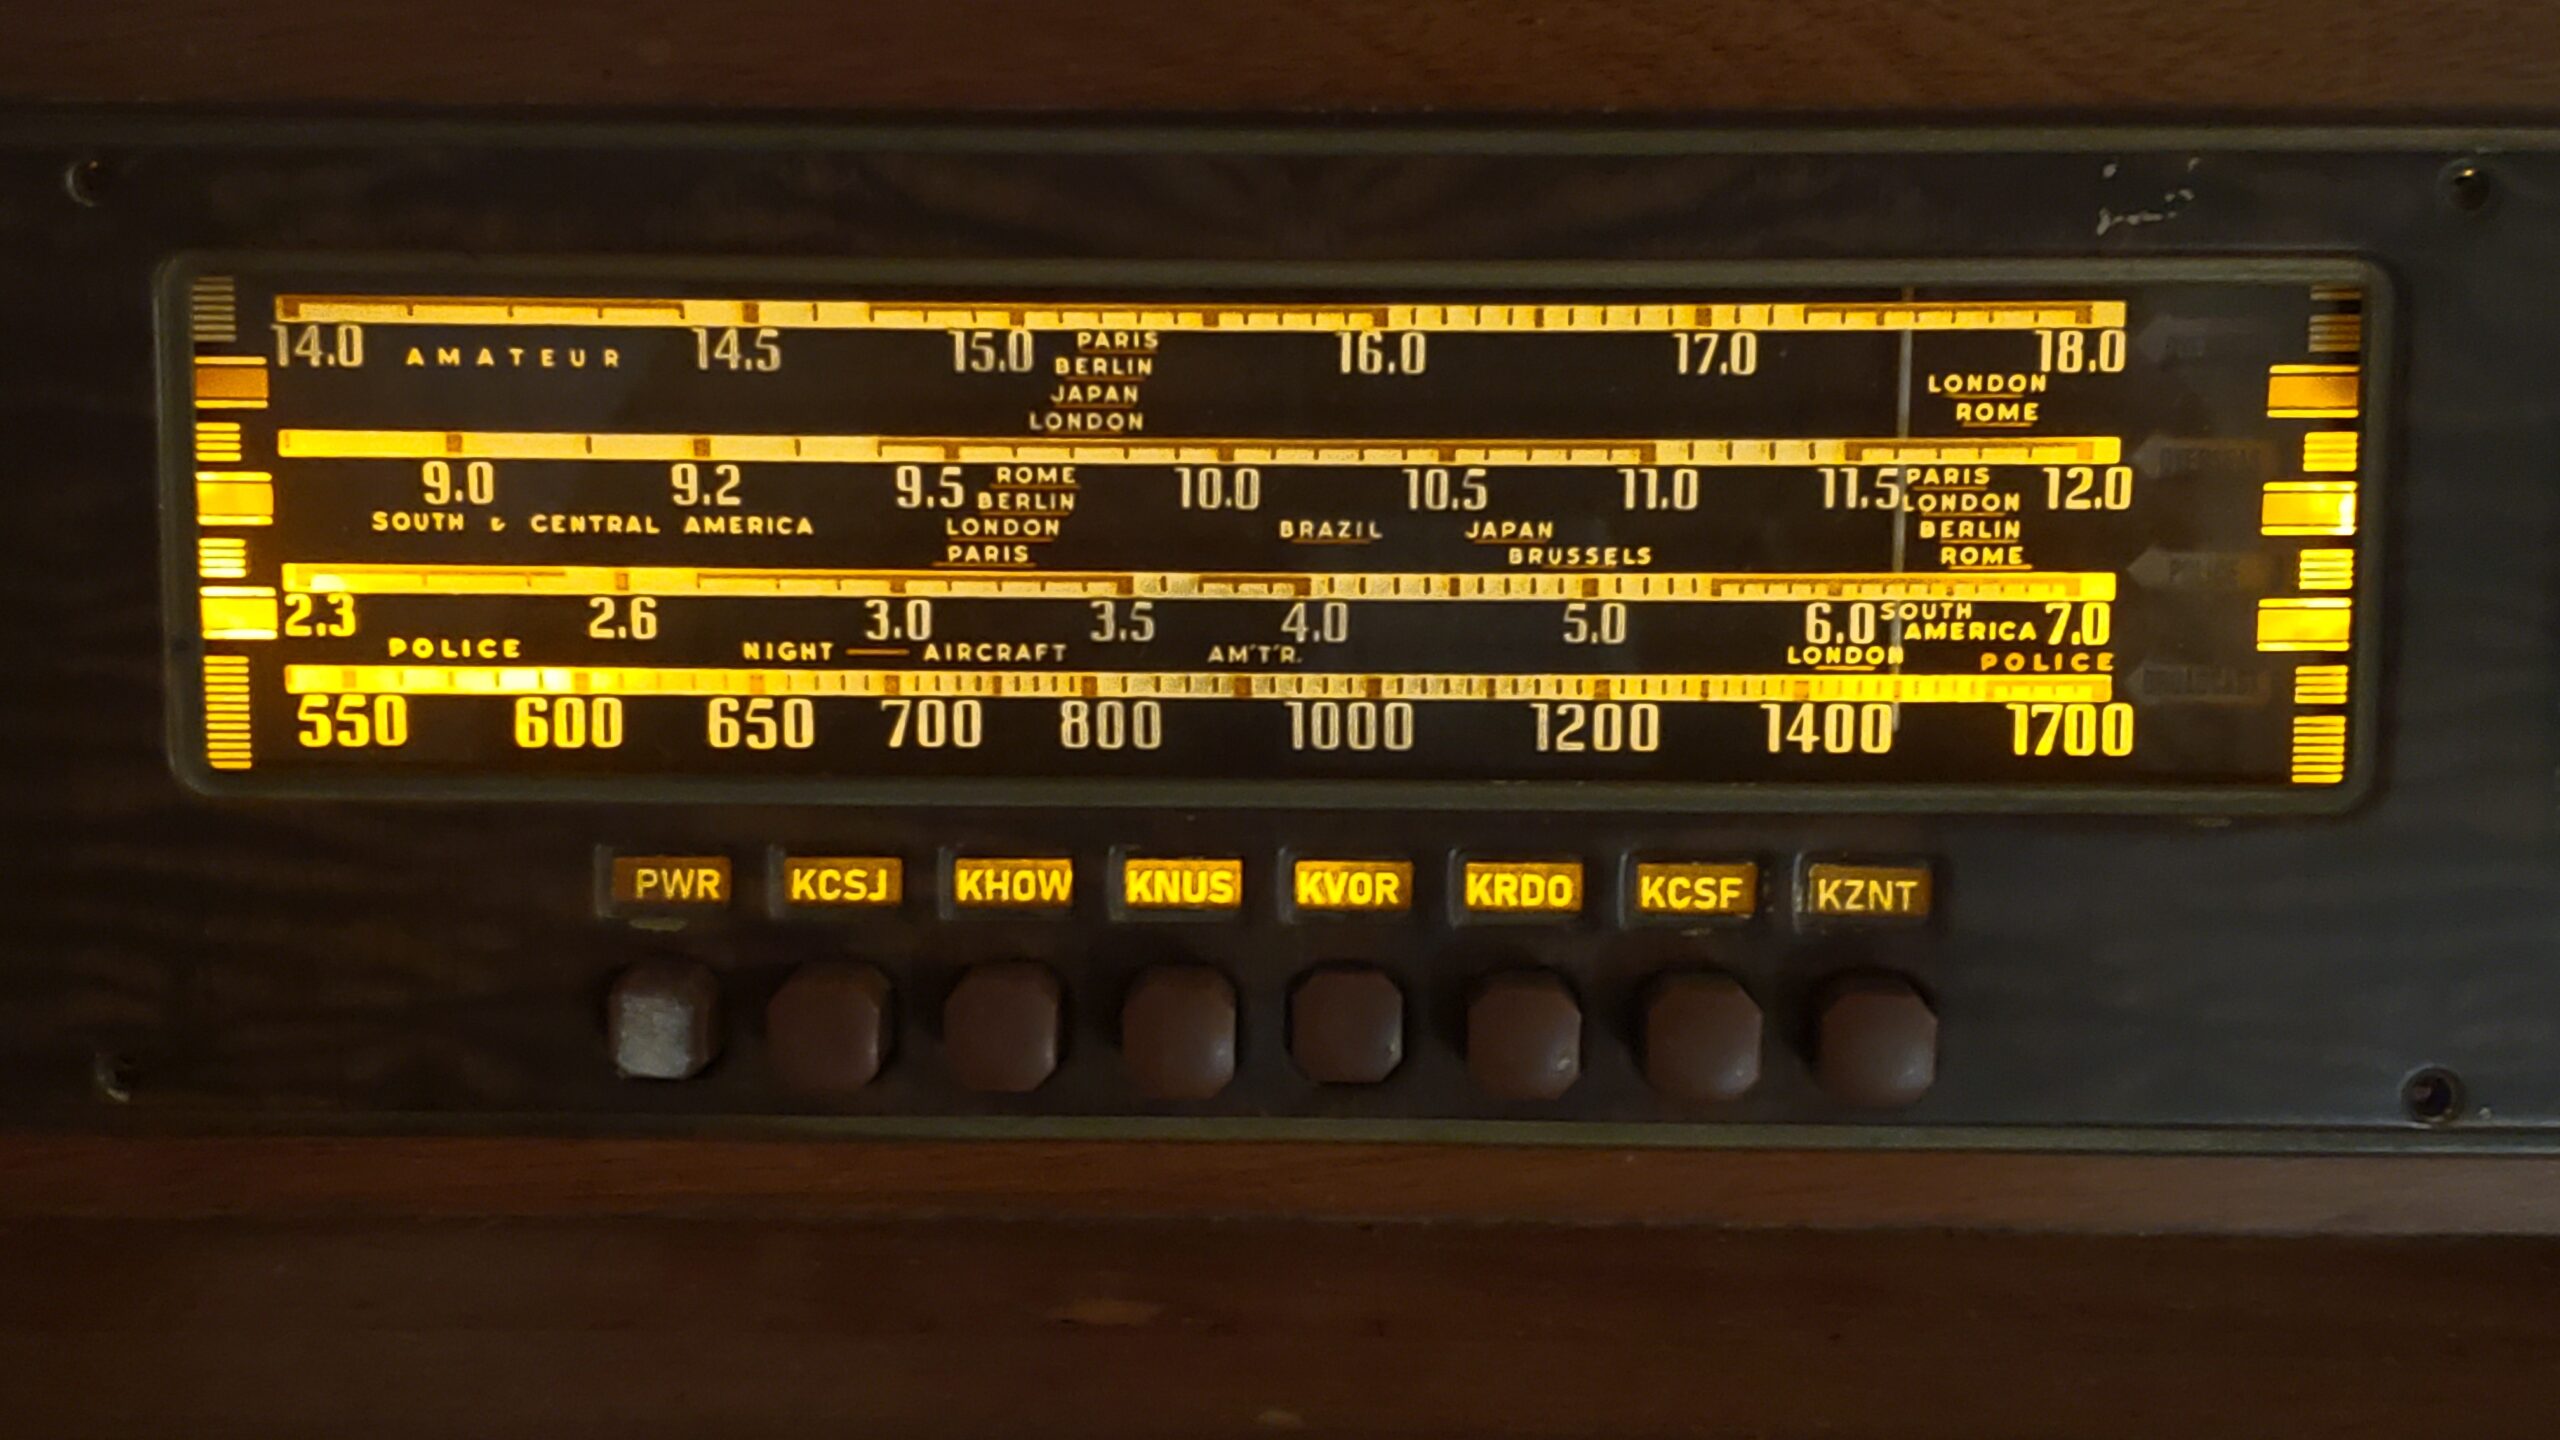
Instructions for printing callsign preset labels in Microsoft Word for a Philco 41-295 and similar receivers.
I used MS Word 2010, but it should work with any recent version of Word. Unfortunately, the menu layouts will be different in different versions.
1. Go to the “View Menu” and make sure “Ruler” is turned on (checked).

2. Again on the “View” menu, select “Zoom.”

3. The Zoom pop-up screen should appear. Hold a ruler up against your screen, next to the Microsoft ruler at the top of the page. Adjust the Zoom Percent in the pop-up window until the ruler in your hand and the Word ruler are perfectly aligned. As you can see, on my computer and with my monitor, a Zoom Percent of 72% perfectly aligns the Word ruler with the actual ruler. My monitor is a Dell 31.5” Full HD. Your monitor may require a different Zoom Percent to align the two rulers.
4. Now the Word document on your screen has the real-life dimensions that will print on your printer.
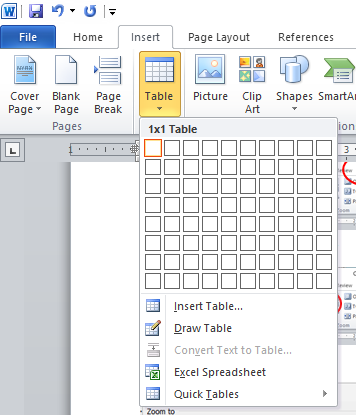
5. Insert a 1X1 (1 column by 1 row) table into your Word document, from the Insert menu.
6. Inside the table, type the Enter key, then type out PWR, followed by the seven callsigns of the radio stations you want to use for the preset pushbuttons, then the Enter key again. This will create three rows inside the table that look like this:
Note the first position says “PWR” because the first pushbutton is not a station preset, but the radio’s power switch. If you want to be a Philco purist, the original stickers for the power pushbutton said “ON/OFF.”
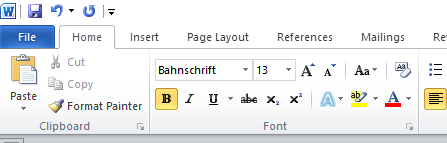
7. Highlight that row you just typed inside the table and convert all the letters to the font Bahnschrift 13 pitch Bold, or any other font you prefer.
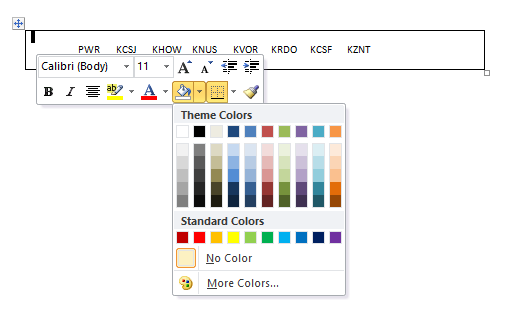
8. Now to adjust your table to match Philco colors. Right-click in the table and select the bucket icon, then “More Colors…”
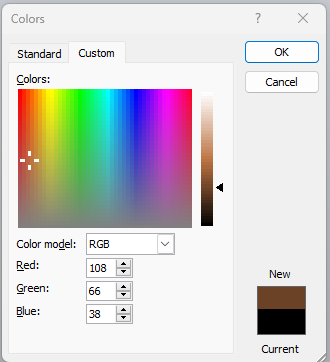
9. That’ll bring you to another menu. Select “Custom.” Type in the Custom RGB Color Model numbers 108, 66, and 38. That’ll make the table background a brown color.
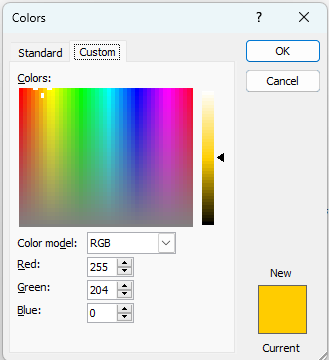
10. Now highlight all the text, right-click on the highlighted text, and select the font color icon.

11. Select “More Colors…,” then select the Custom tab. Use the Color Model RGB numbers 255, 204, and 0 to get a yellow color for the letters. Or, experiment with different colors based on your preference.
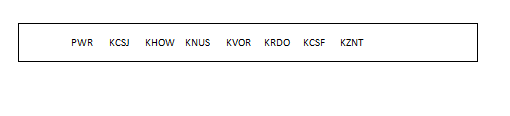
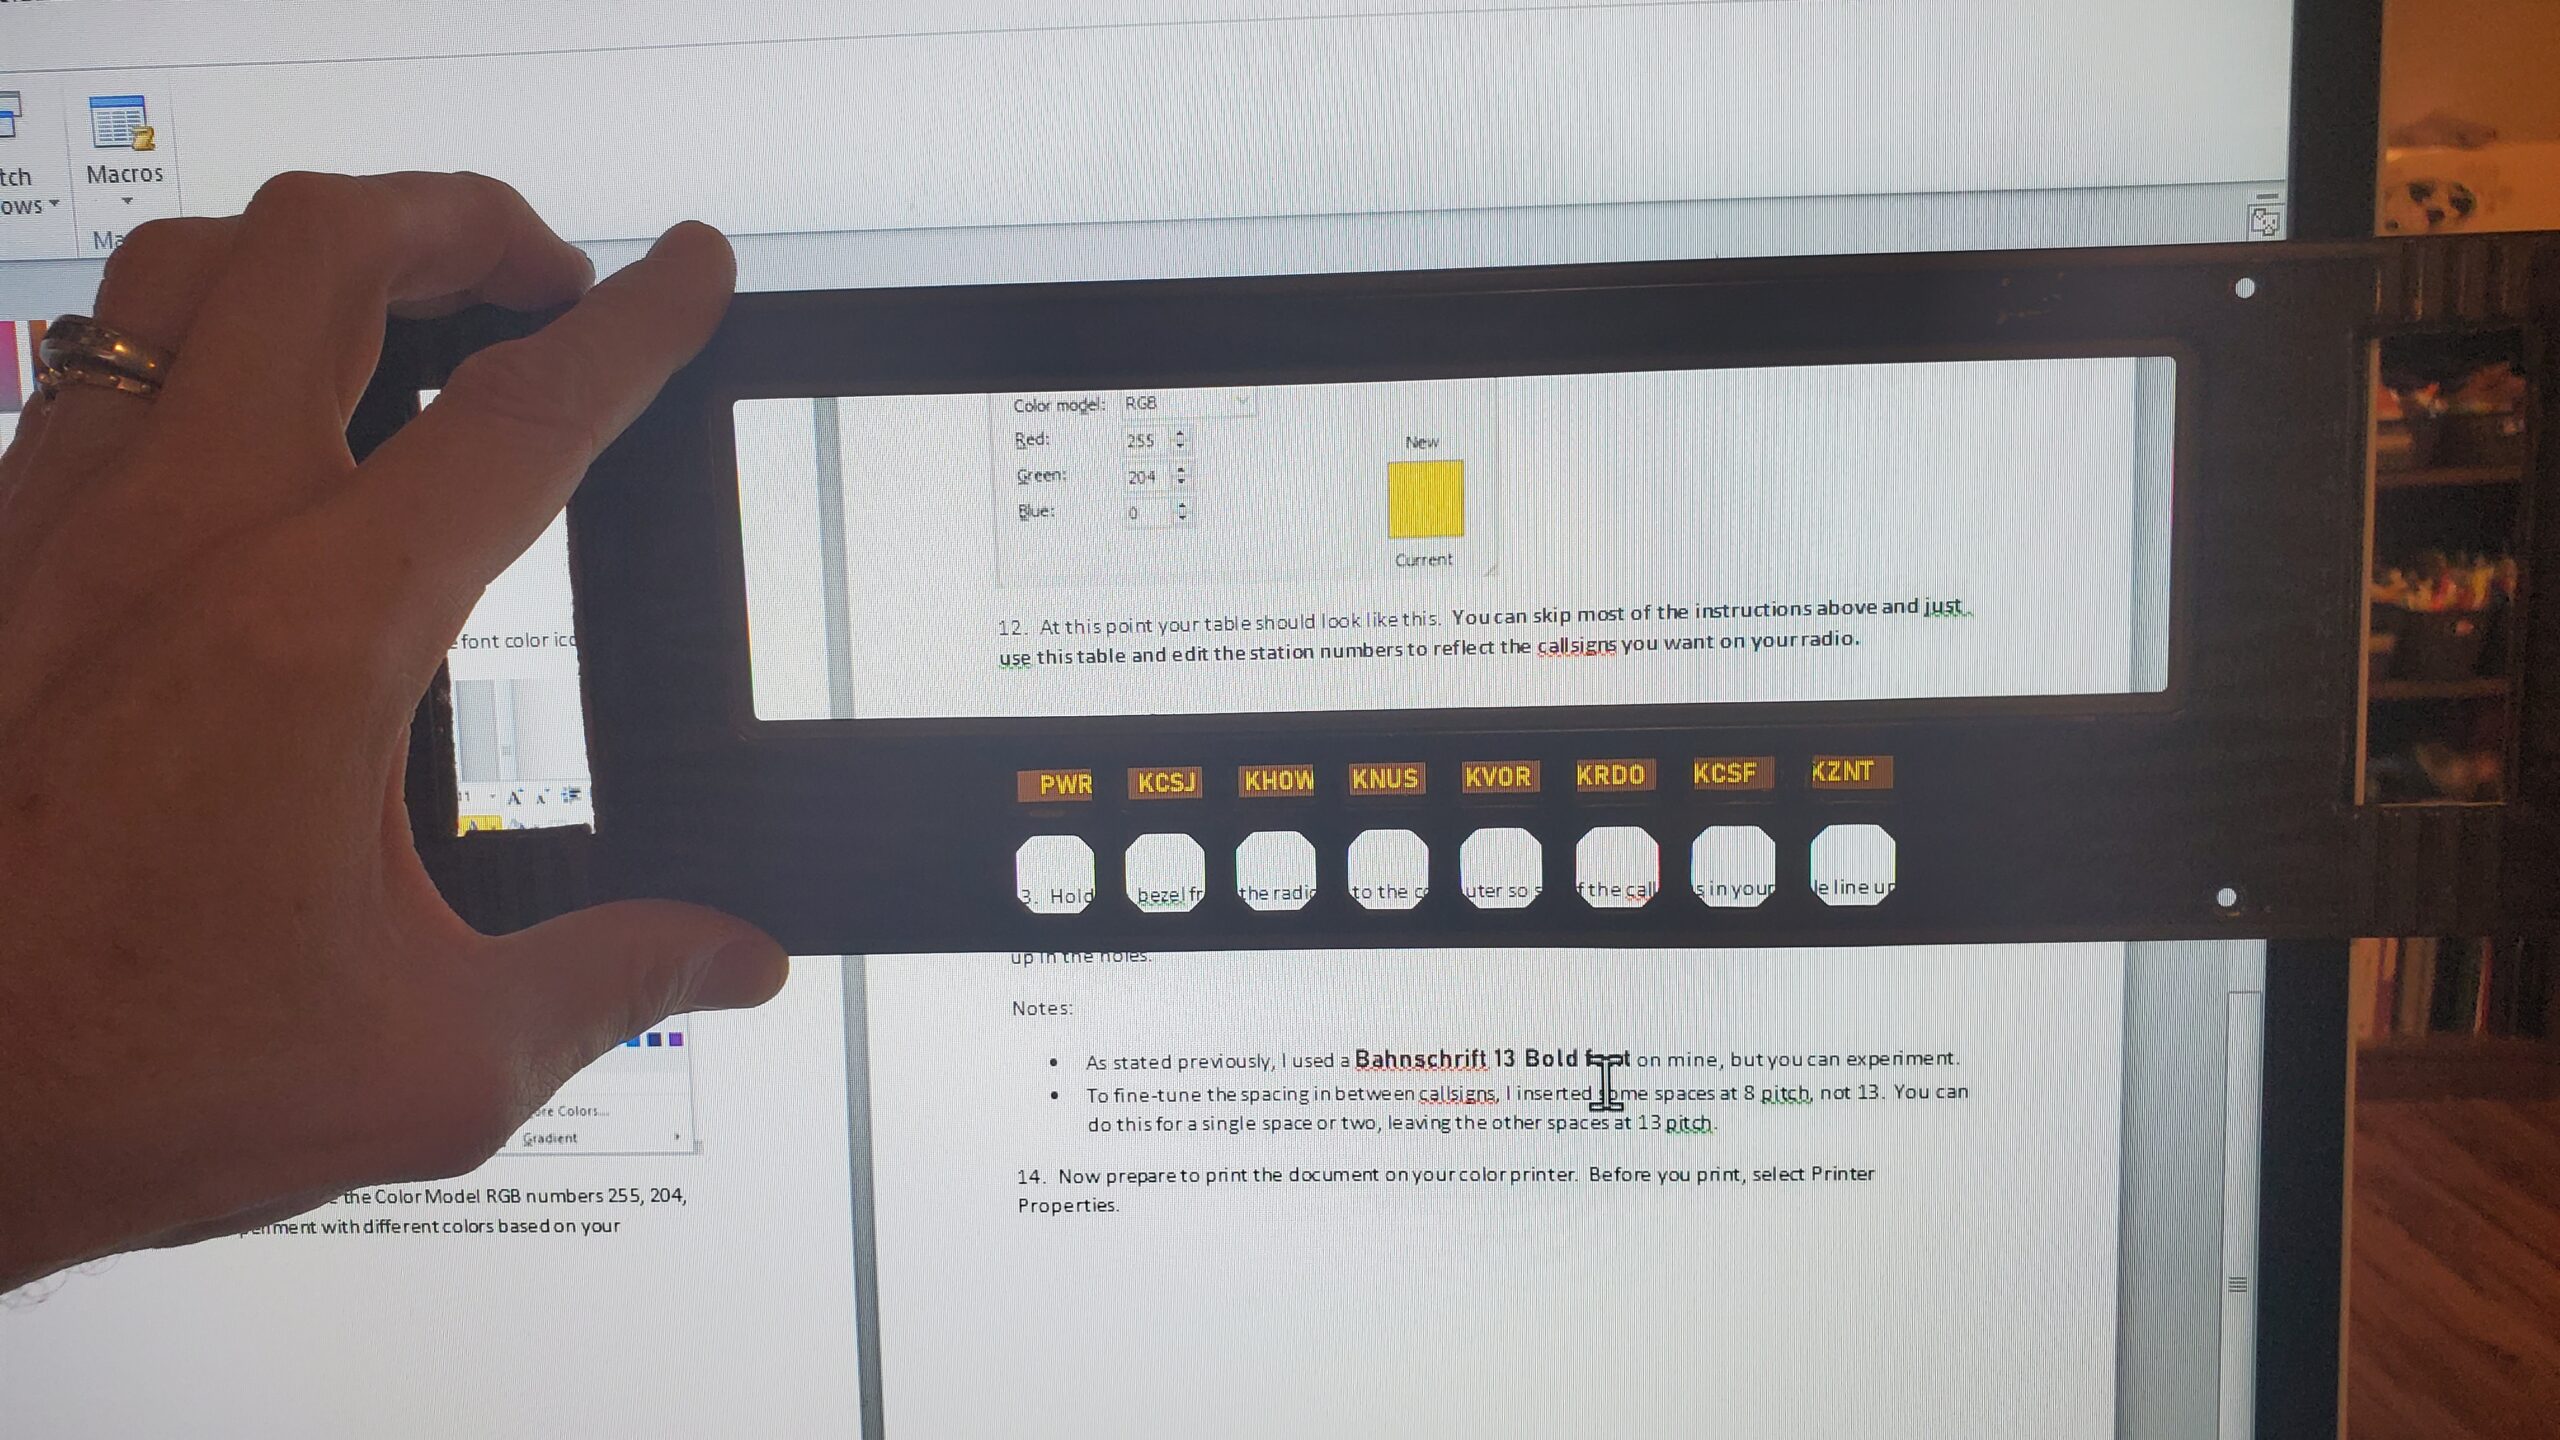
12. At this point your table should look like this. You can skip most of the instructions above and just use this Word document and edit the station numbers below to reflect the callsigns you want on your radio.
| PWR KCSJ KHOW KNUS KVOR KRDO KCSF KZNT |
13. Hold the face plate from the radio up to the computer so see if the callsigns in your table line up in the holes. If not, adjust the font size, the font type, and the spacing between the callsigns until they all line up in the holes.
Notes:
- As stated previously, I used a Bahnschrift 13 Bold font on mine, but you can experiment.
- To fine-tune the spacing in between callsigns, I inserted some spaces at 8 pitch, not 13. You can do this for a single space or two, leaving the other spaces at 13 pitch.
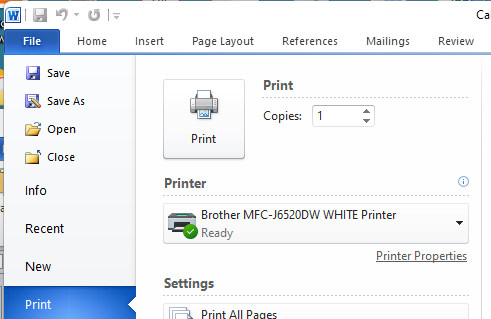
14. Now prepare to print the document on your color printer. Before you print, select Printer Properties.
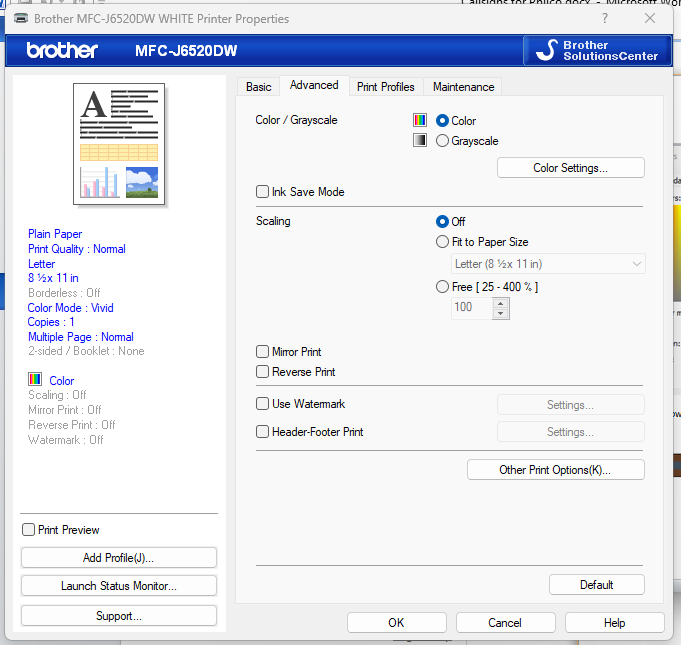
15. Under Printer Properties, make sure that Scaling is turned off. Or, on printers with an option called “Actual Size,” select it.
16. Print the page, cut out the brown table and cover it on both sides with scotch tape. Trim all excess.
17. Tape it to the back of the face plate; make sure the callsigns are lined up with the holes on the front.
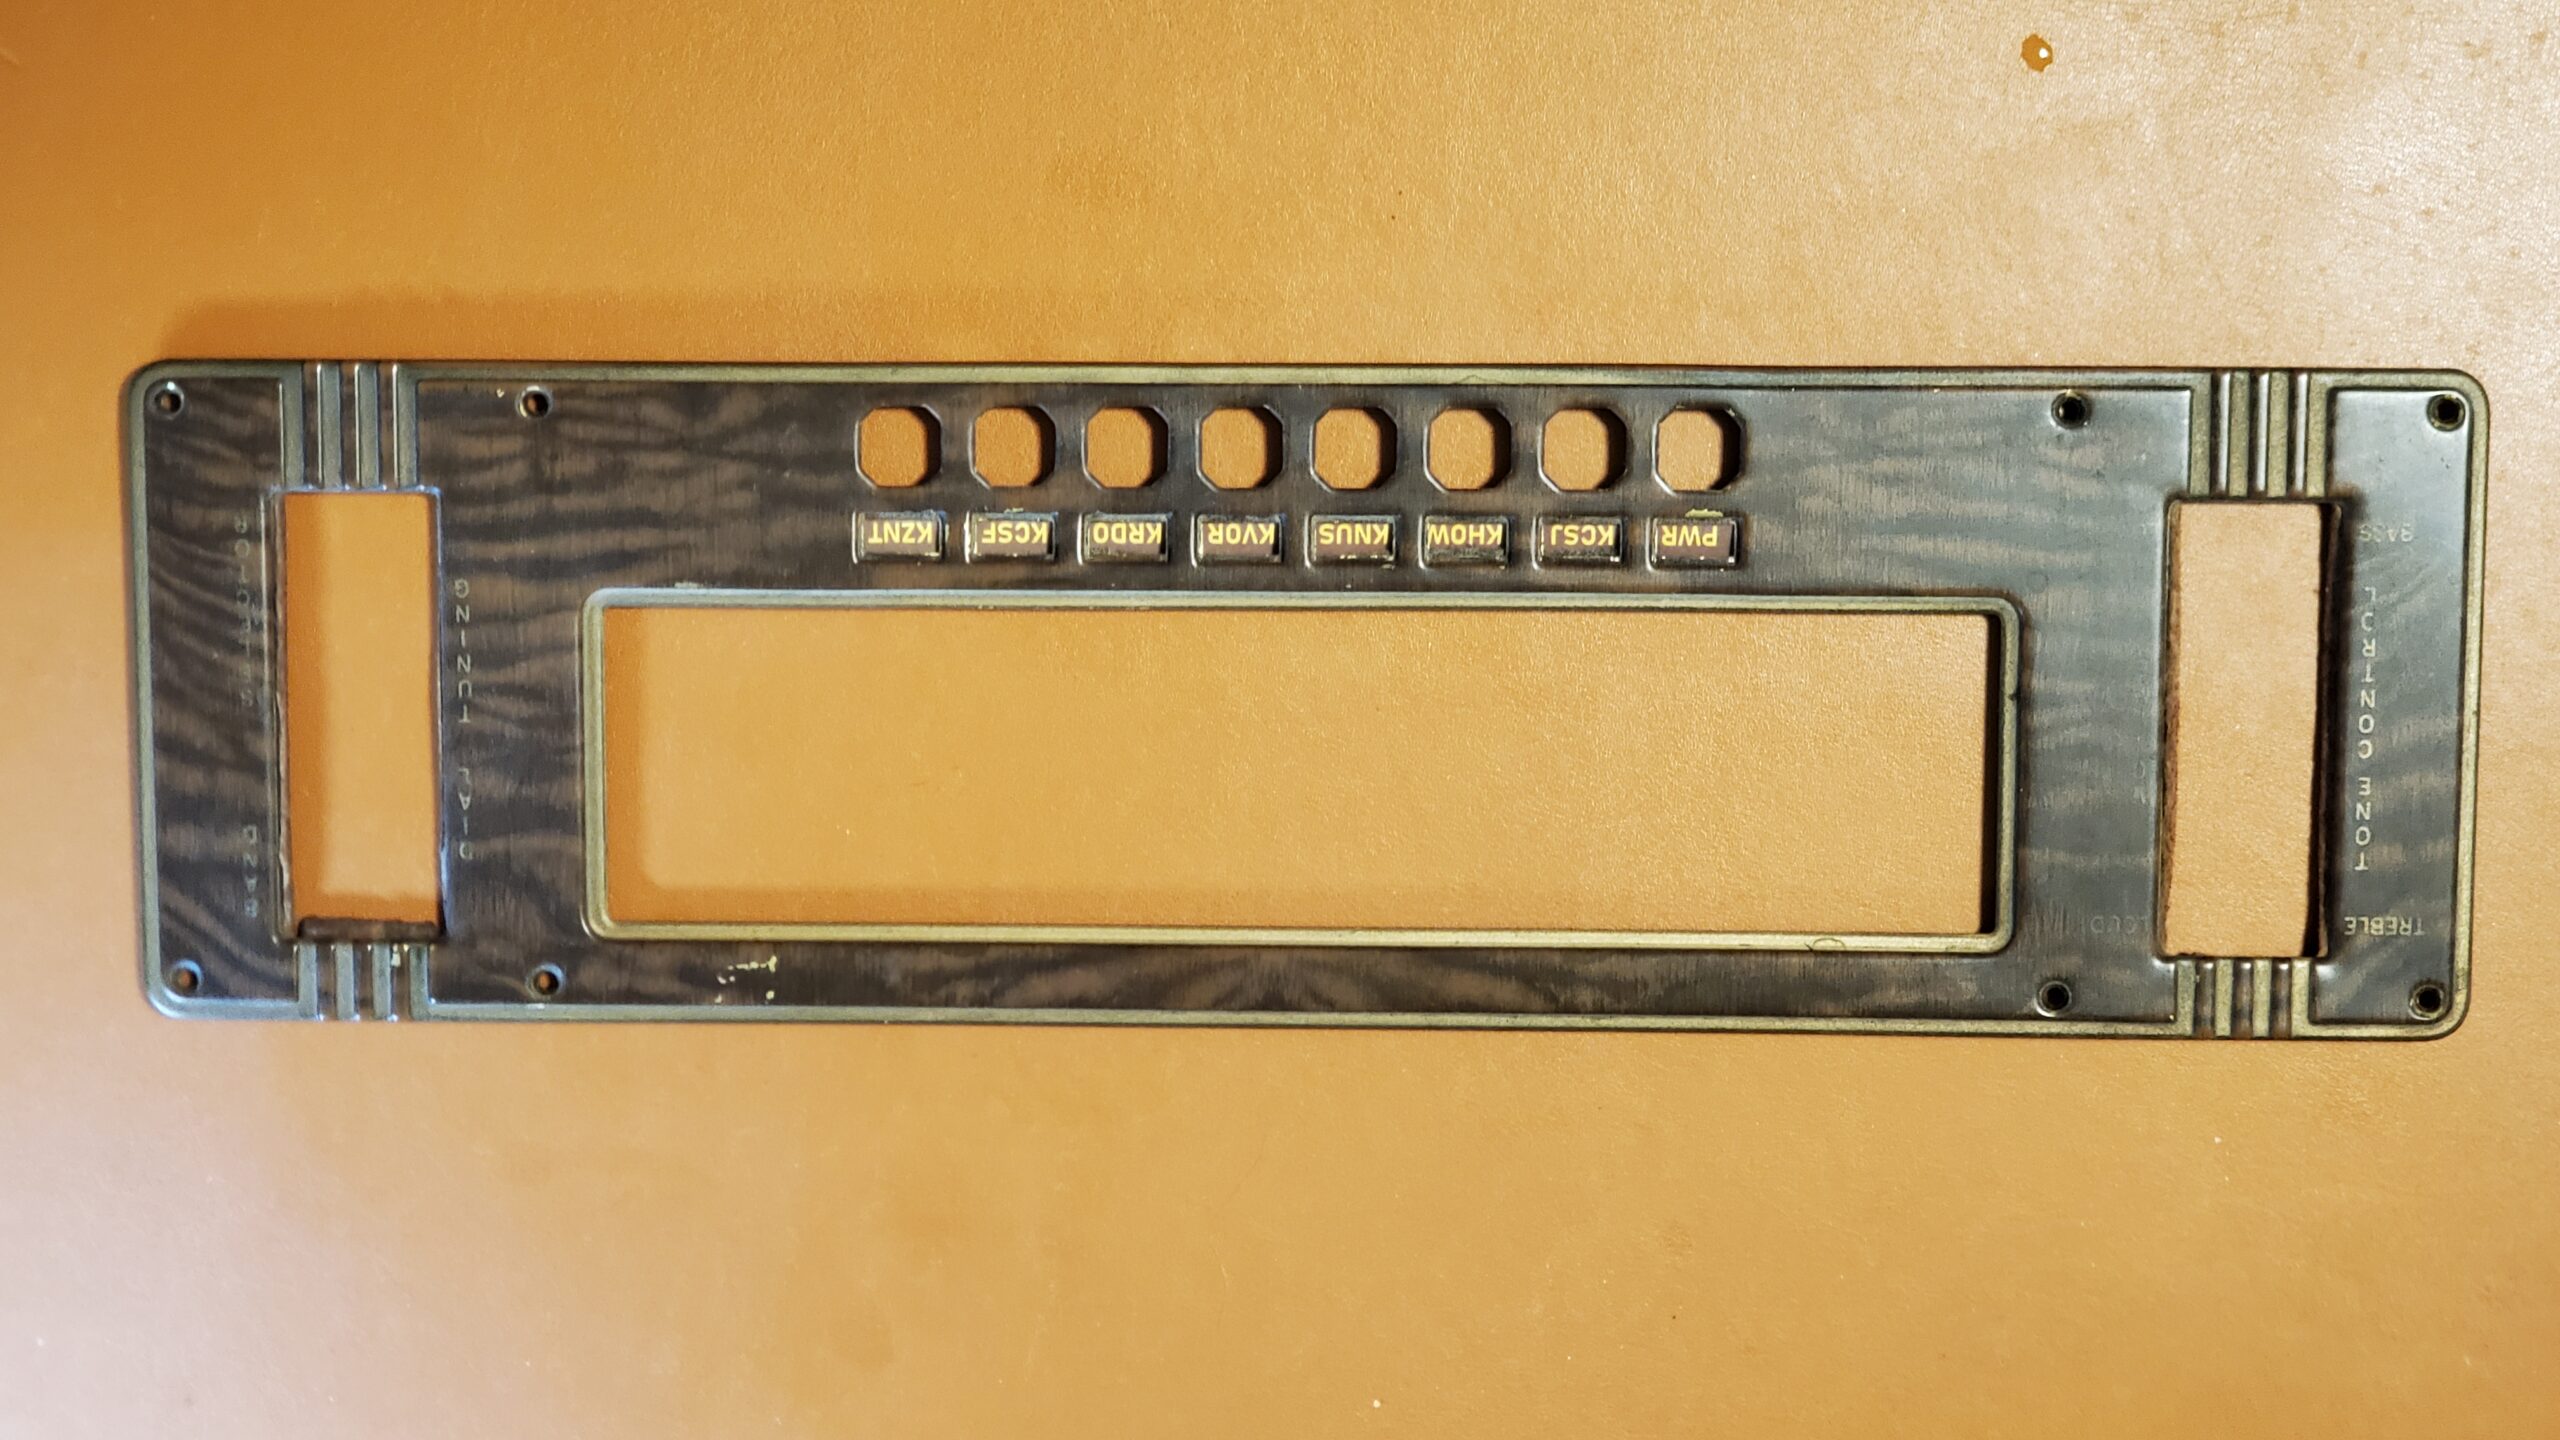
18. Mount the face plate on the radio and enjoy!